
Documentation Index

Fetch the complete documentation index at: https://docs.streamnative.io/llms.txt

Use this file to discover all available pages before exploring further.

This guide describes how to prepare a Databricks Unity Catalog for use with StreamNative Ursa as a Delta Lake catalog on AWS.

Prerequisites

  • An AWS account with permissions to create S3 buckets and IAM roles
  • A Databricks account with permissions to create workspaces

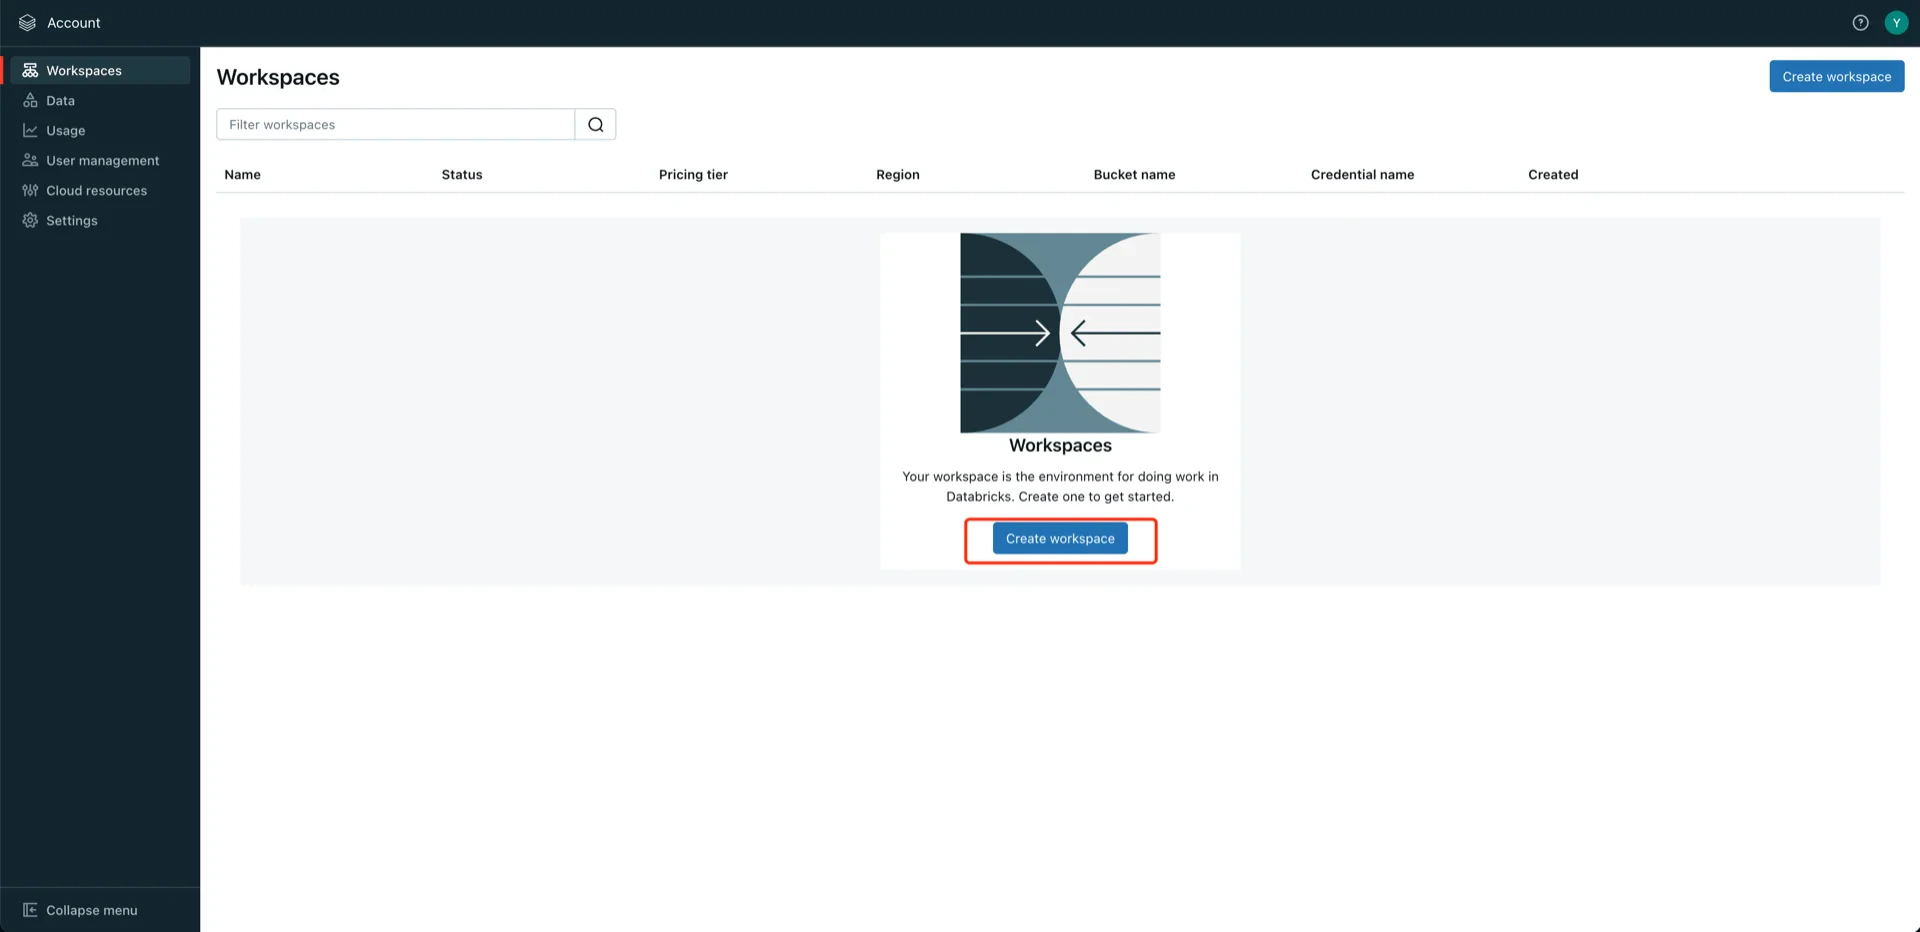
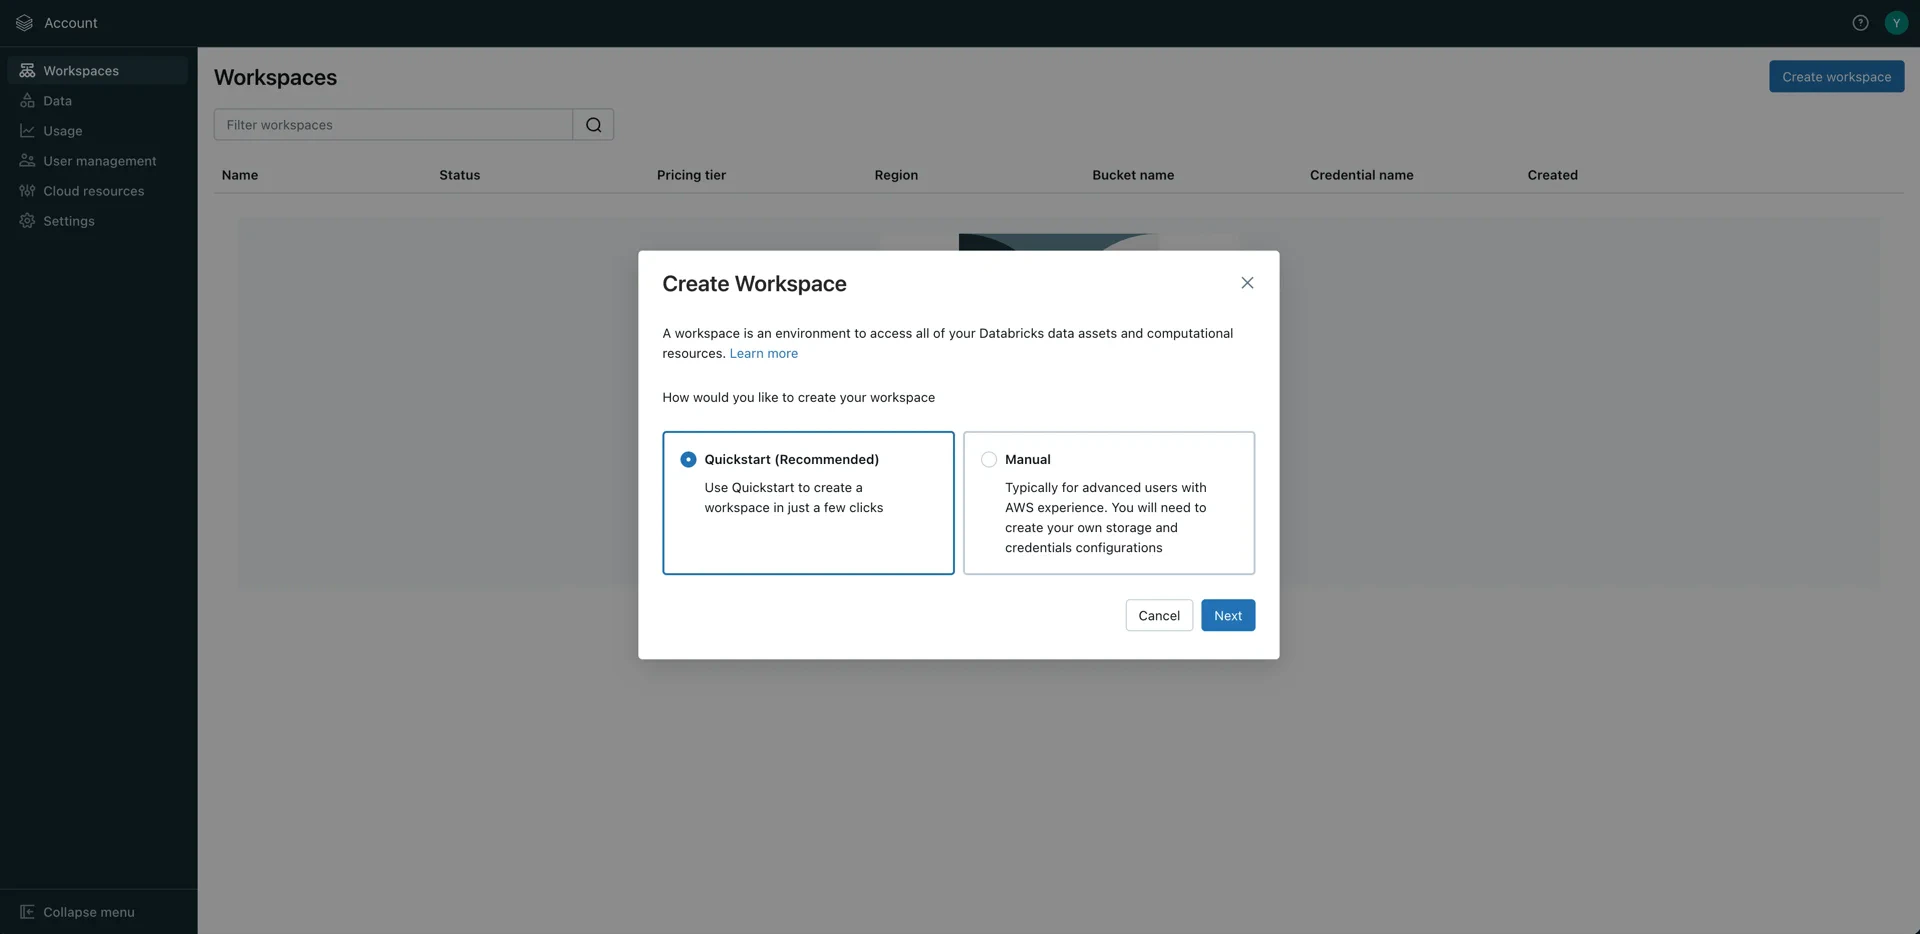
1. Create a Databricks Workspace

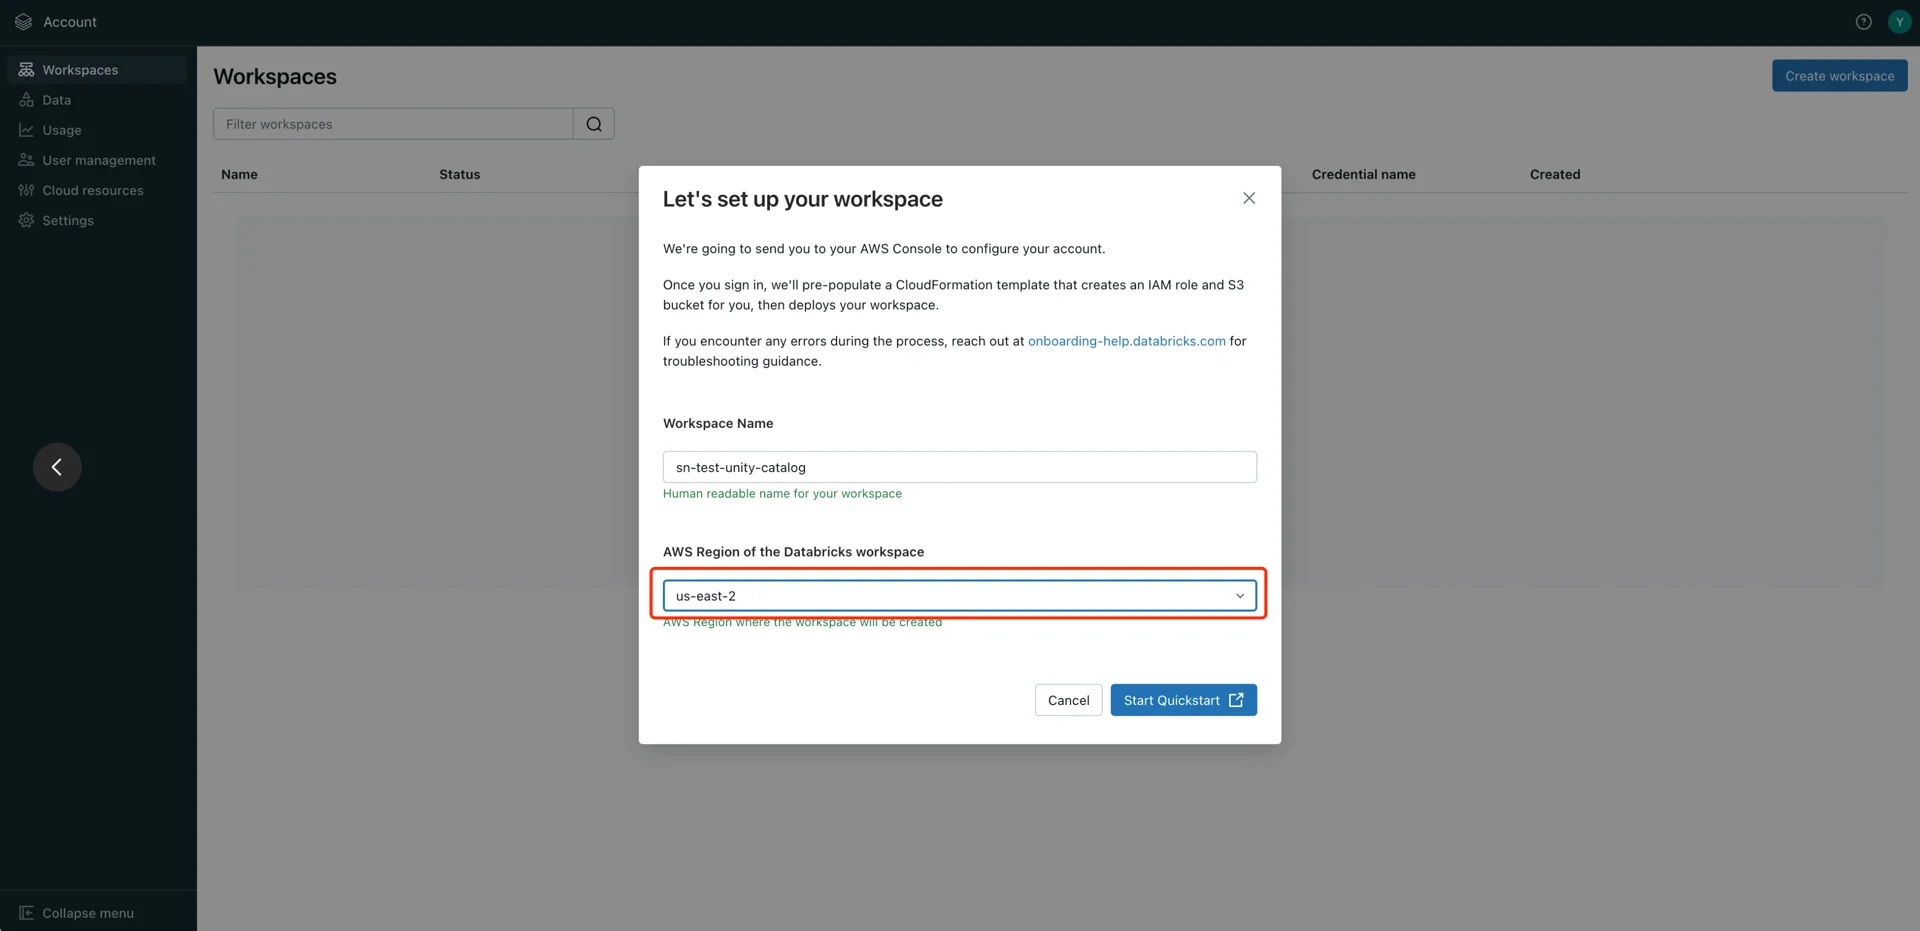
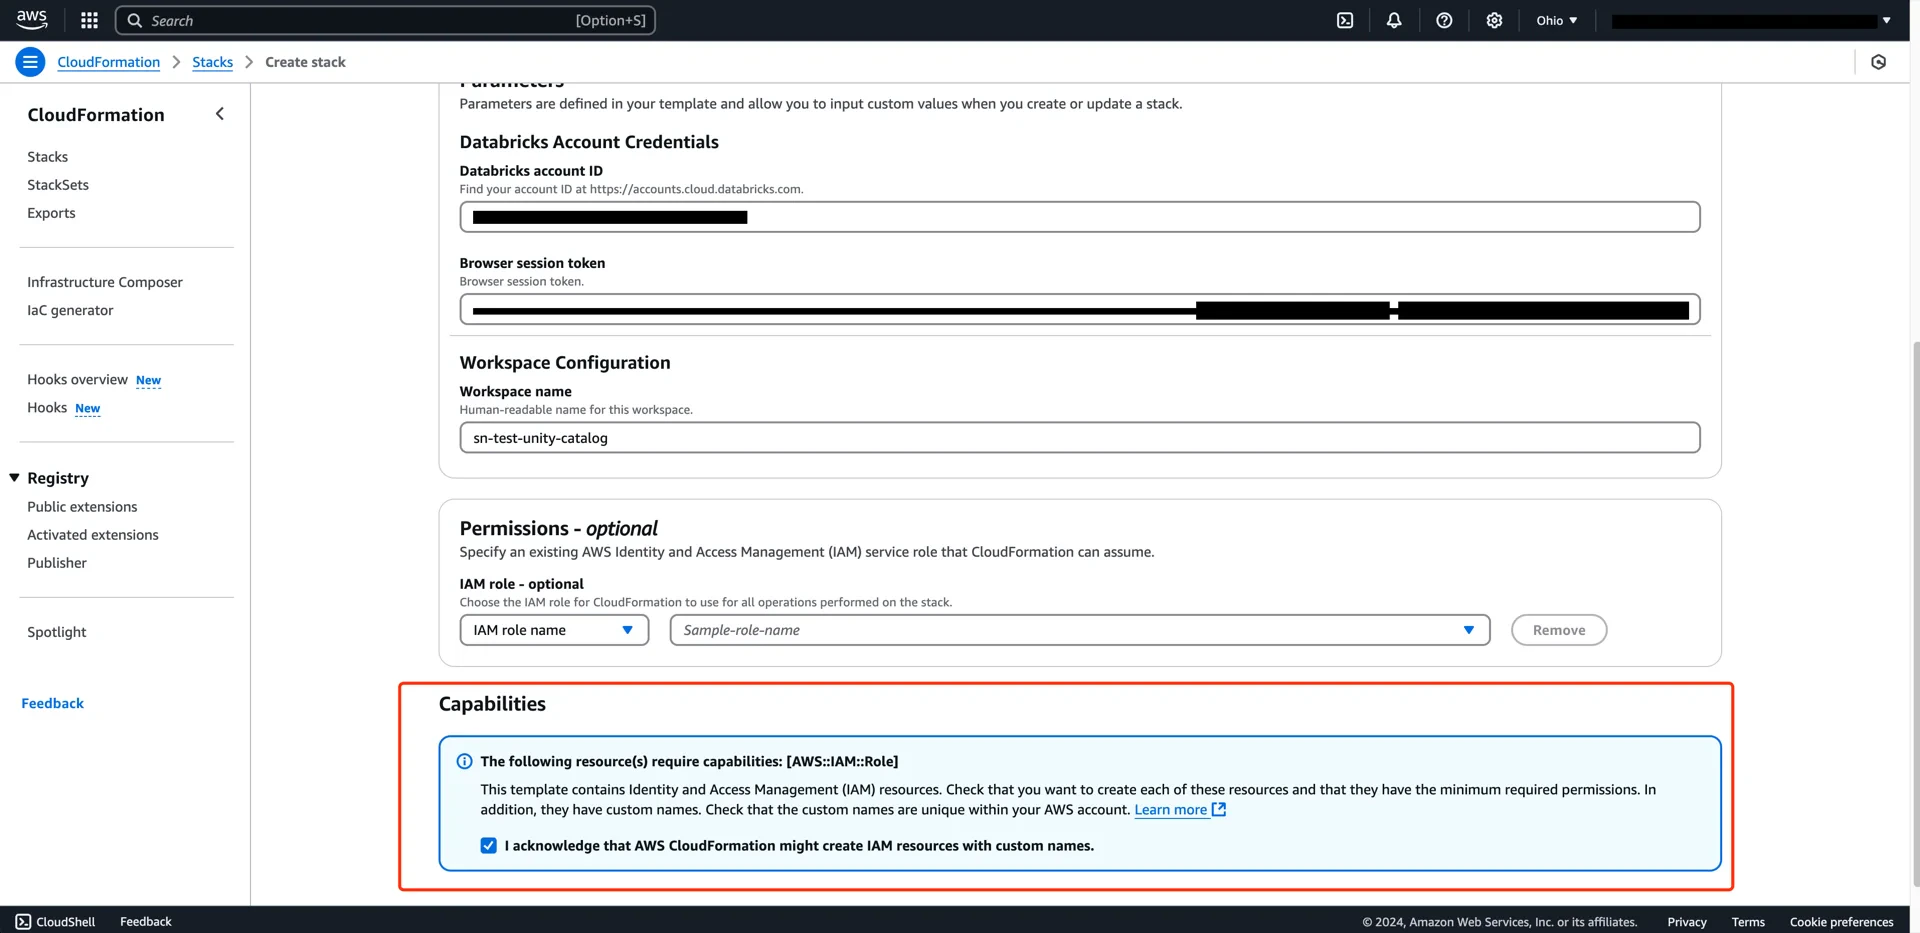
Skip this step if you already have the Databricks Workspace
In the Databricks account console, create a new workspace. The workspace creation flow uses an AWS CloudFormation stack, so you must be logged into AWS in the same browser session. Workspace list Click Create workspace. Create workspace Choose Quickstart. Quickstart option Enter a workspace name and select the AWS region in which your S3 bucket resides (for example, us-east-2). Click Start Quickstart. Workspace settings In the AWS console, acknowledge the IAM resource creation and click Create Stack. Create CloudFormation stack Stack creating When the stack reaches 
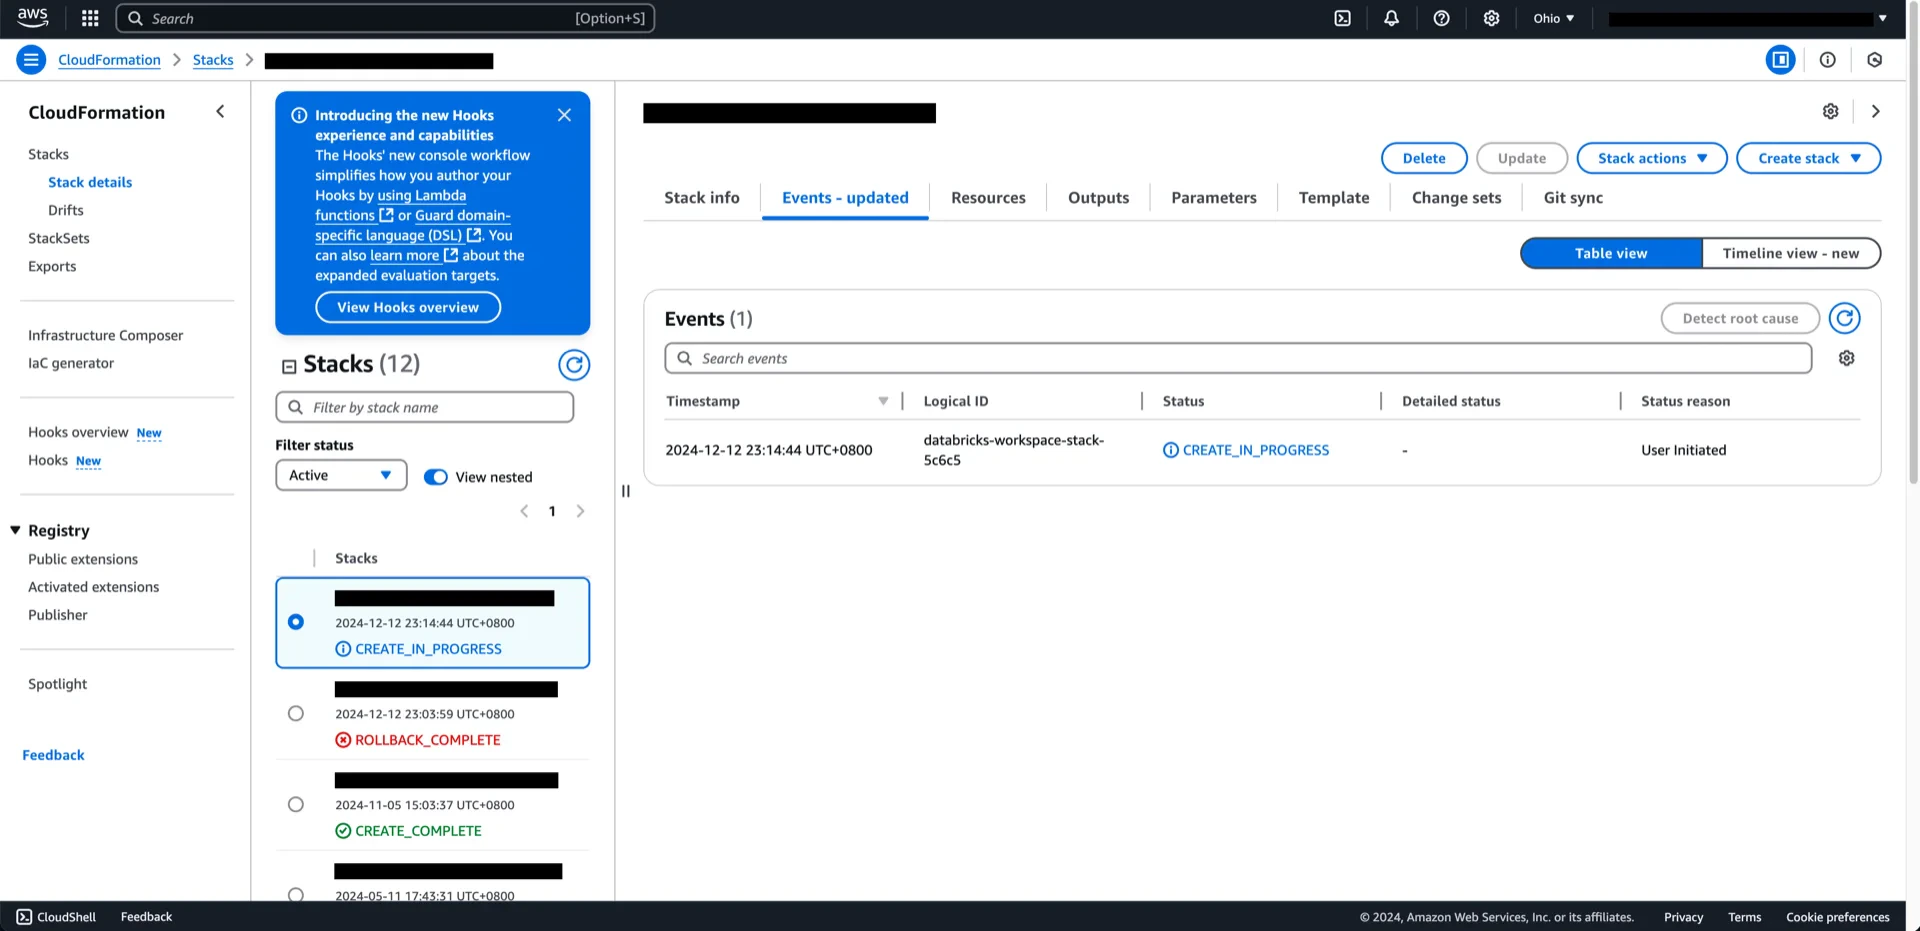
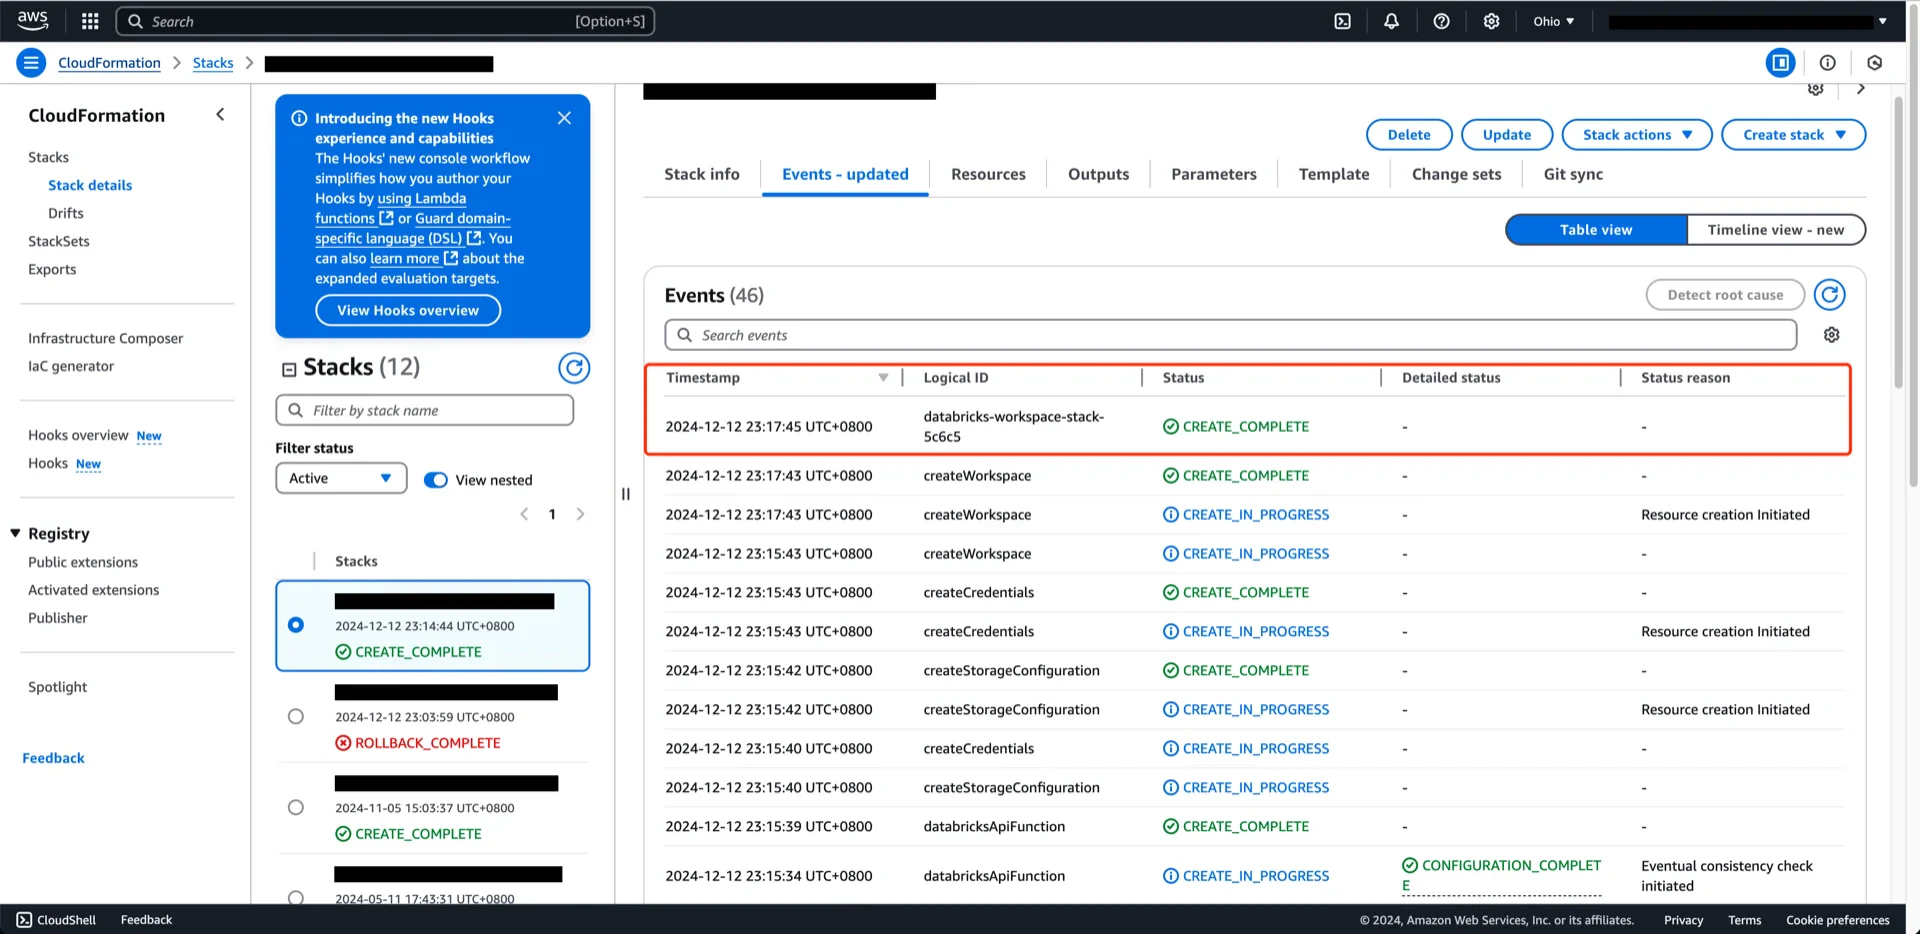
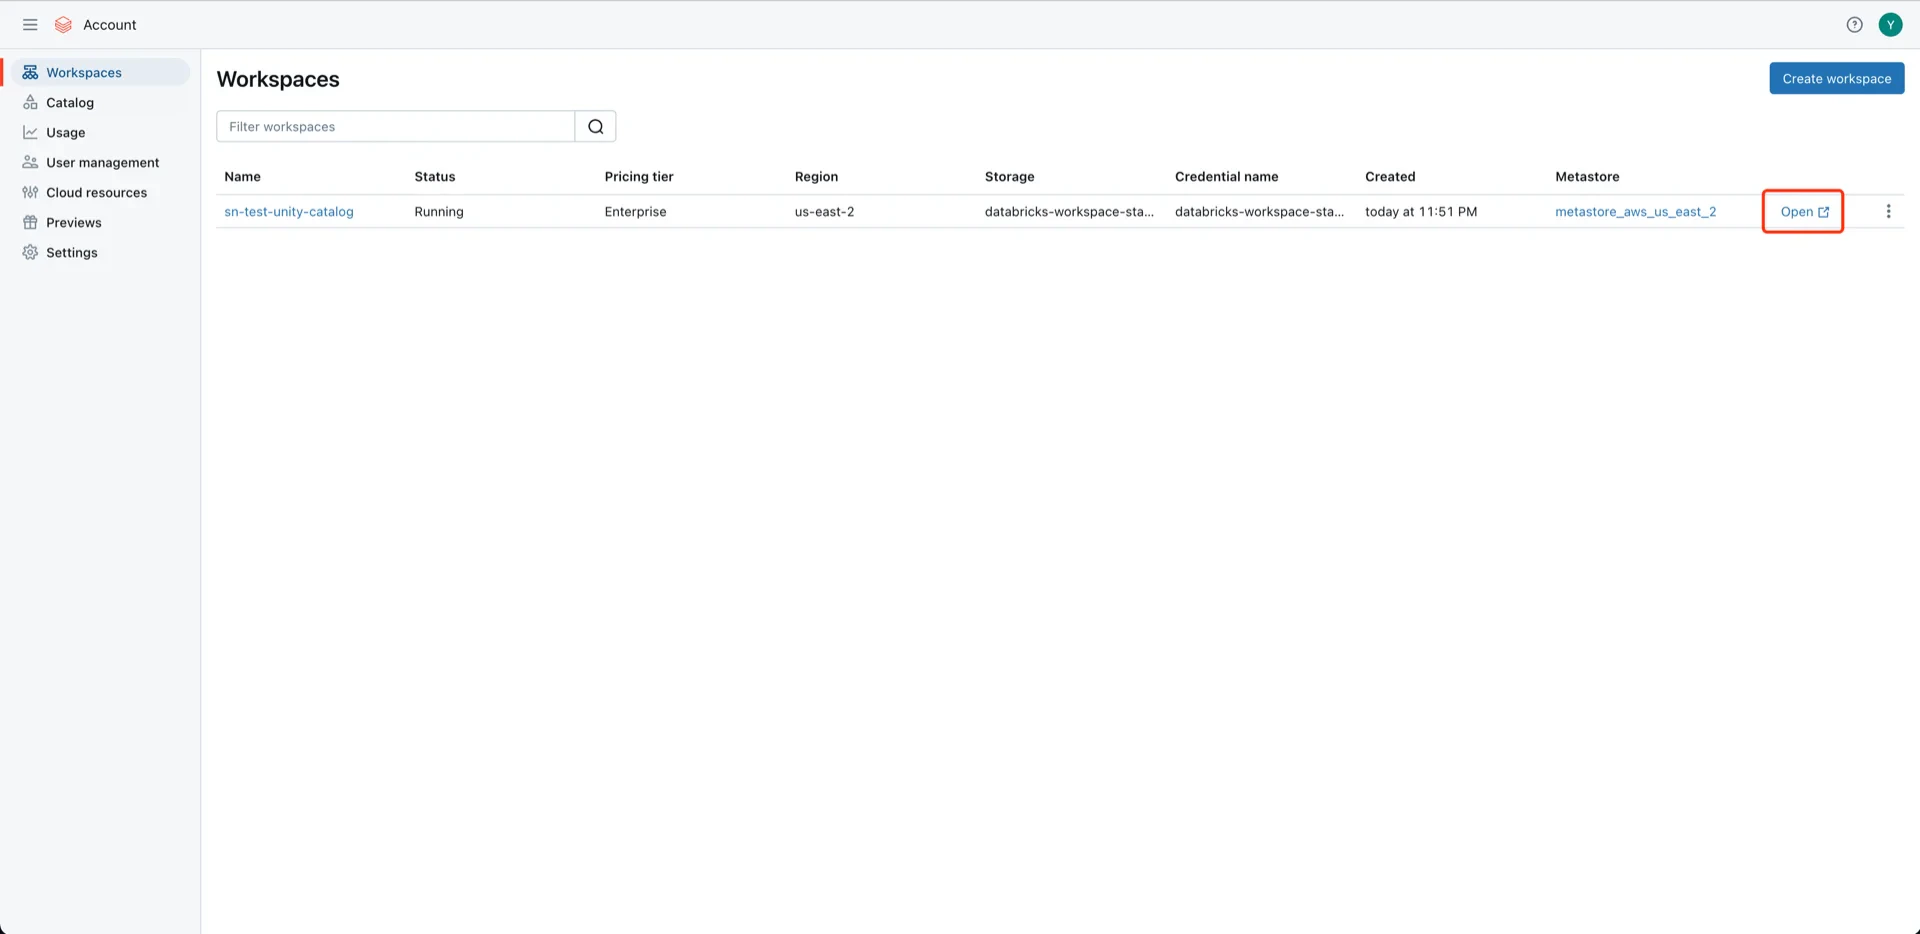
CREATE_COMPLETE, return to the Databricks console and open the workspace. Stack complete Workspace ready Unity Catalog console

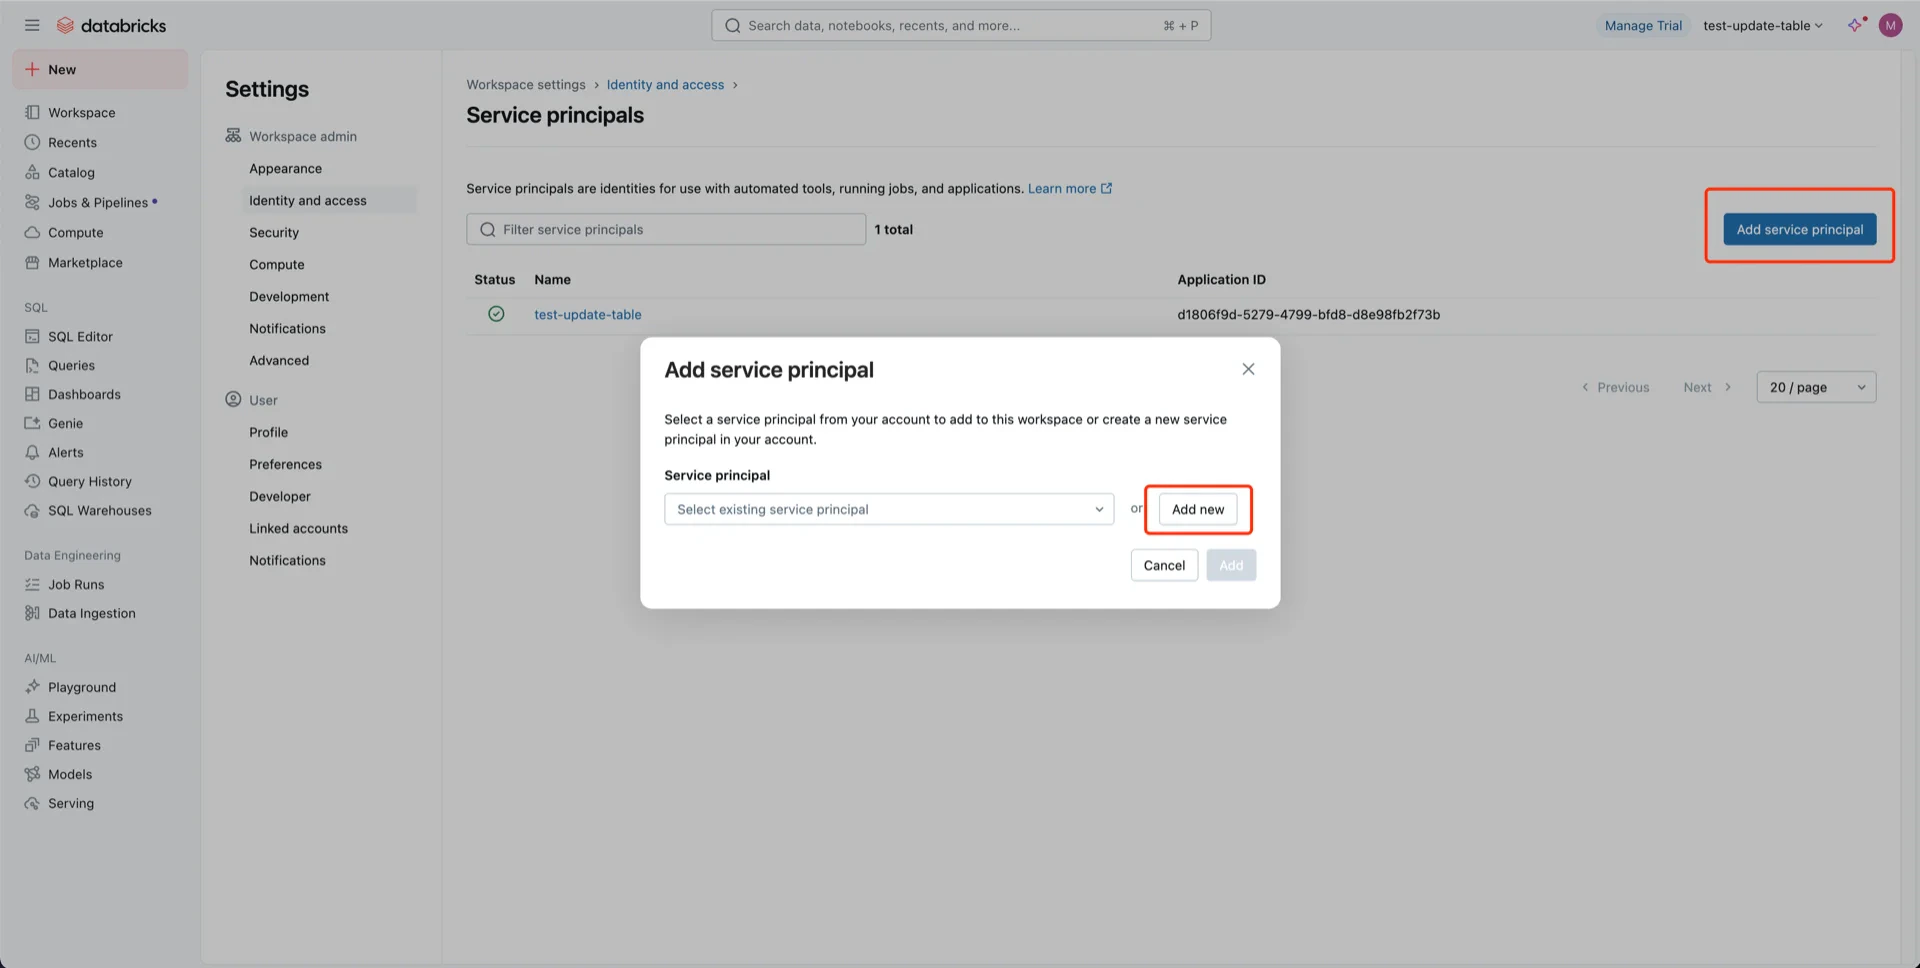
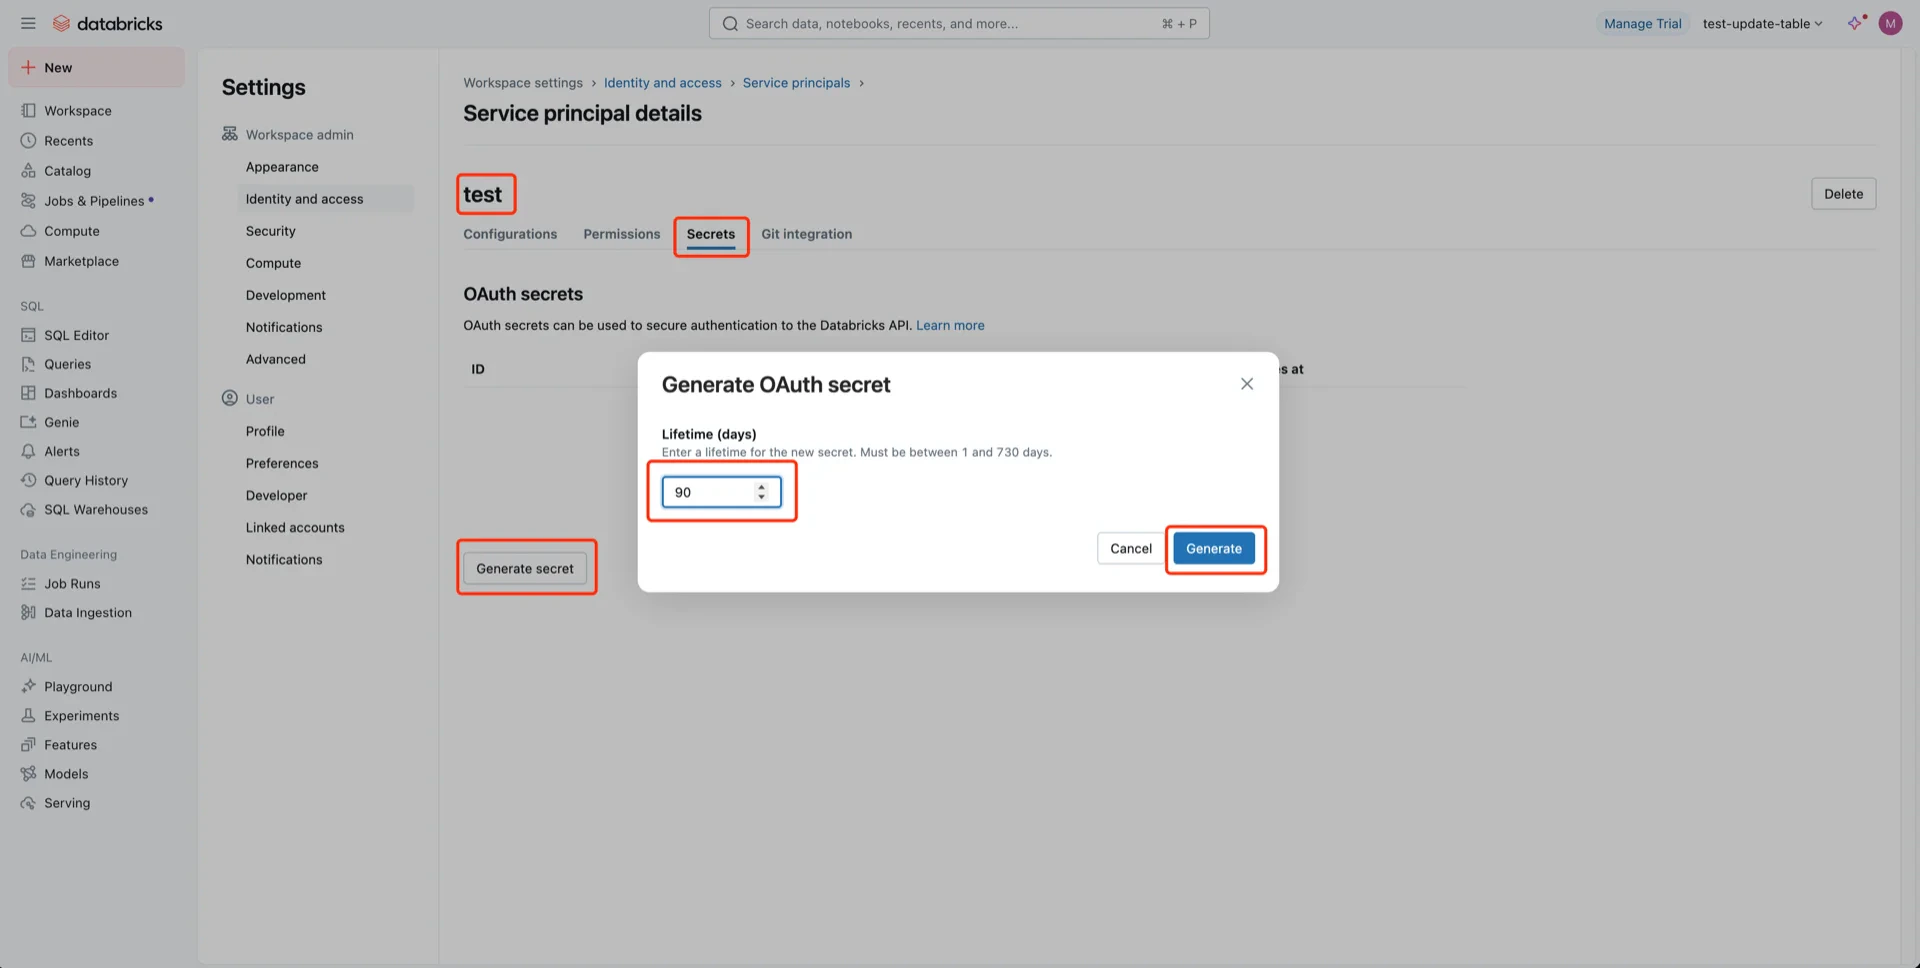
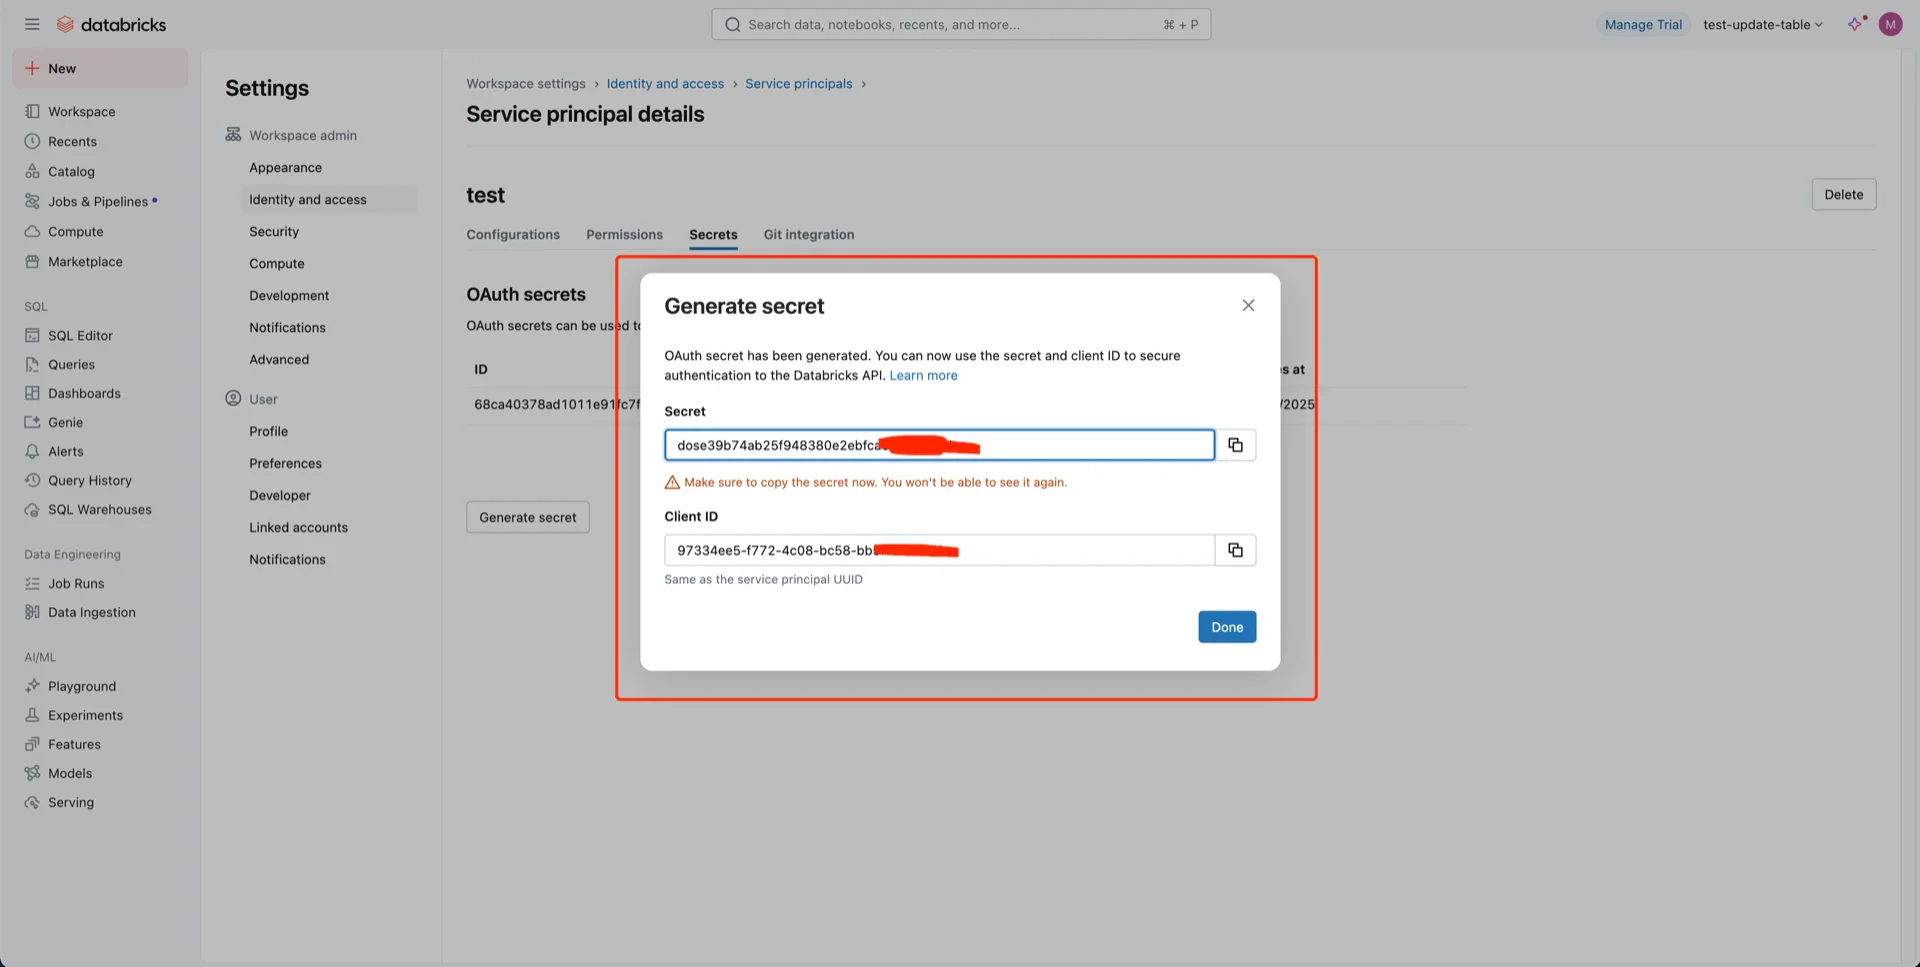
2. (Recommend) Generate an OAuth2 Service Principal

If you prefer OAuth2 over a personal access token, create a service principal: Navigate to Developer -> Identity and access -> Service principals -> Manage. Service principals menu Click Add service principal -> Add new, give it a name, and click Add. Add service principal Open the service principal, click Secrets -> Generate secret, choose an expiration period, and Generate. Generate secret Record the Client ID and Client Secret — the secret cannot be retrieved later. Generated credentials

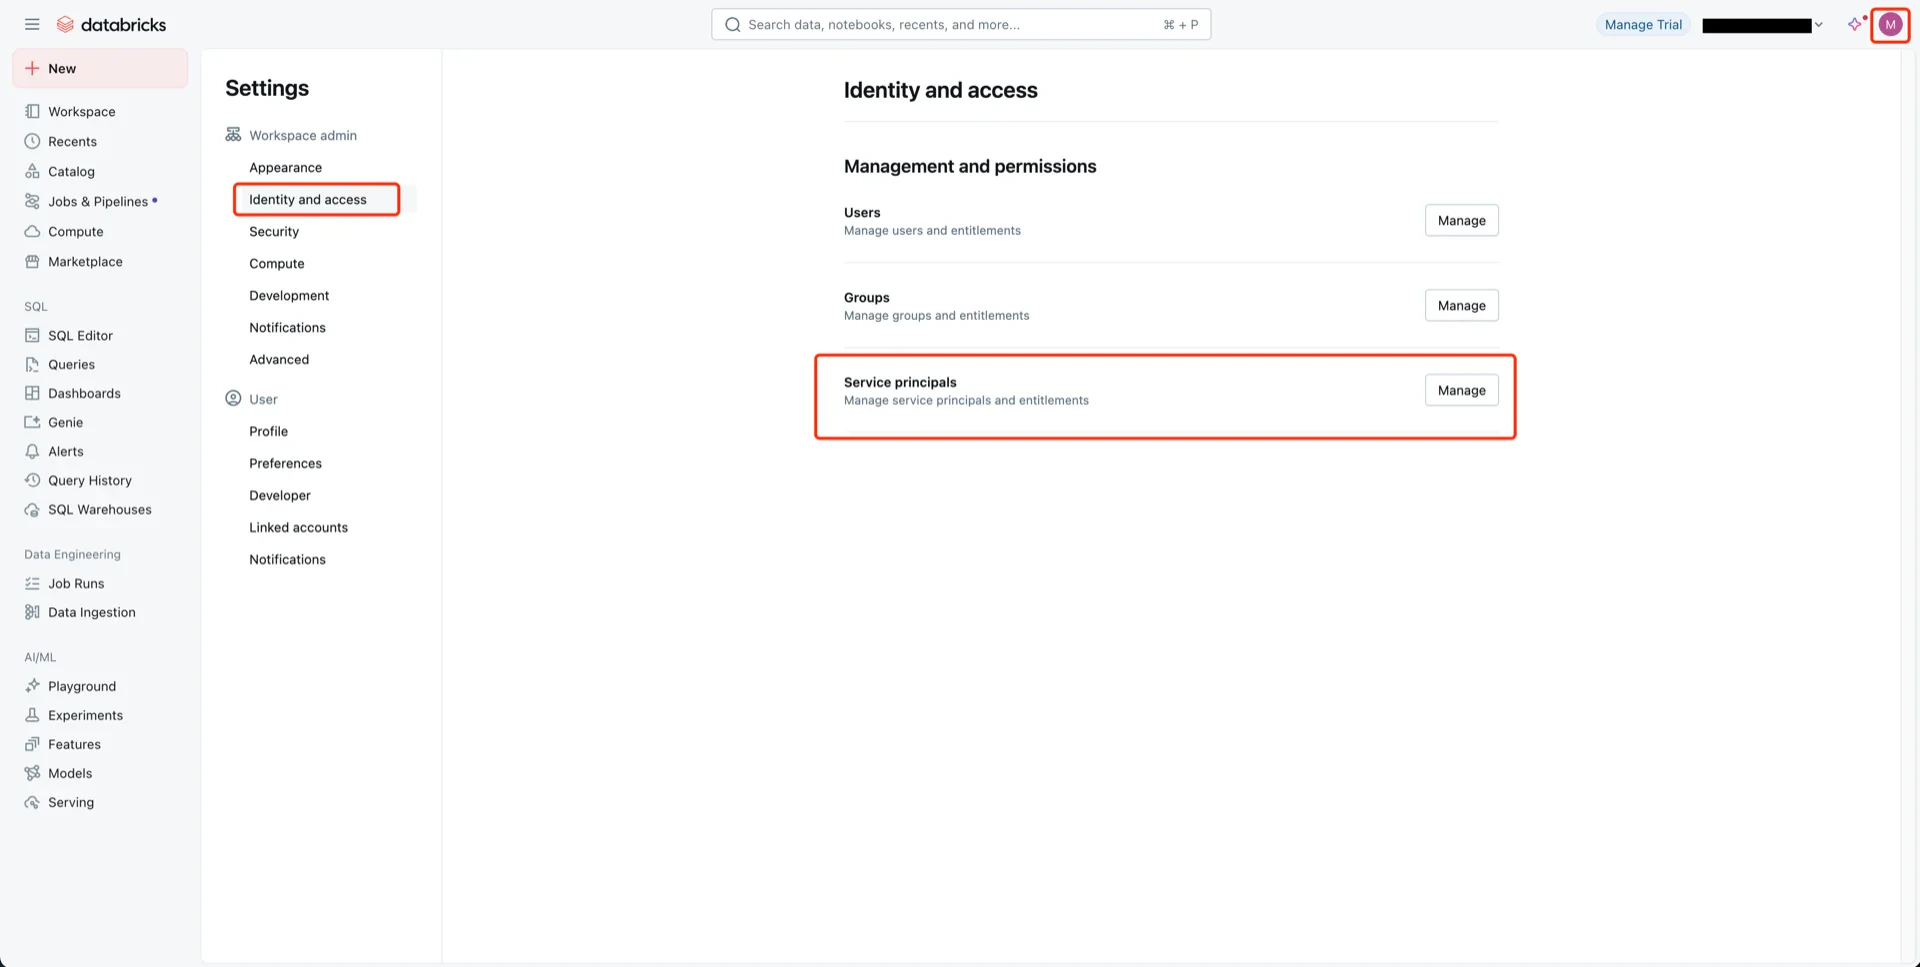
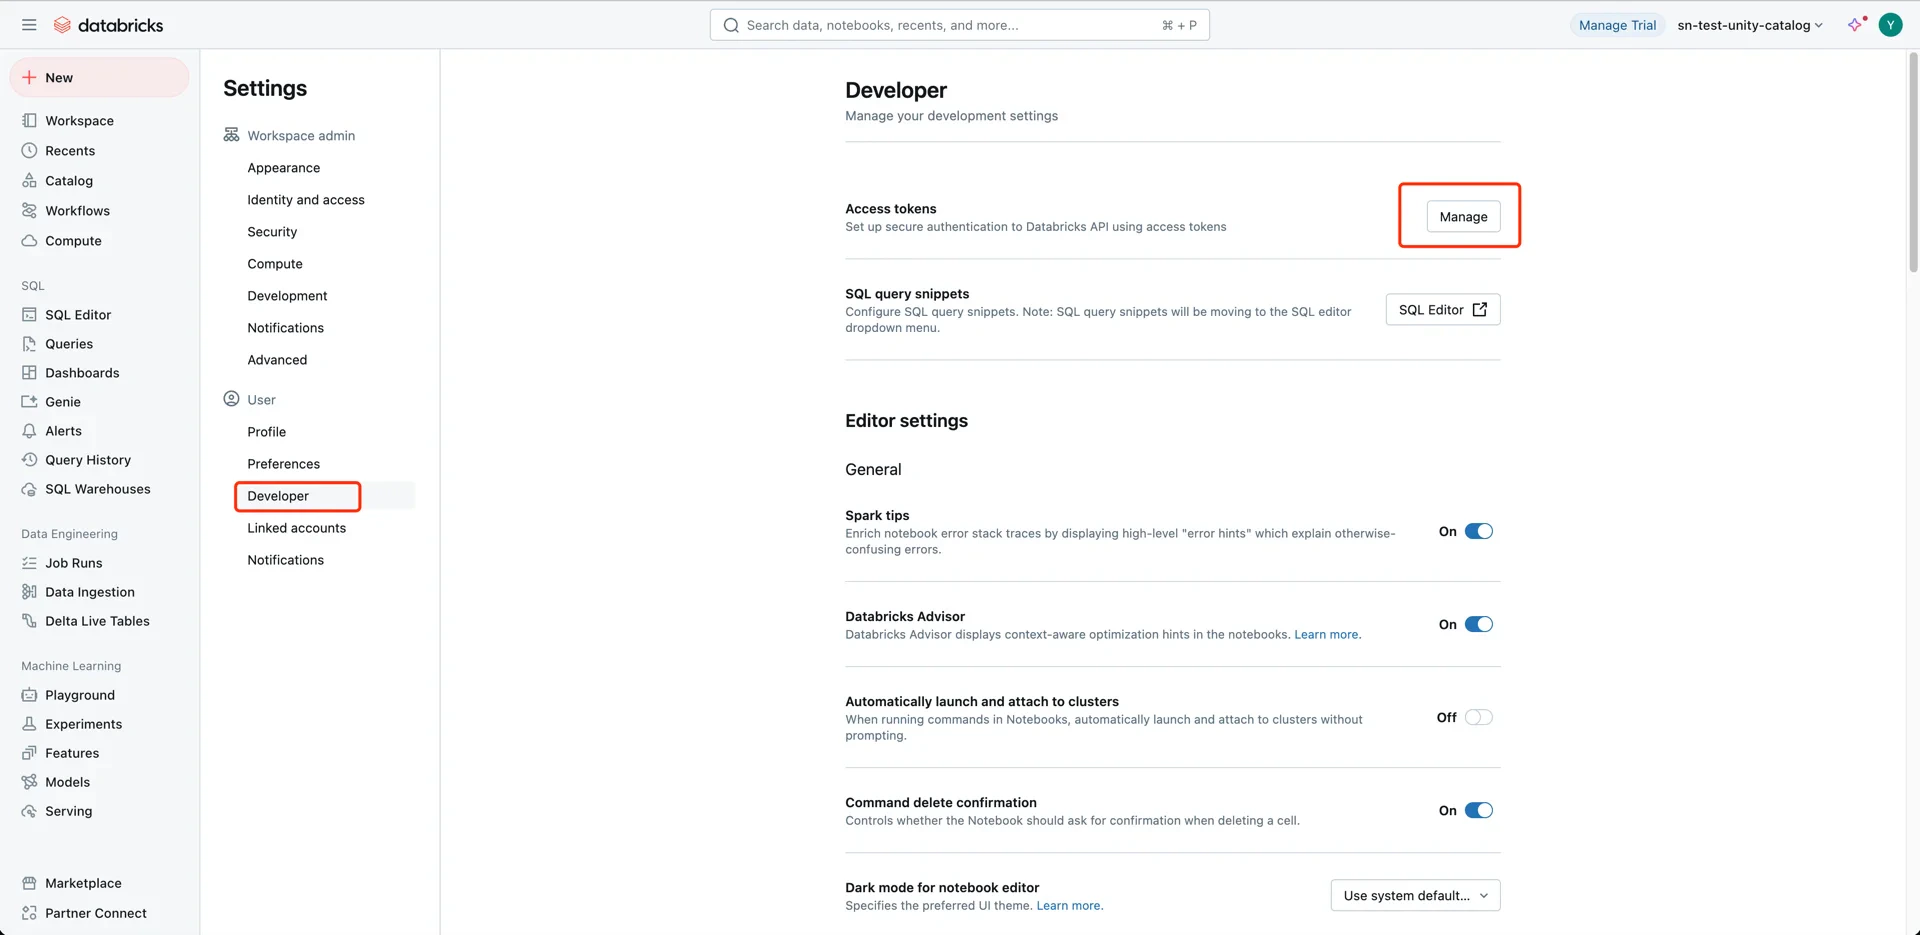
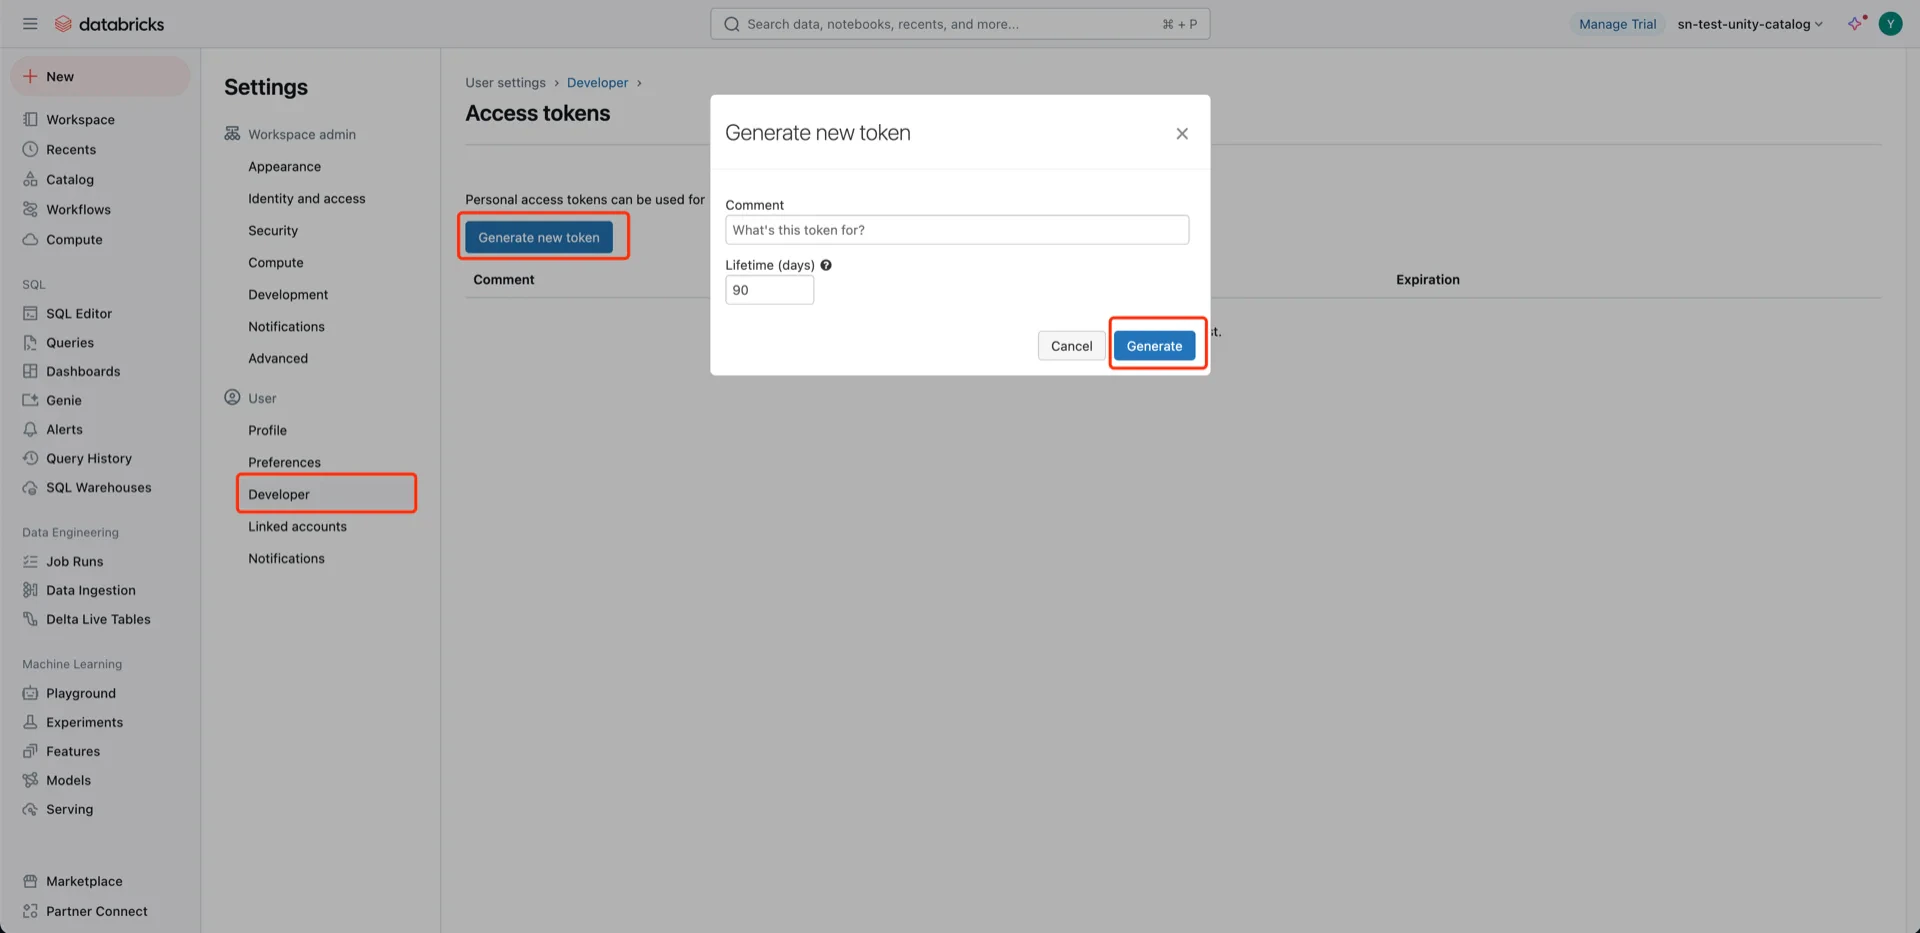
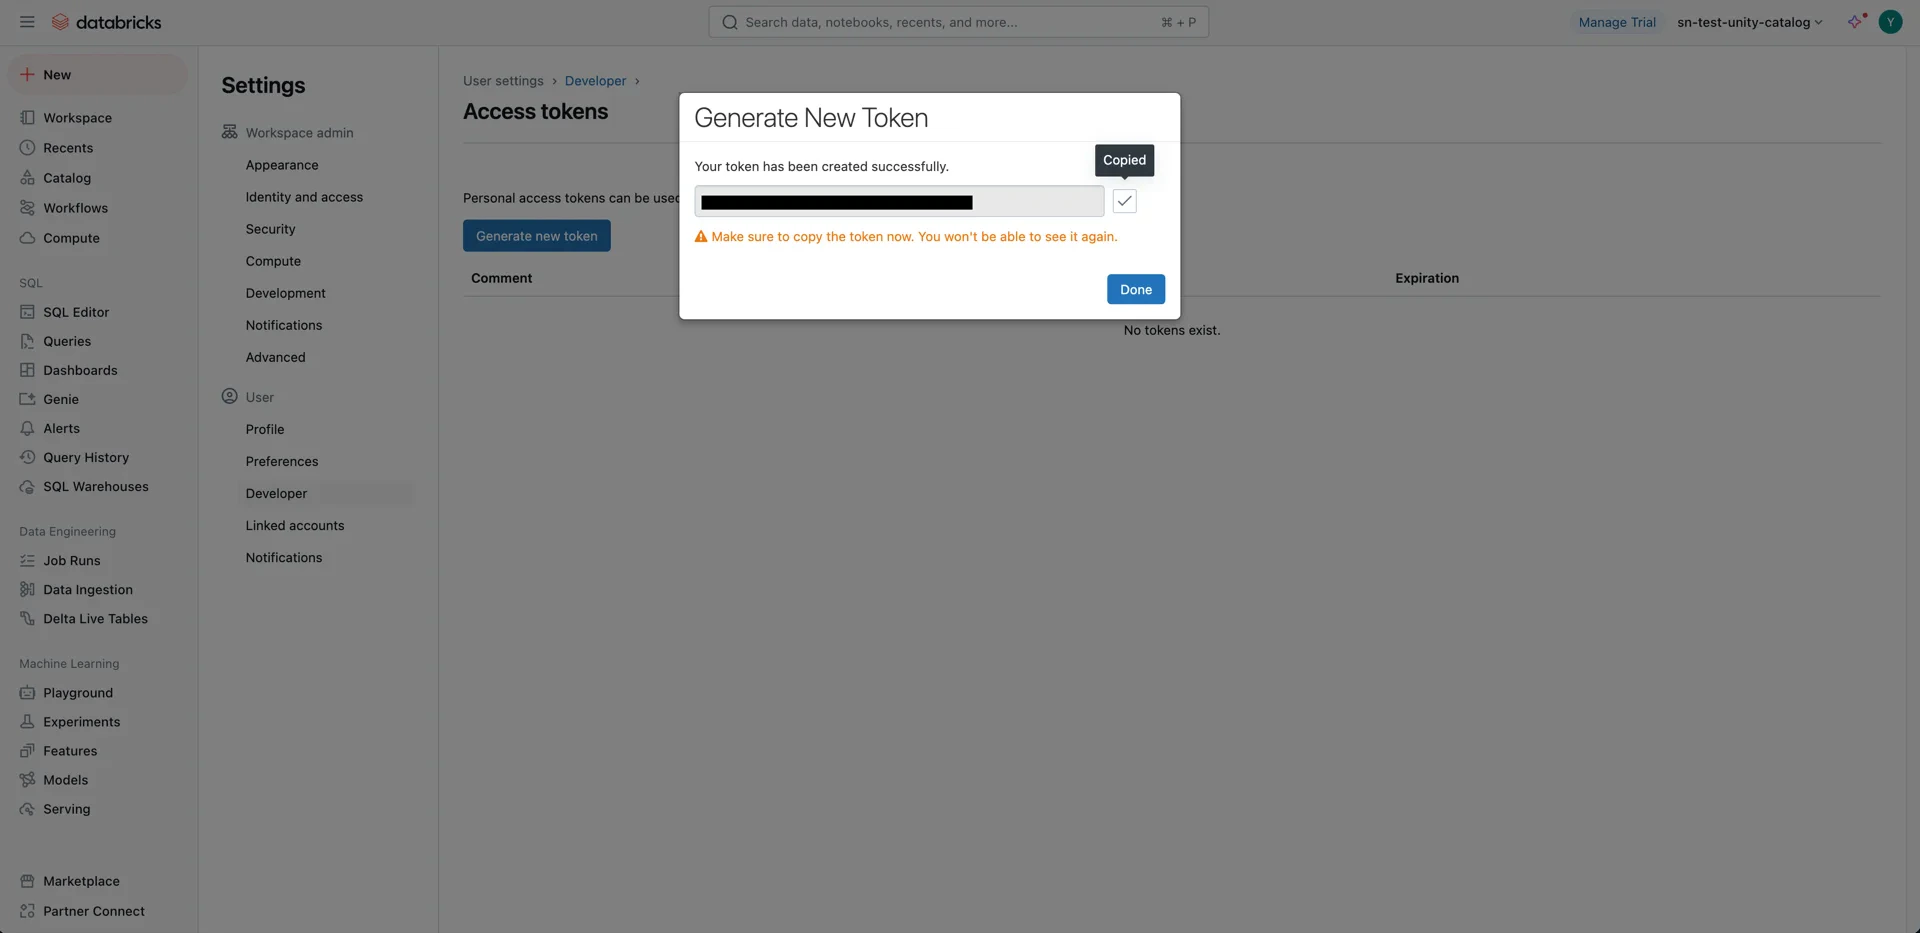
3. (Alternative) Generate a User Token

A Databricks user token can be used by StreamNative Ursa to authenticate against Unity Catalog. Open User Settings. User settings Navigate to Developer -> Access tokens -> Manage and generate a new token. Record the token value — it cannot be retrieved later. Developer settings Access tokens management Create token

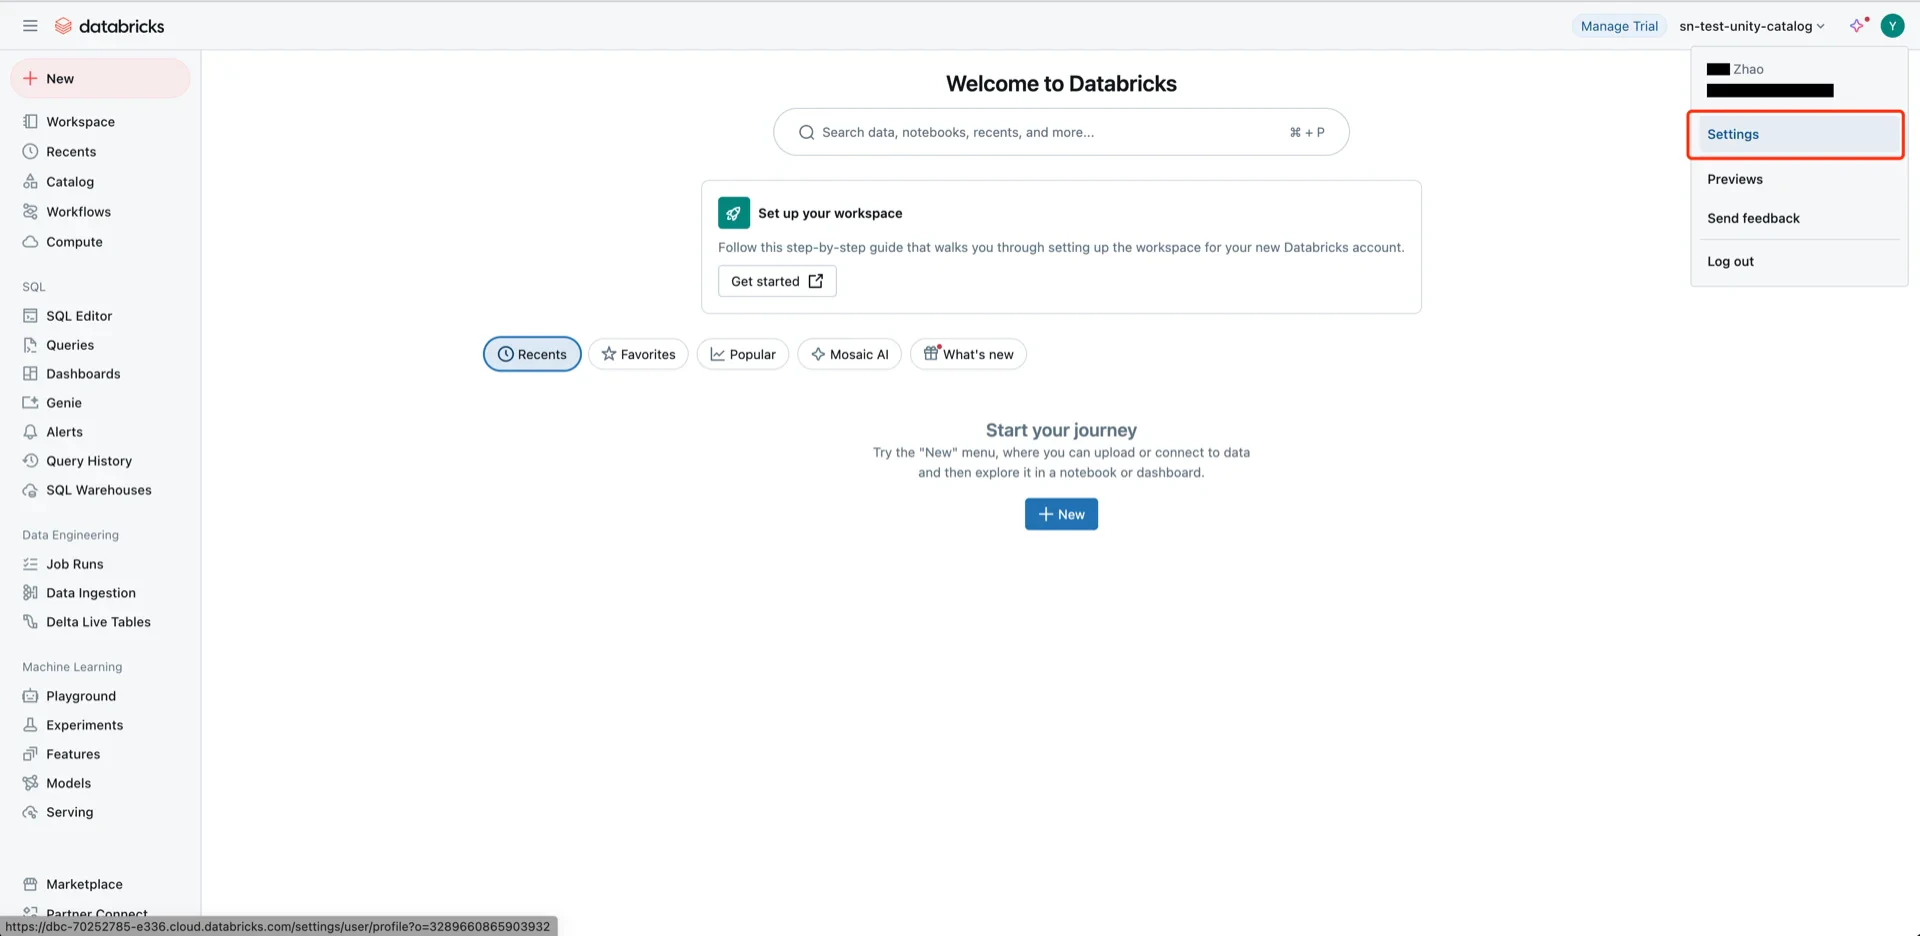
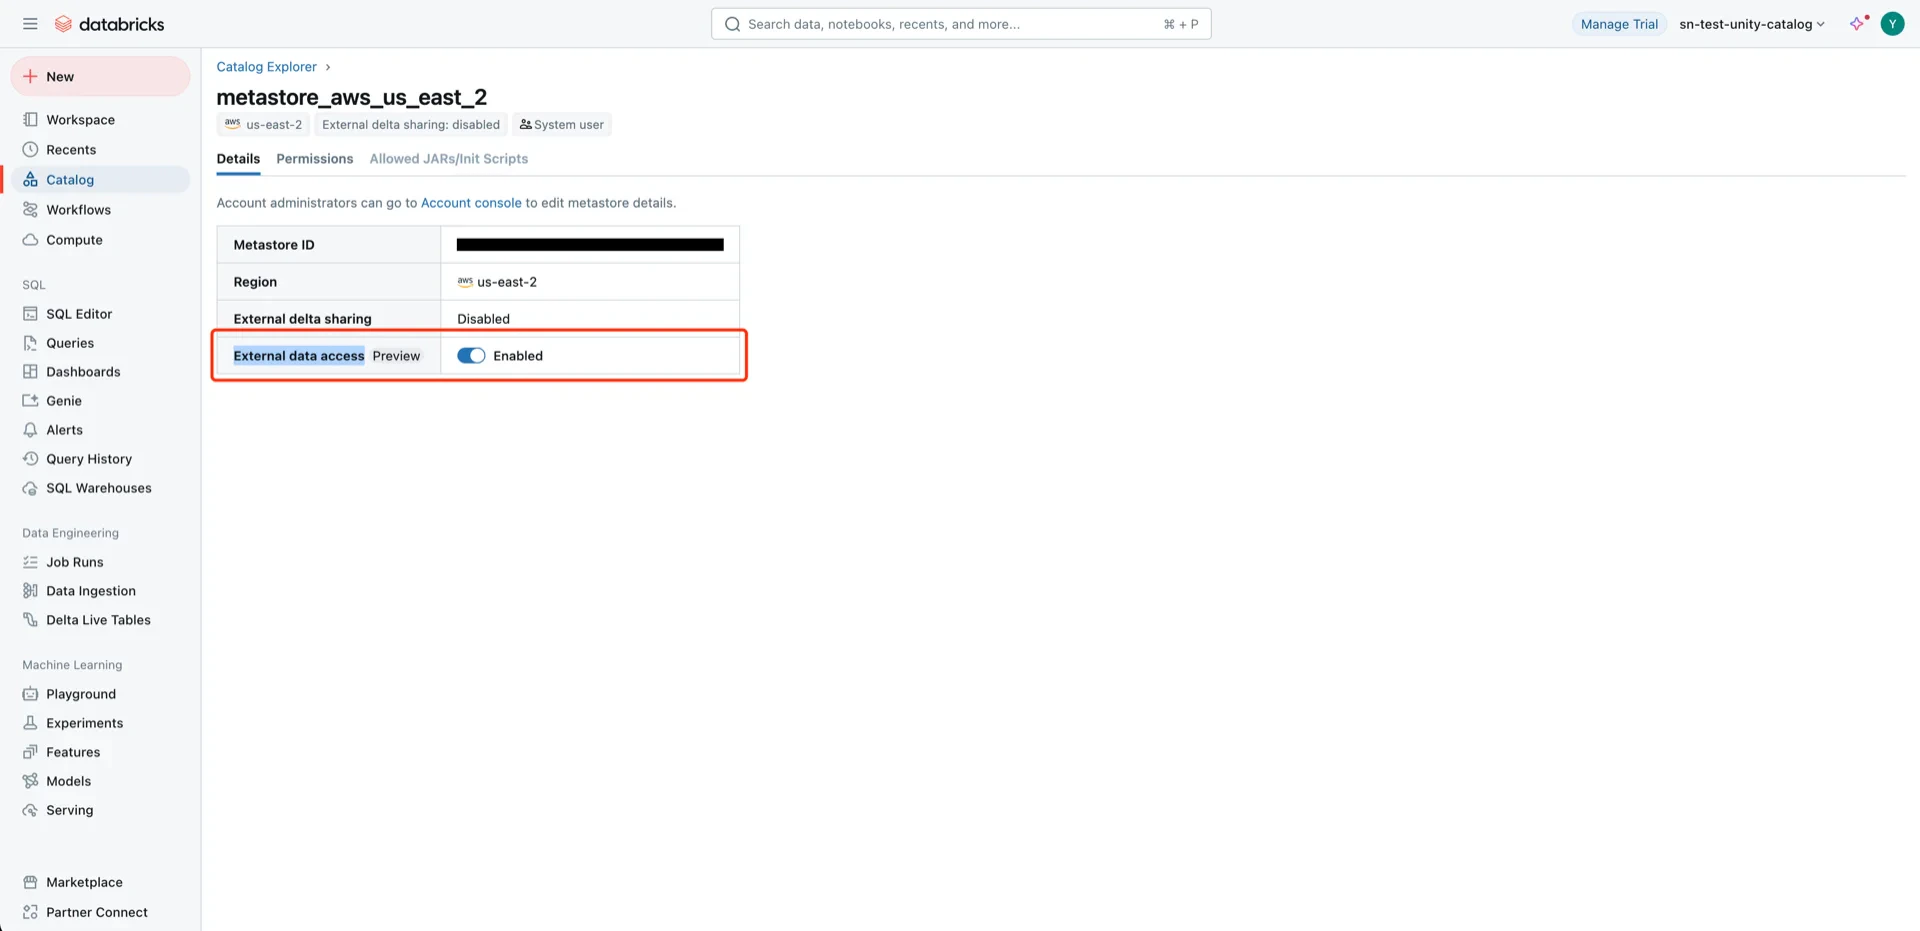
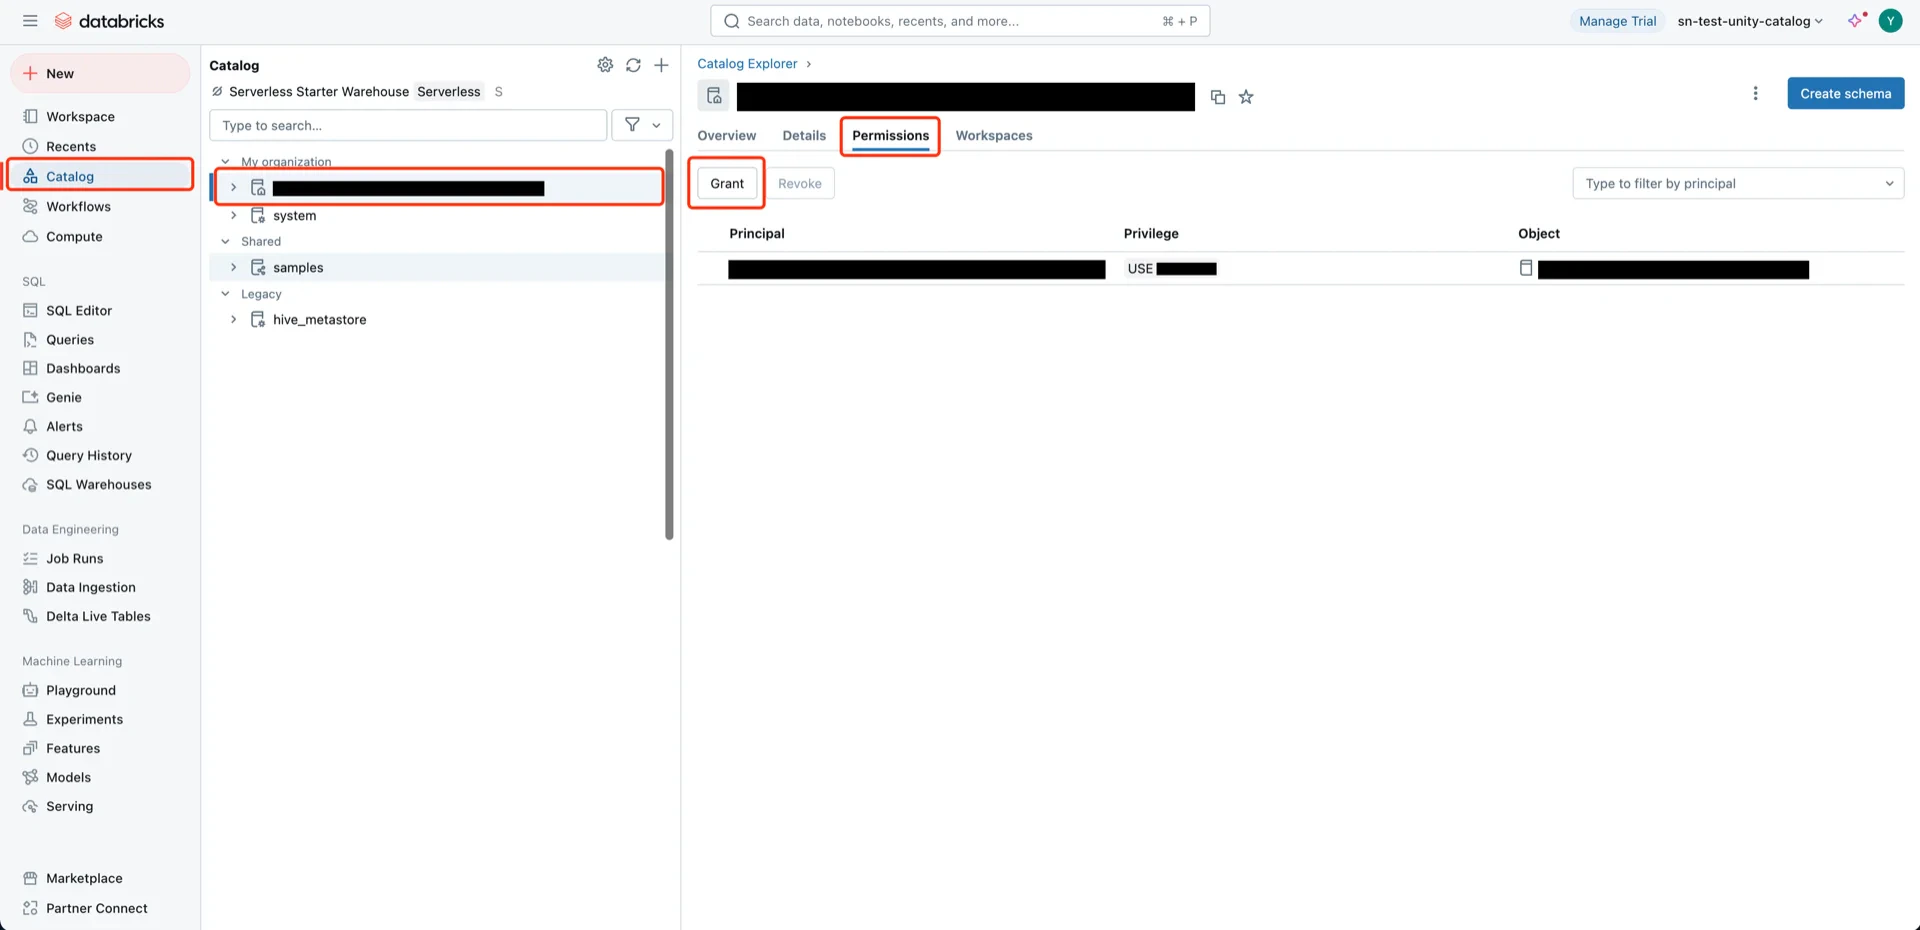
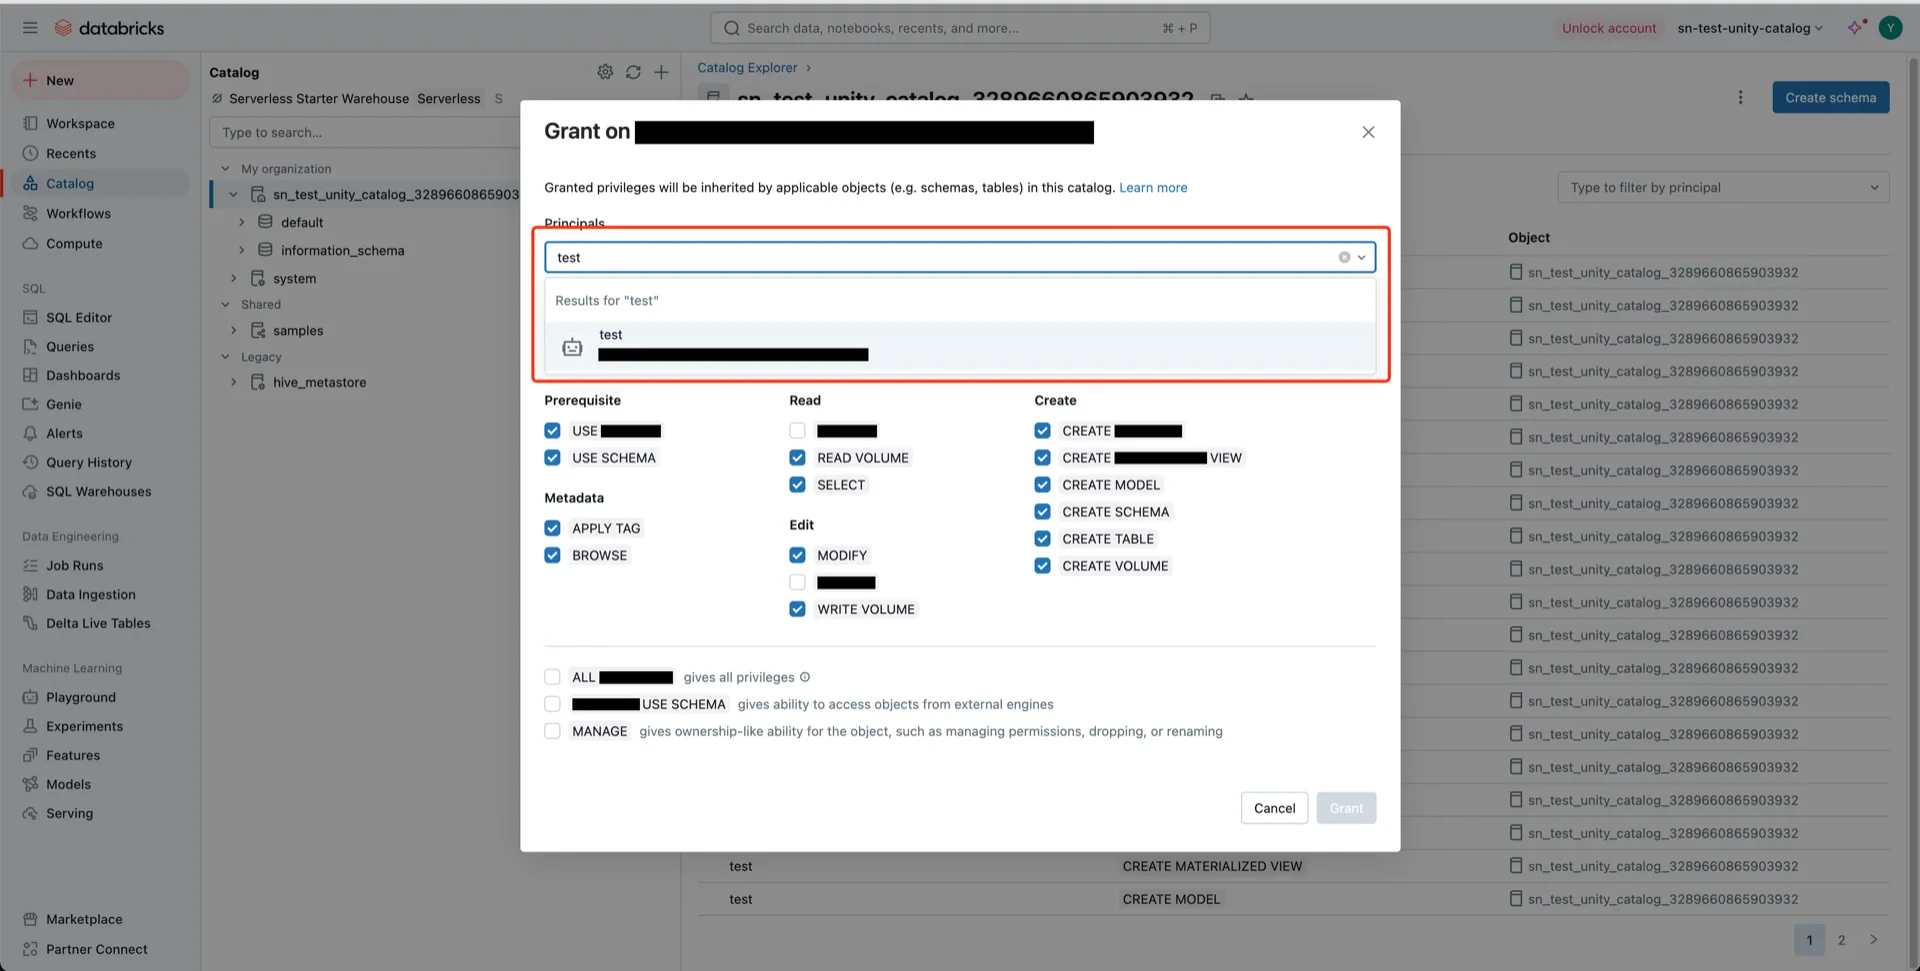
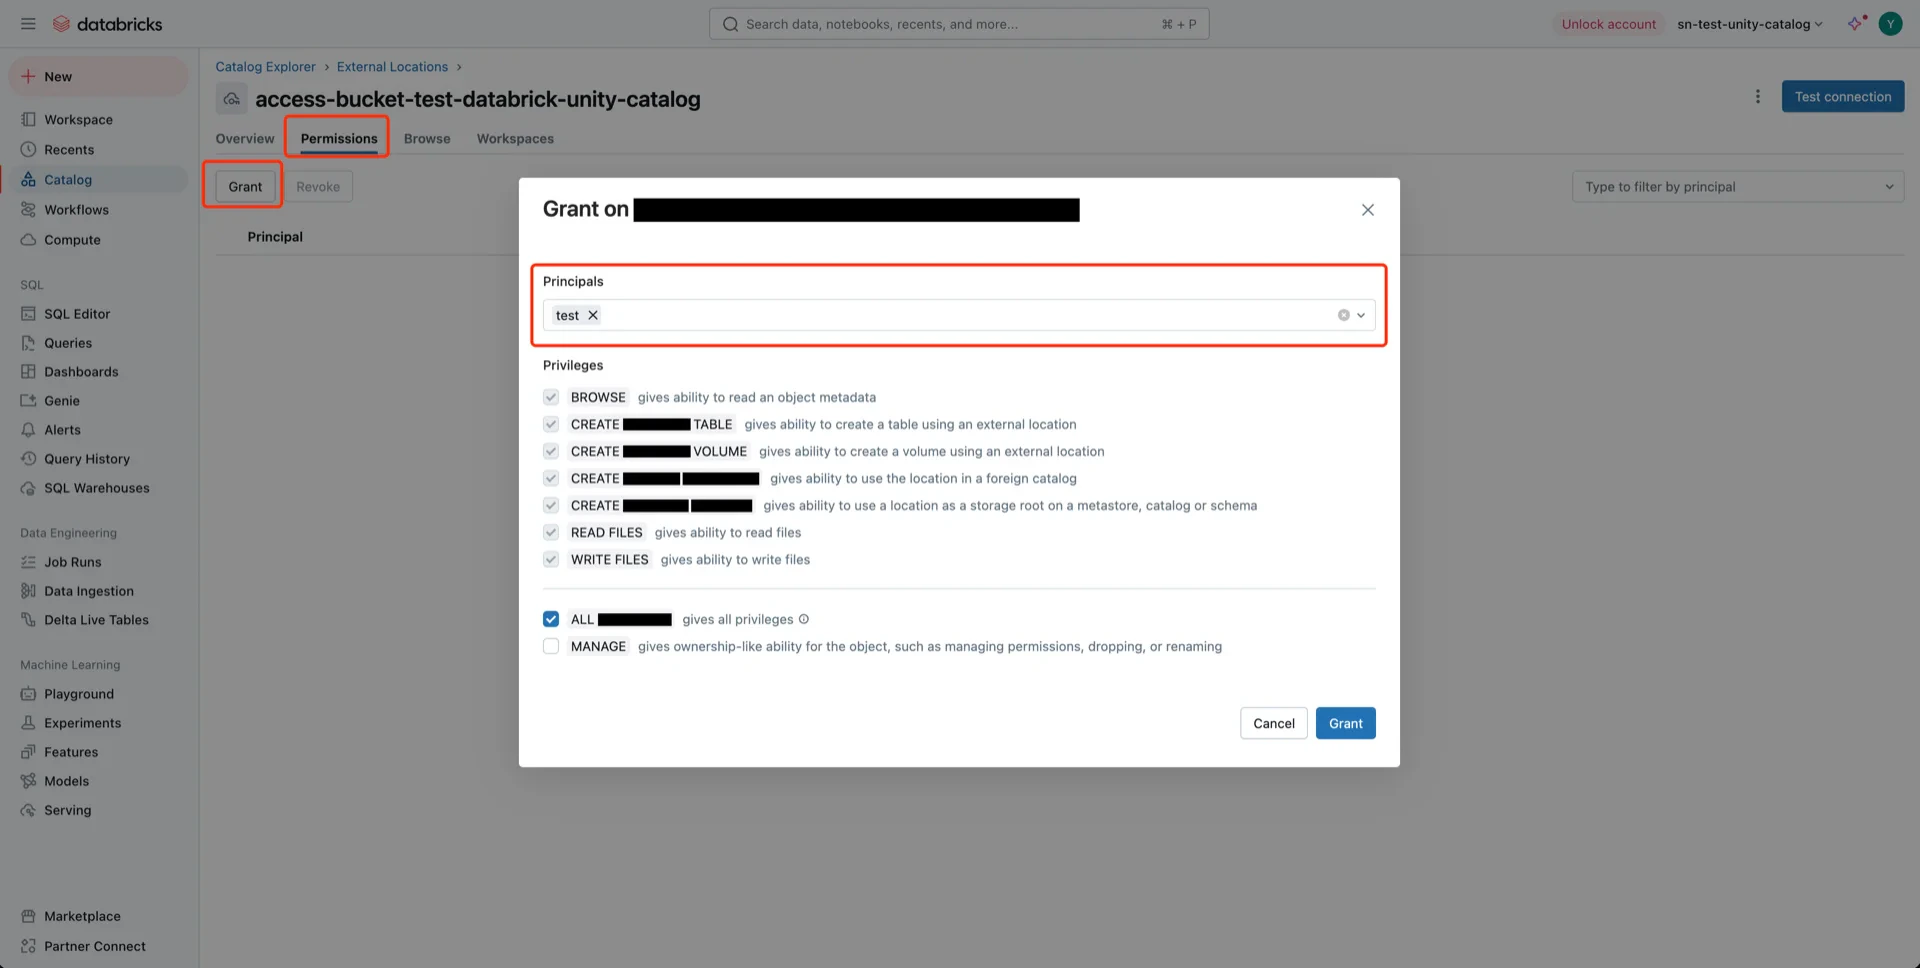
4. Configure Unity Catalog Access

Navigate to Catalog -> Settings -> Metastore. Catalog settings Enable External data access on the metastore. Enable external data access Grant privileges on the catalog with the following settings:
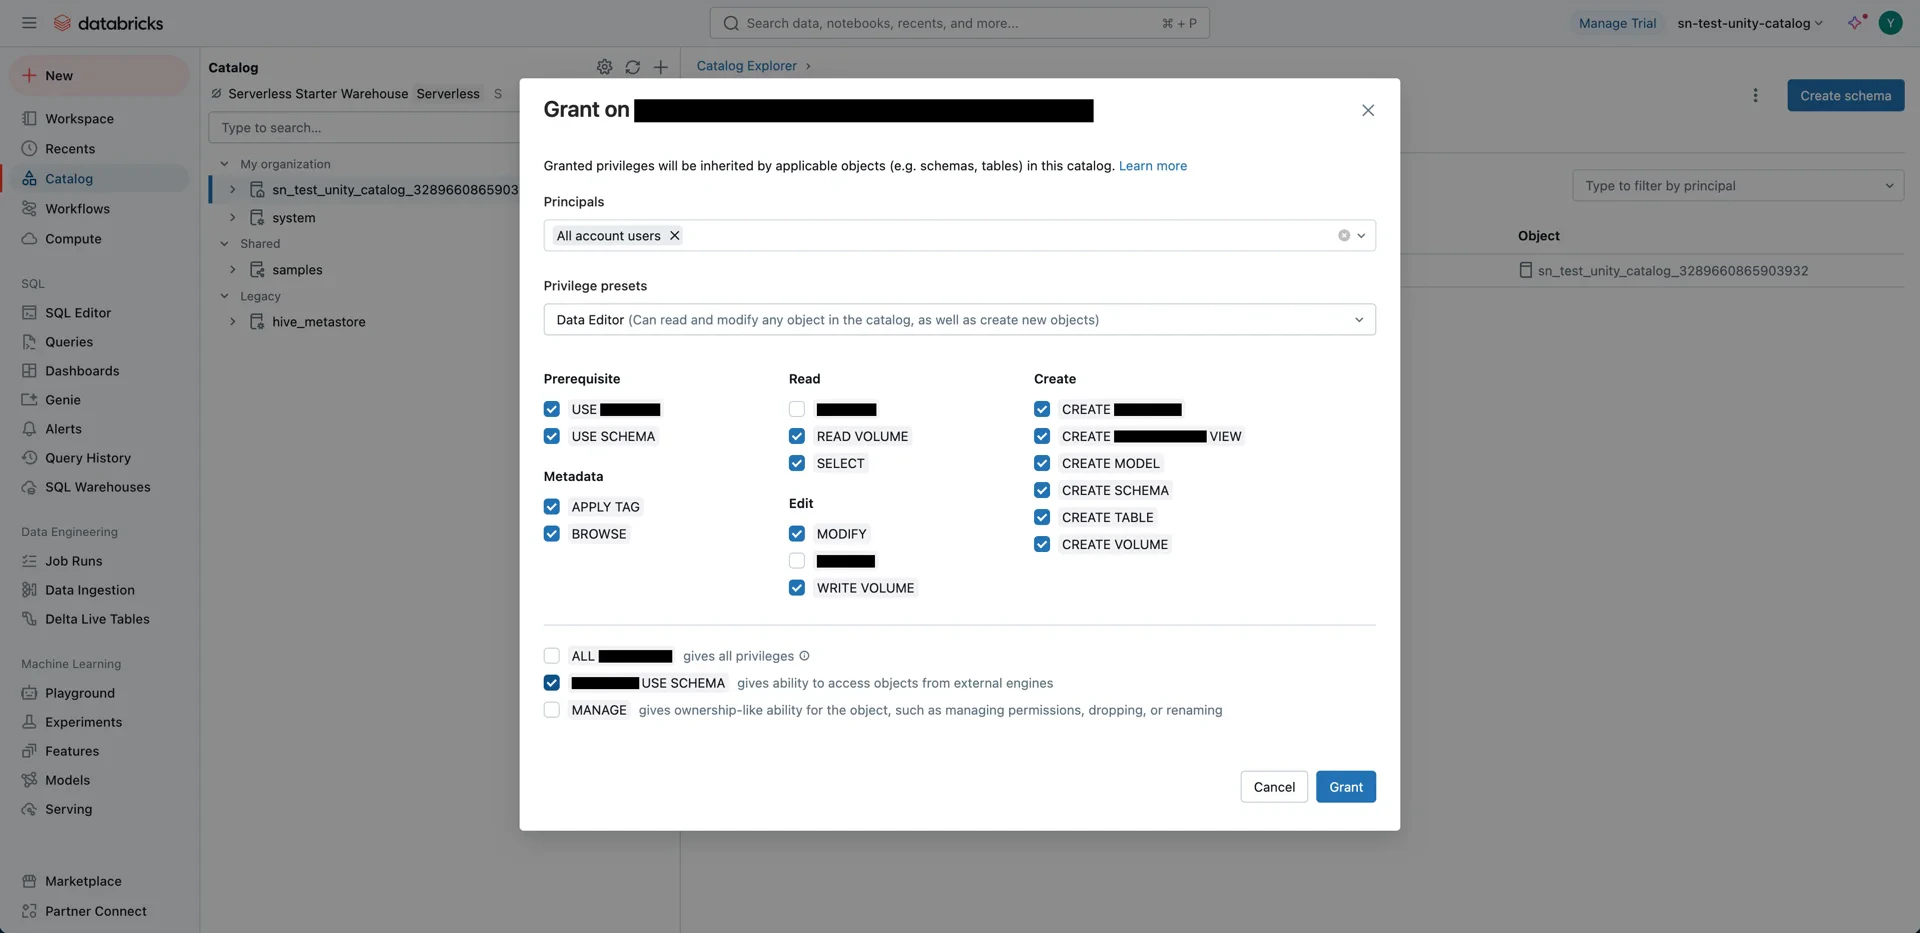
  • Principal: All accounts (or the specific user/service principal)
  • Privilege presets: Data Editor (selects related privileges automatically)
  • EXTERNAL USE SCHEMA: Enabled
Grant privileges Privilege settings If you use OAuth2 authentication, set the Principal to the service principal name created in step 3. OAuth2 privileges

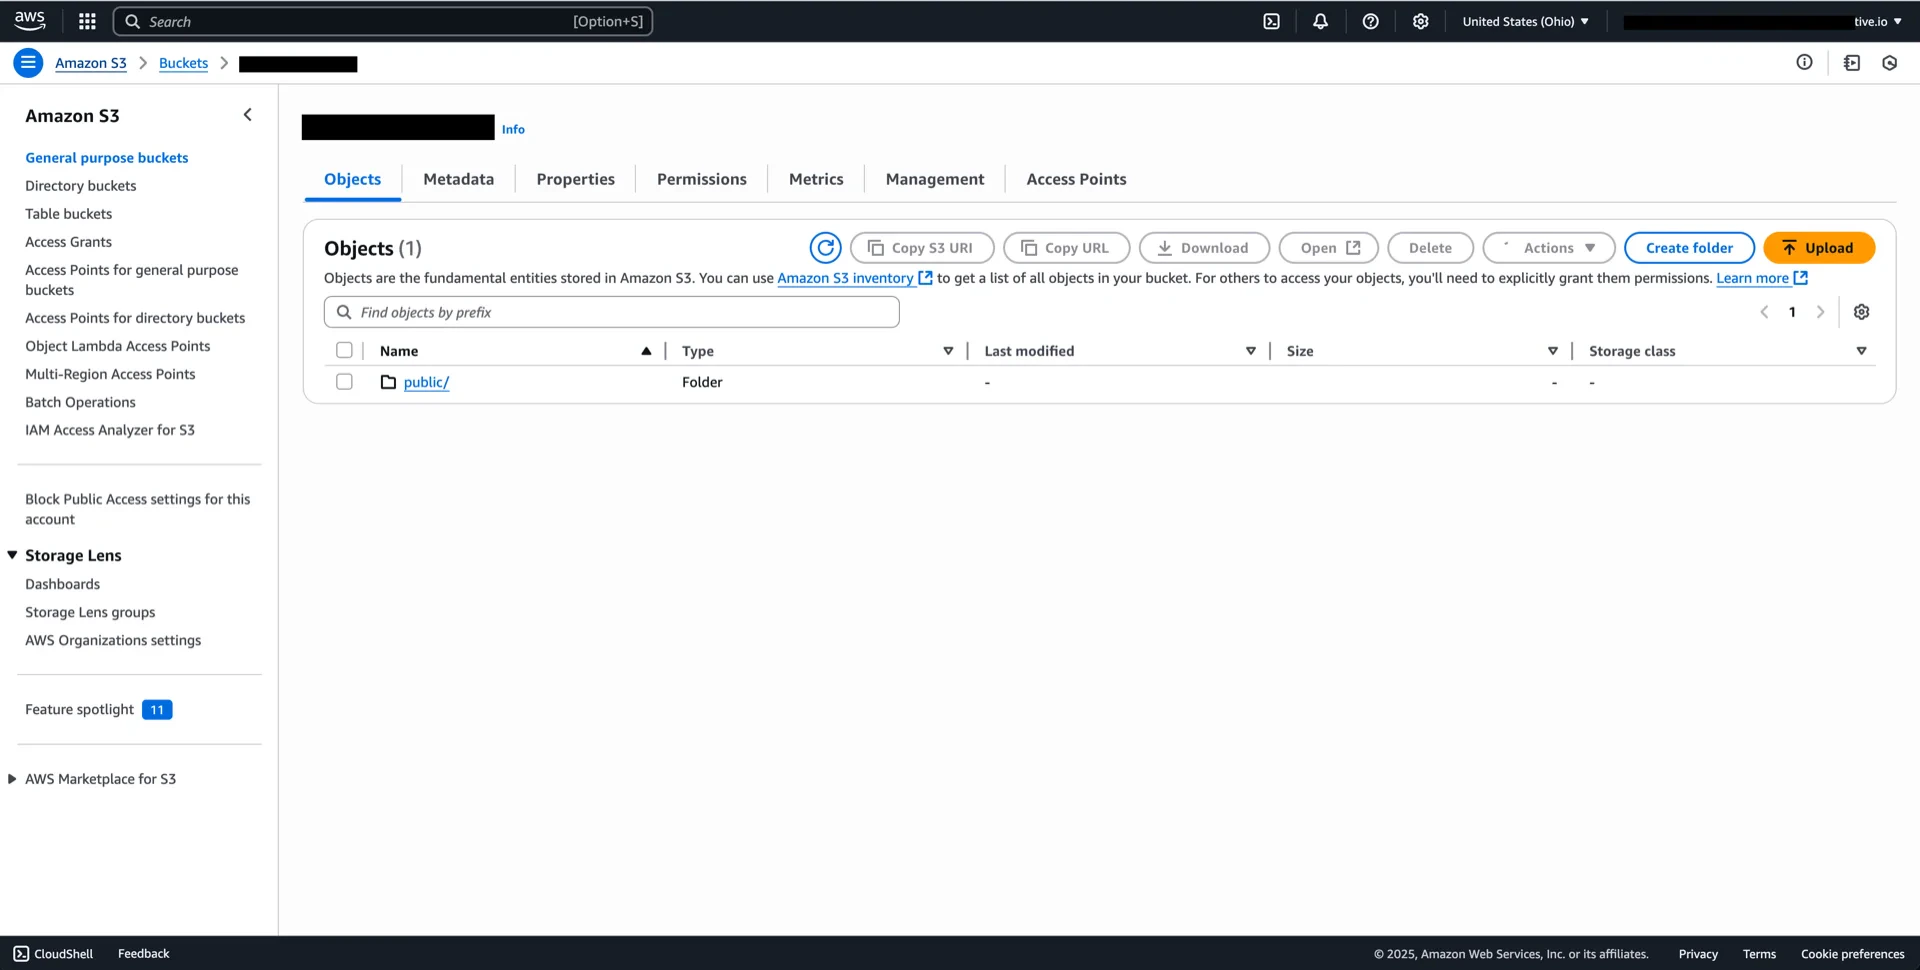
5. Create an S3 Bucket

In your AWS account, create an S3 bucket for the Unity Catalog managed location (for example, delta-unity-catalog-bucket). S3 bucket

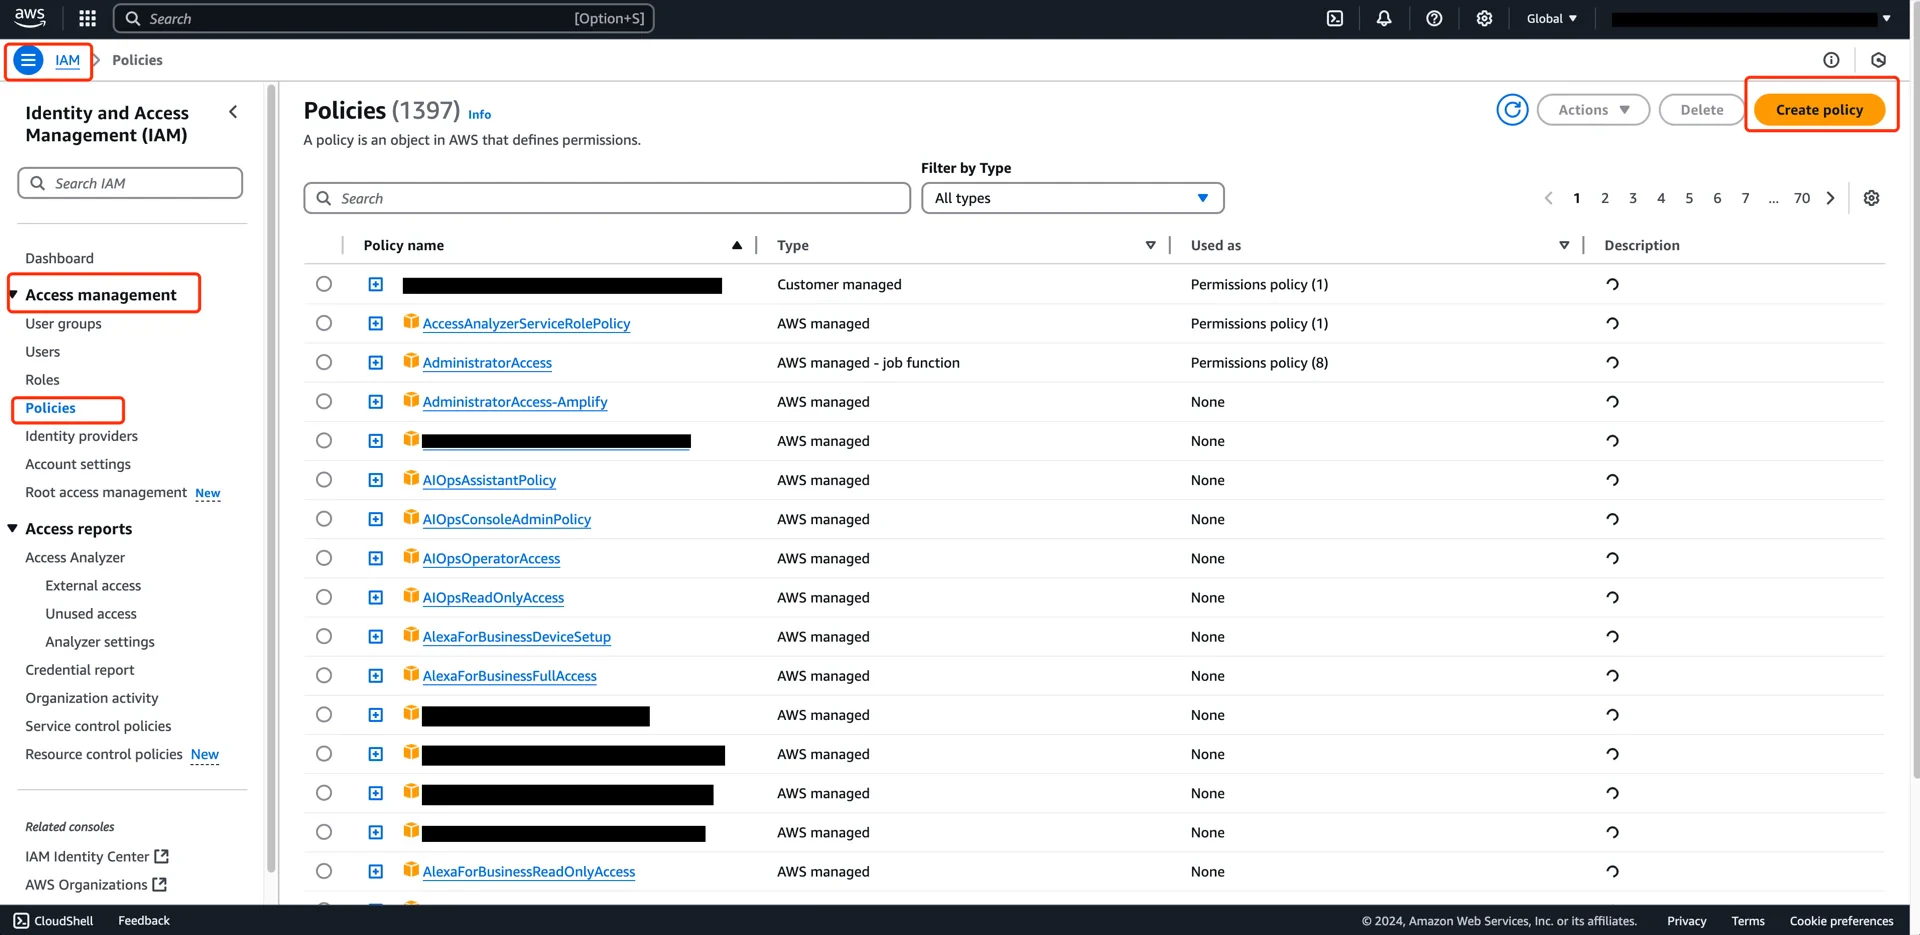
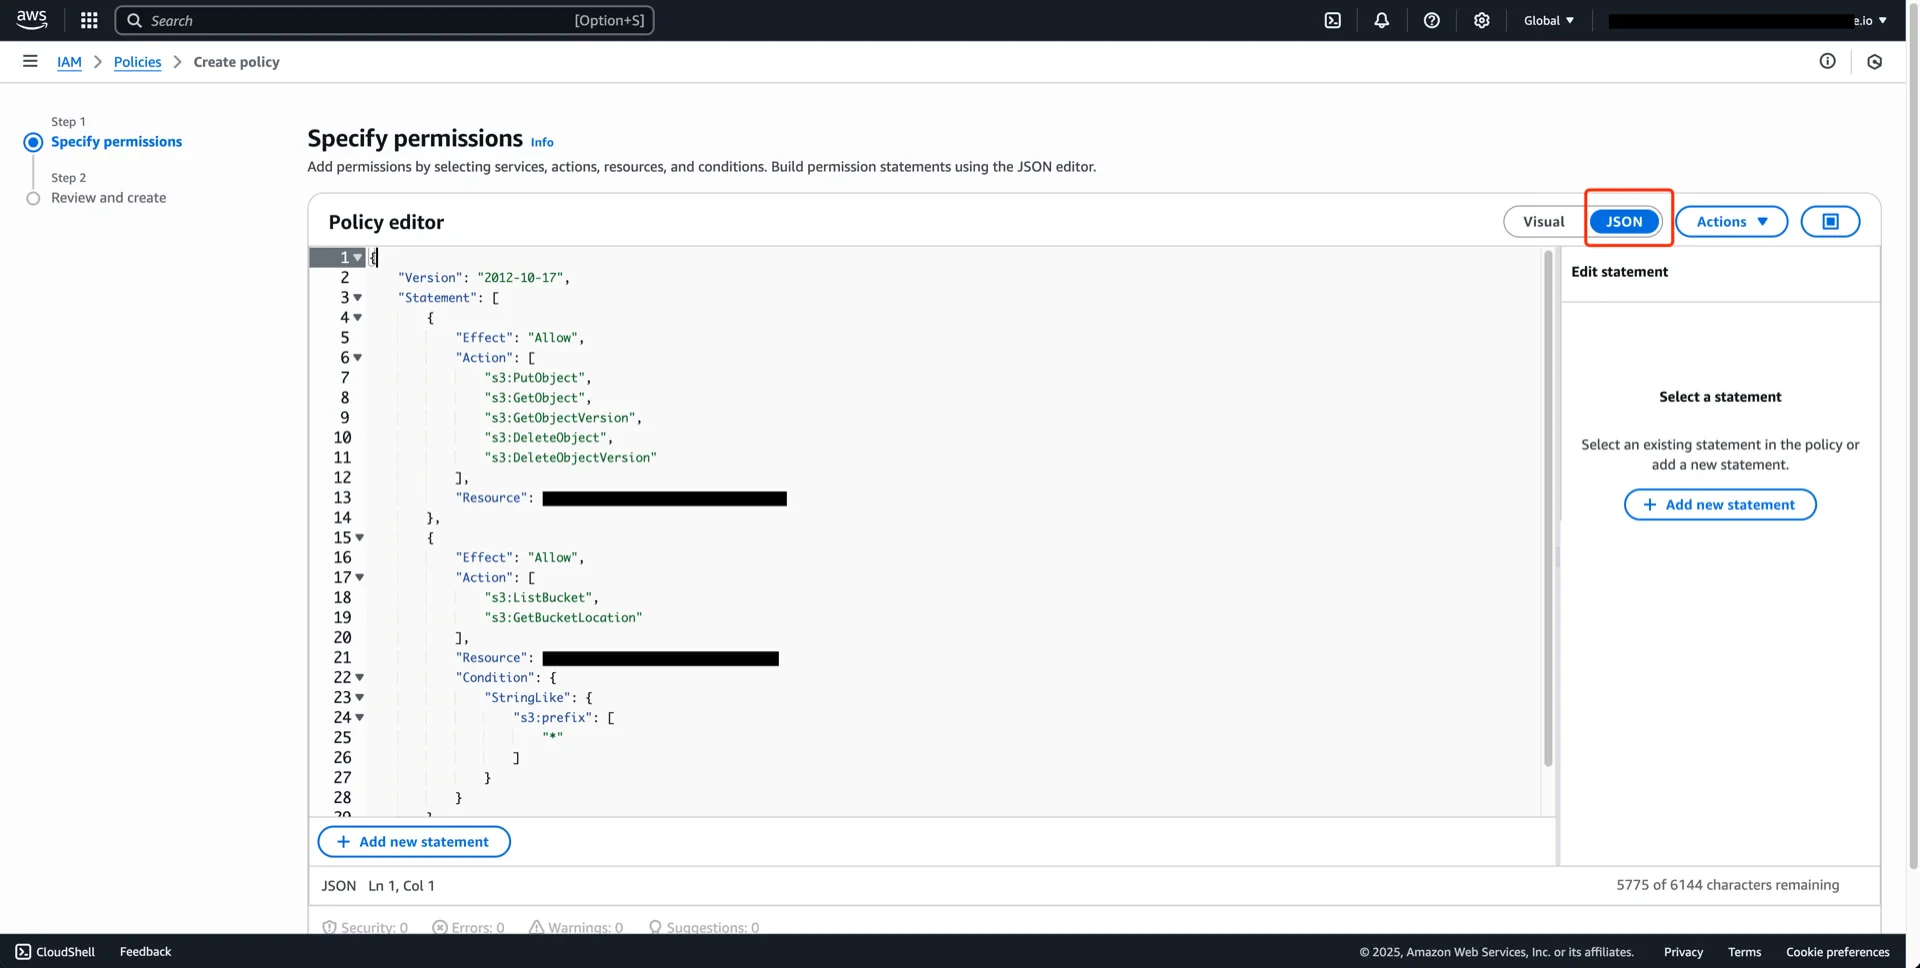
6. Create an IAM Policy

Navigate to AWS IAM -> Policies -> Create policy, choose JSON, and paste the following (replace <your-bucket>):
{
  "Version": "2012-10-17",
  "Statement": [
    {
      "Effect": "Allow",
      "Action": [
        "s3:PutObject",
        "s3:GetObject",
        "s3:GetObjectVersion",
        "s3:DeleteObject",
        "s3:DeleteObjectVersion"
      ],
      "Resource": "arn:aws:s3:::<your-bucket>/*"
    },
    {
      "Effect": "Allow",
      "Action": [
        "s3:ListBucket",
        "s3:GetBucketLocation"
      ],
      "Resource": "arn:aws:s3:::<your-bucket>",
      "Condition": {
        "StringLike": {
          "s3:prefix": ["*"]
        }
      }
    }
  ]
}
Create policy Policy JSON Save policy

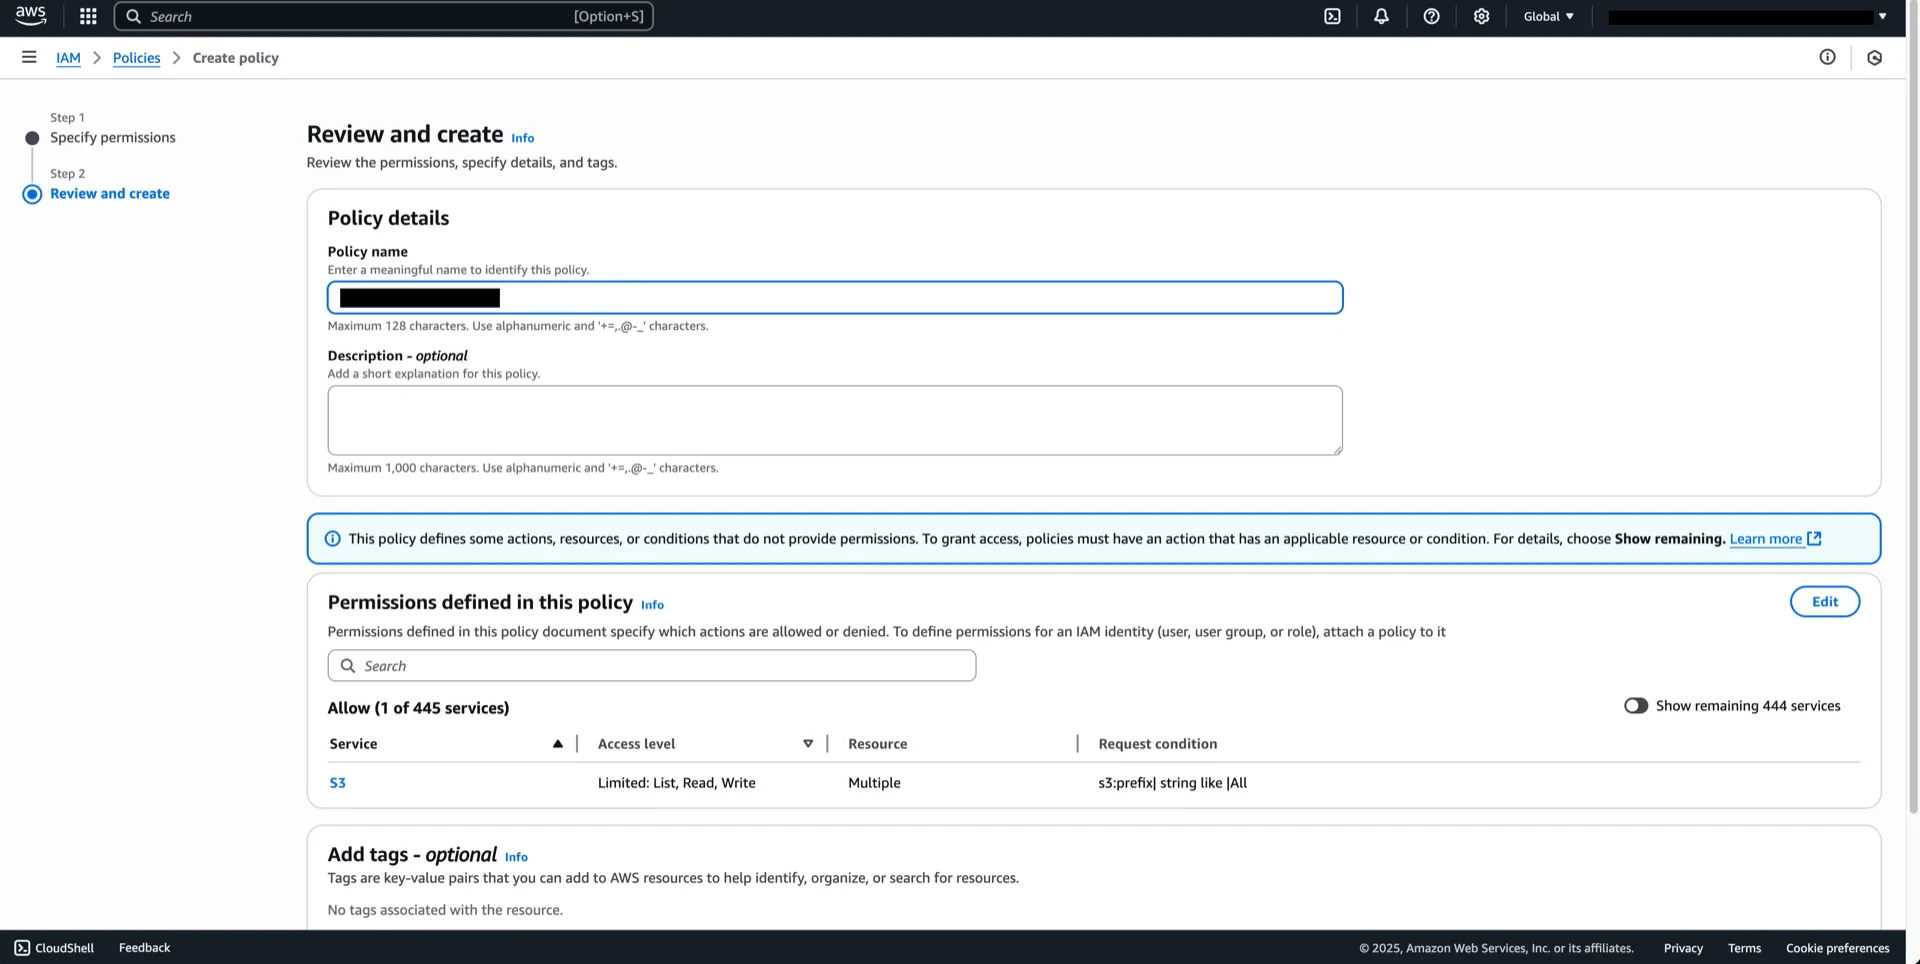
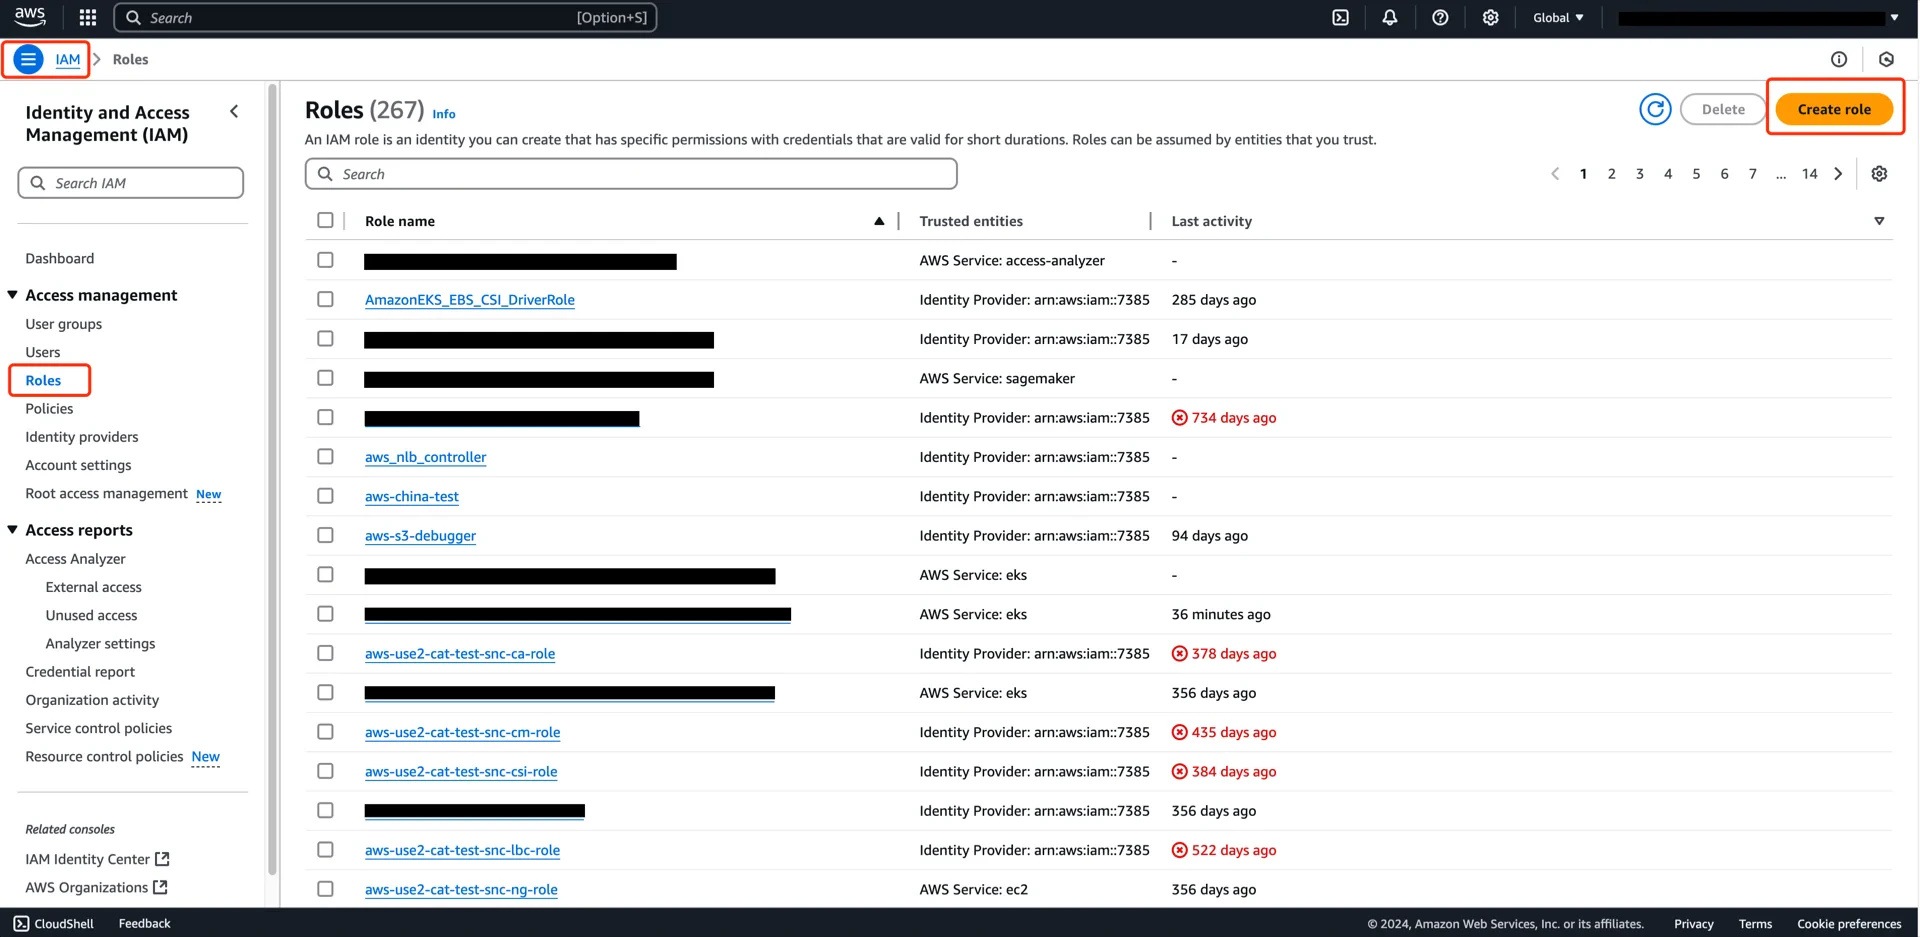
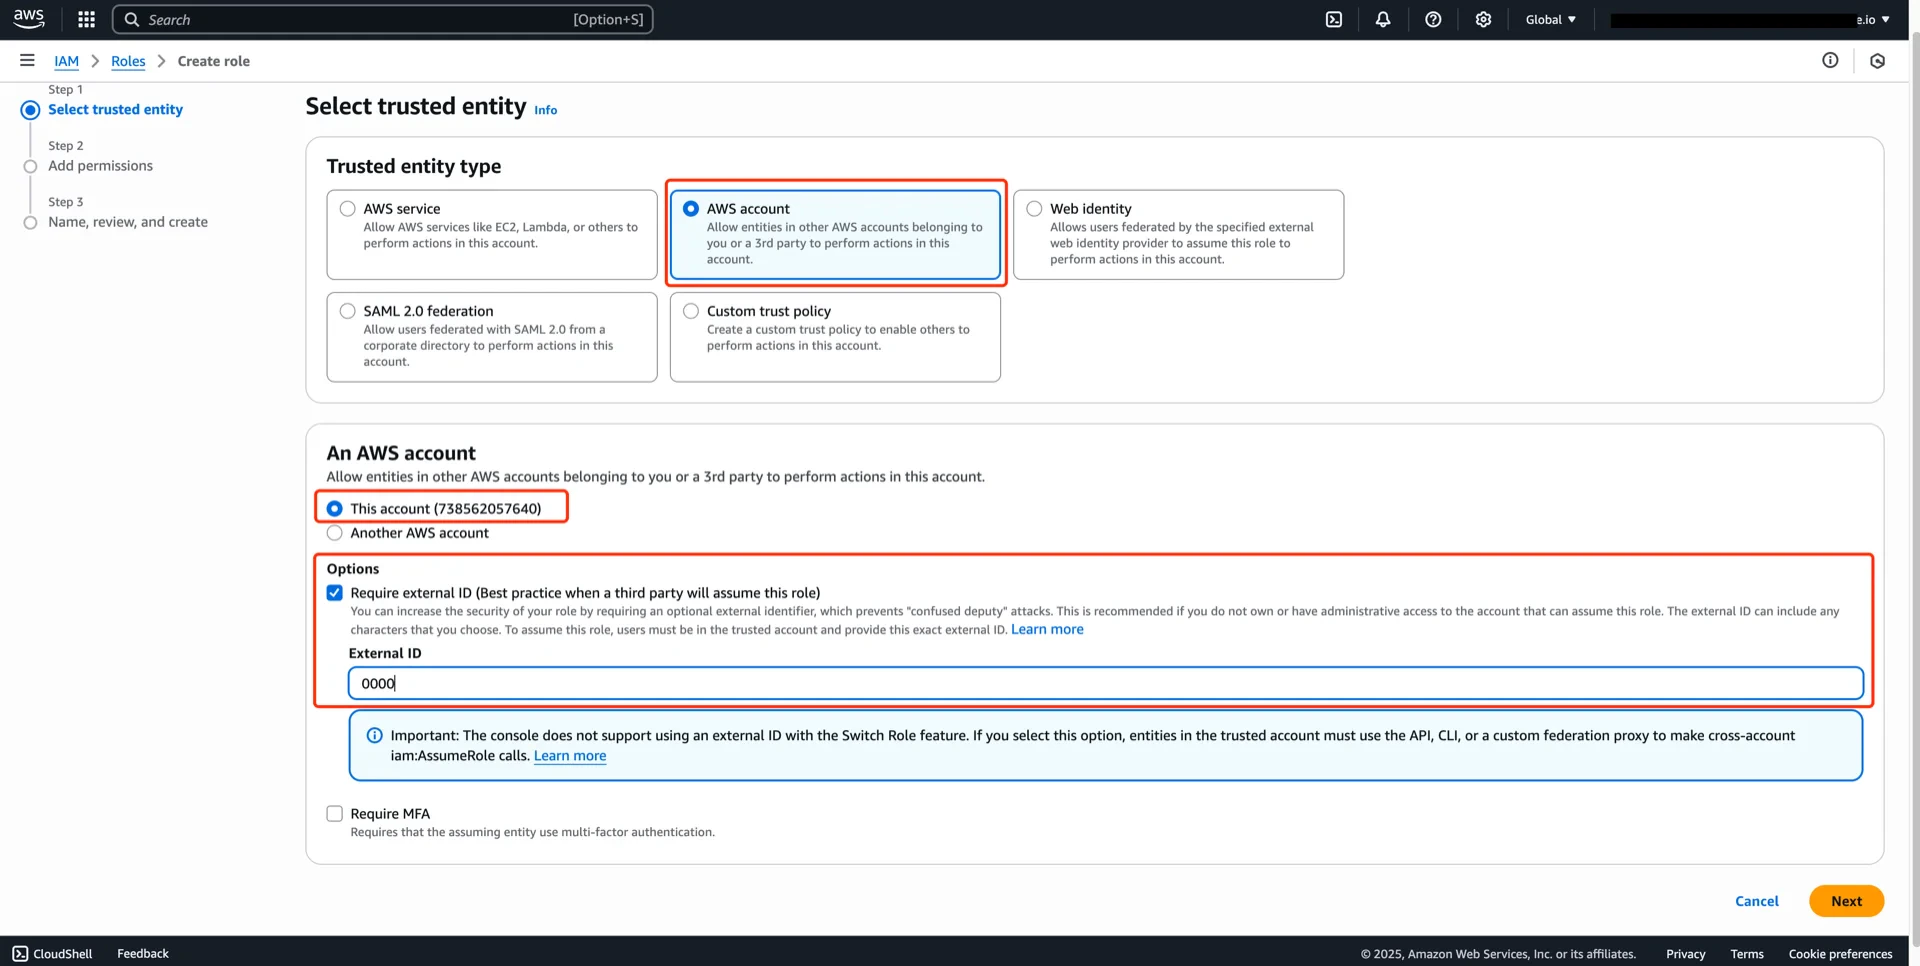
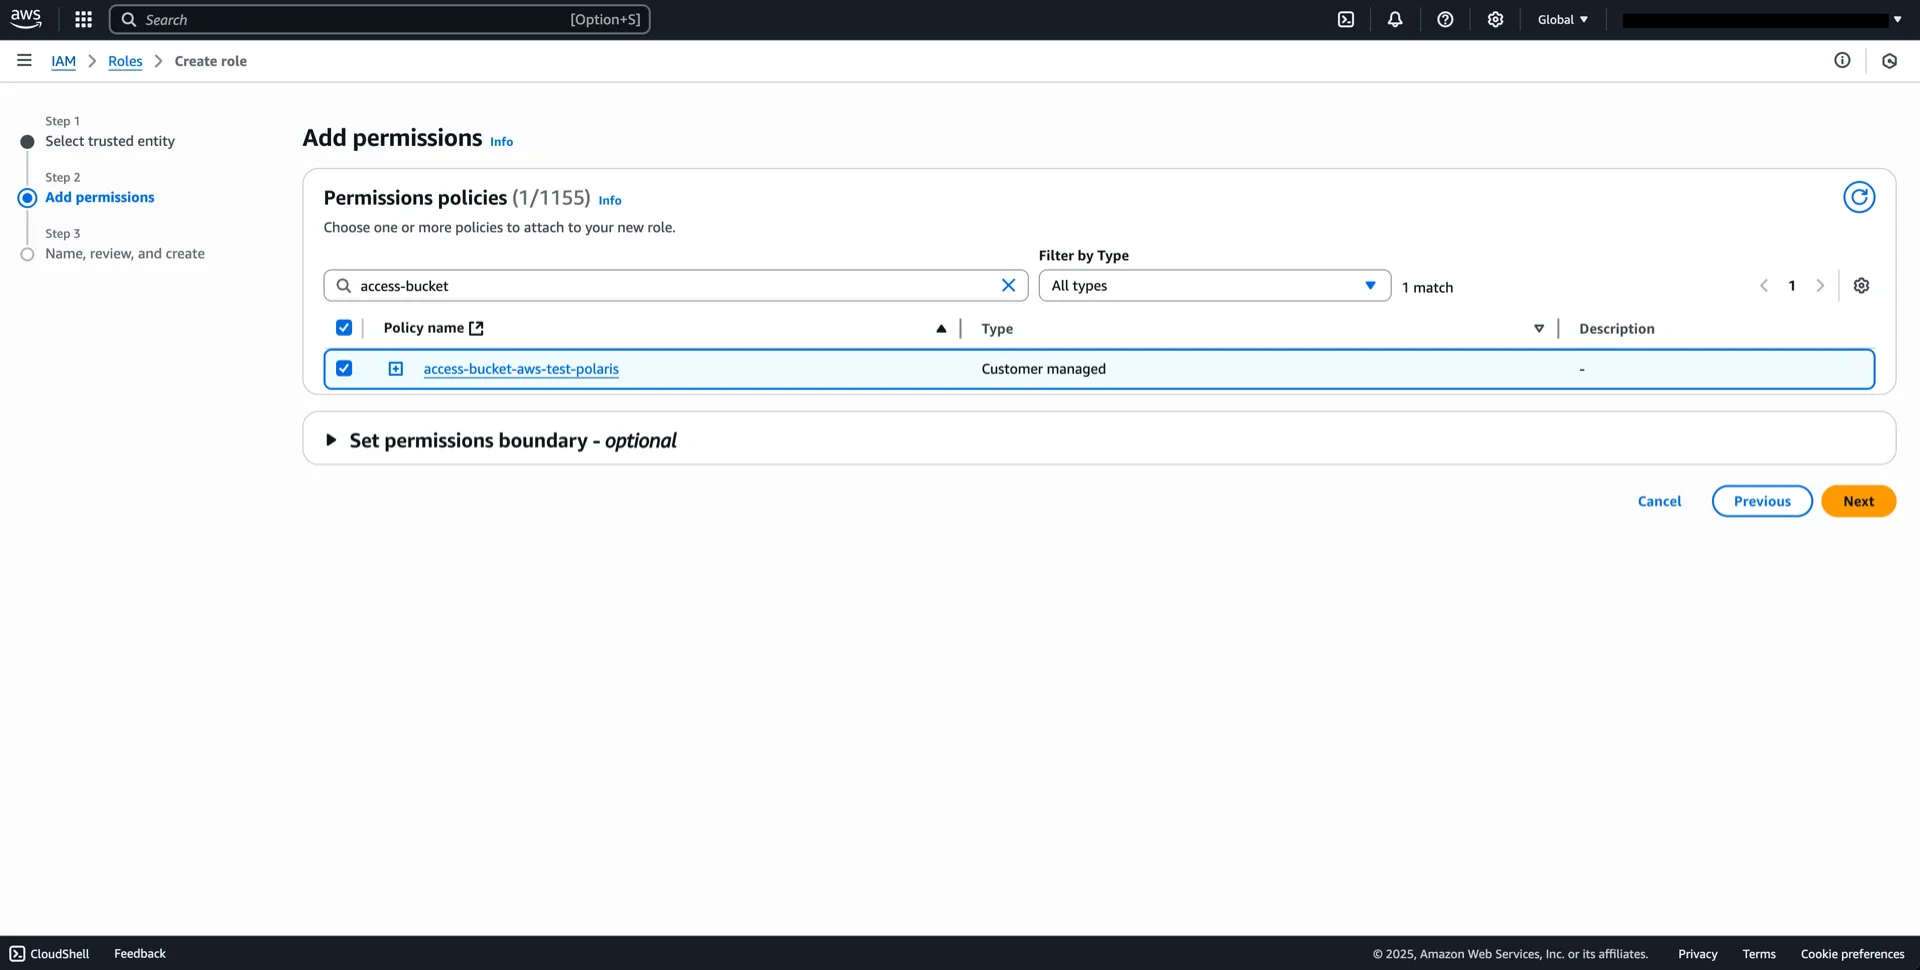
7. Create an IAM Role

Navigate to AWS IAM -> Roles -> Create role and configure:
  • Trusted entity type: AWS account
  • An AWS account: This account
  • Enable External ID with placeholder value 0000 (will be updated in step 9)
Create role Trust settings Attach the policy from step 6. Attach policy Save role Record the role ARN (for example, 
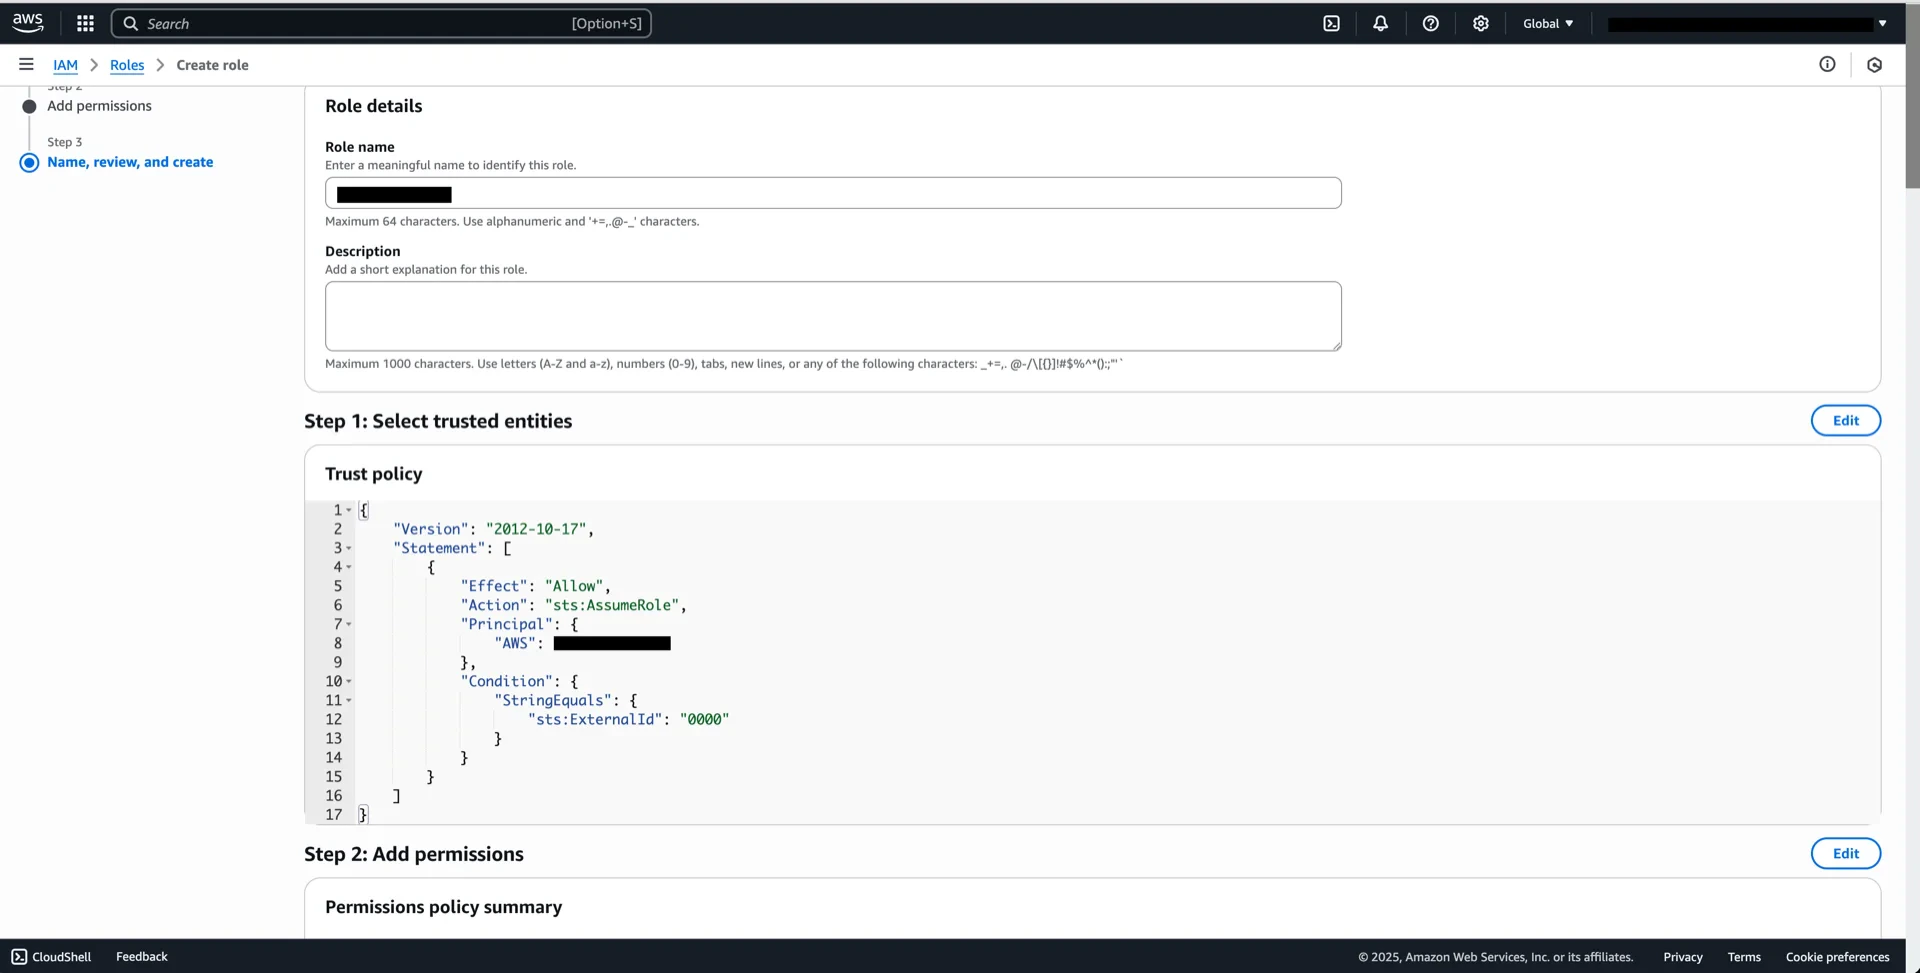
arn:aws:iam::<account-id>:role/<role-name>). Role ARN

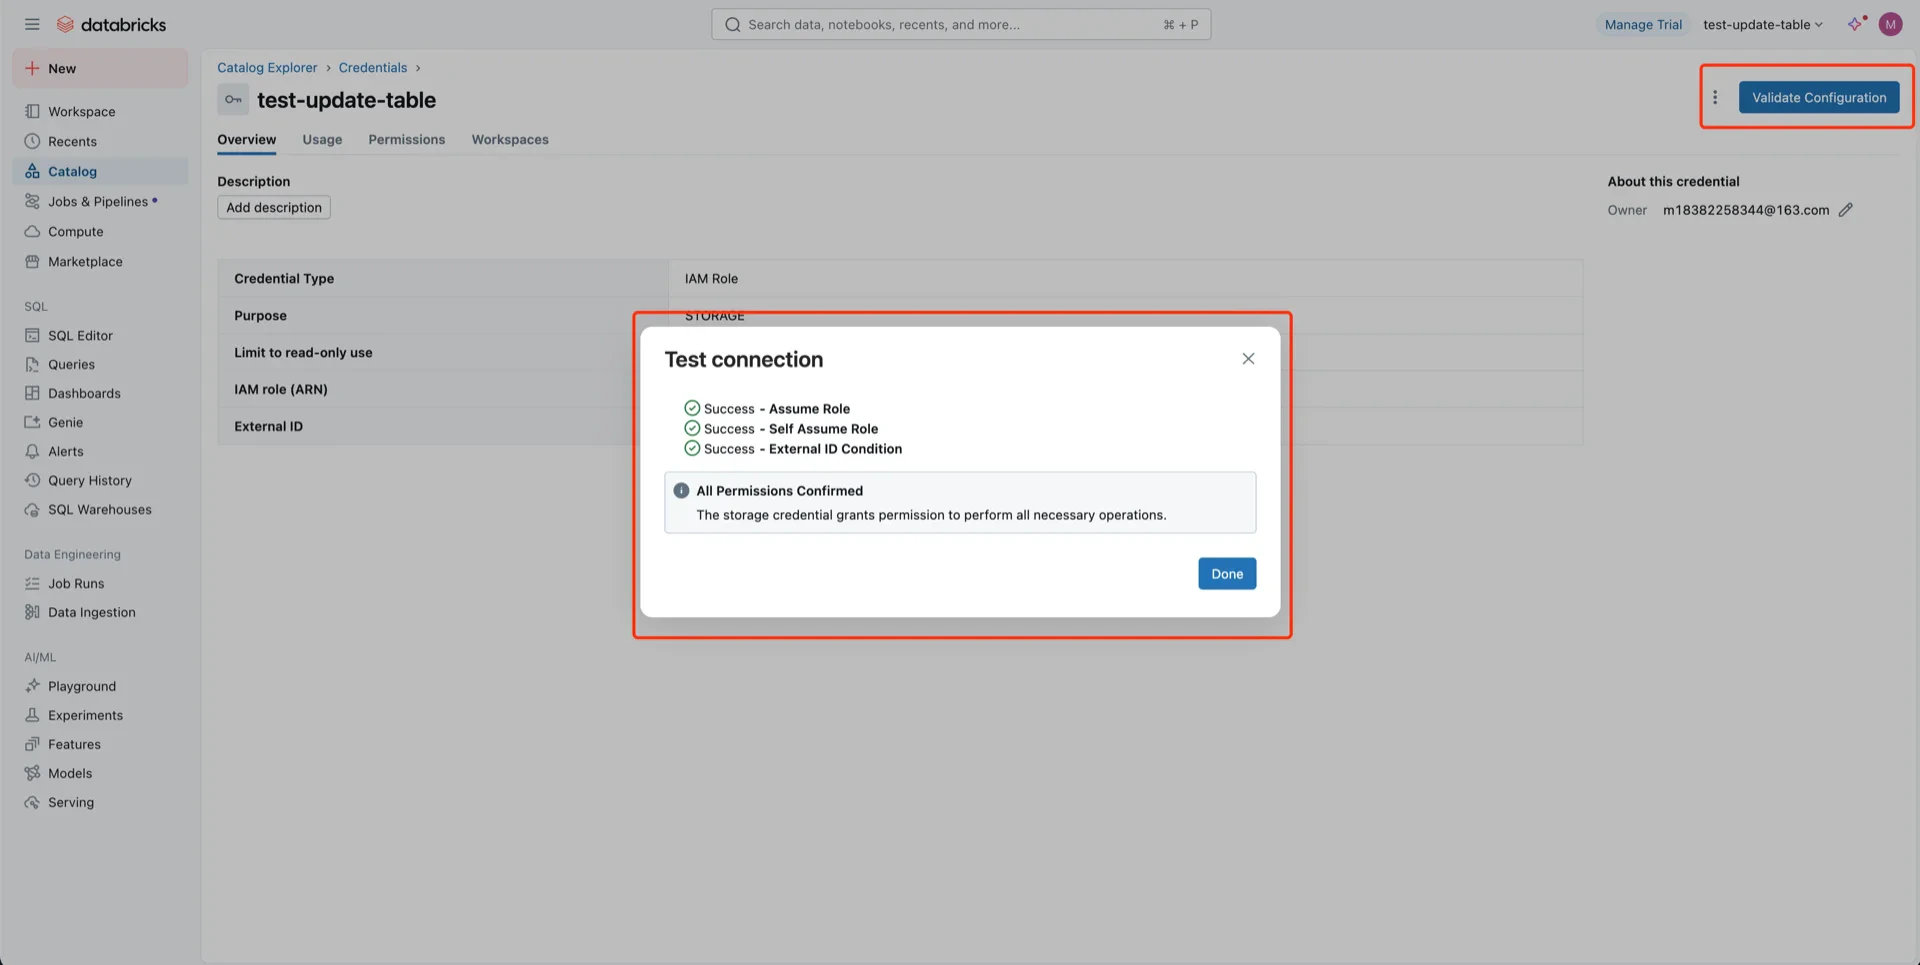
8. Create a Storage Credential in Unity Catalog

Navigate to Catalog -> Settings -> Credentials. Credentials menu Create credential Configure with:
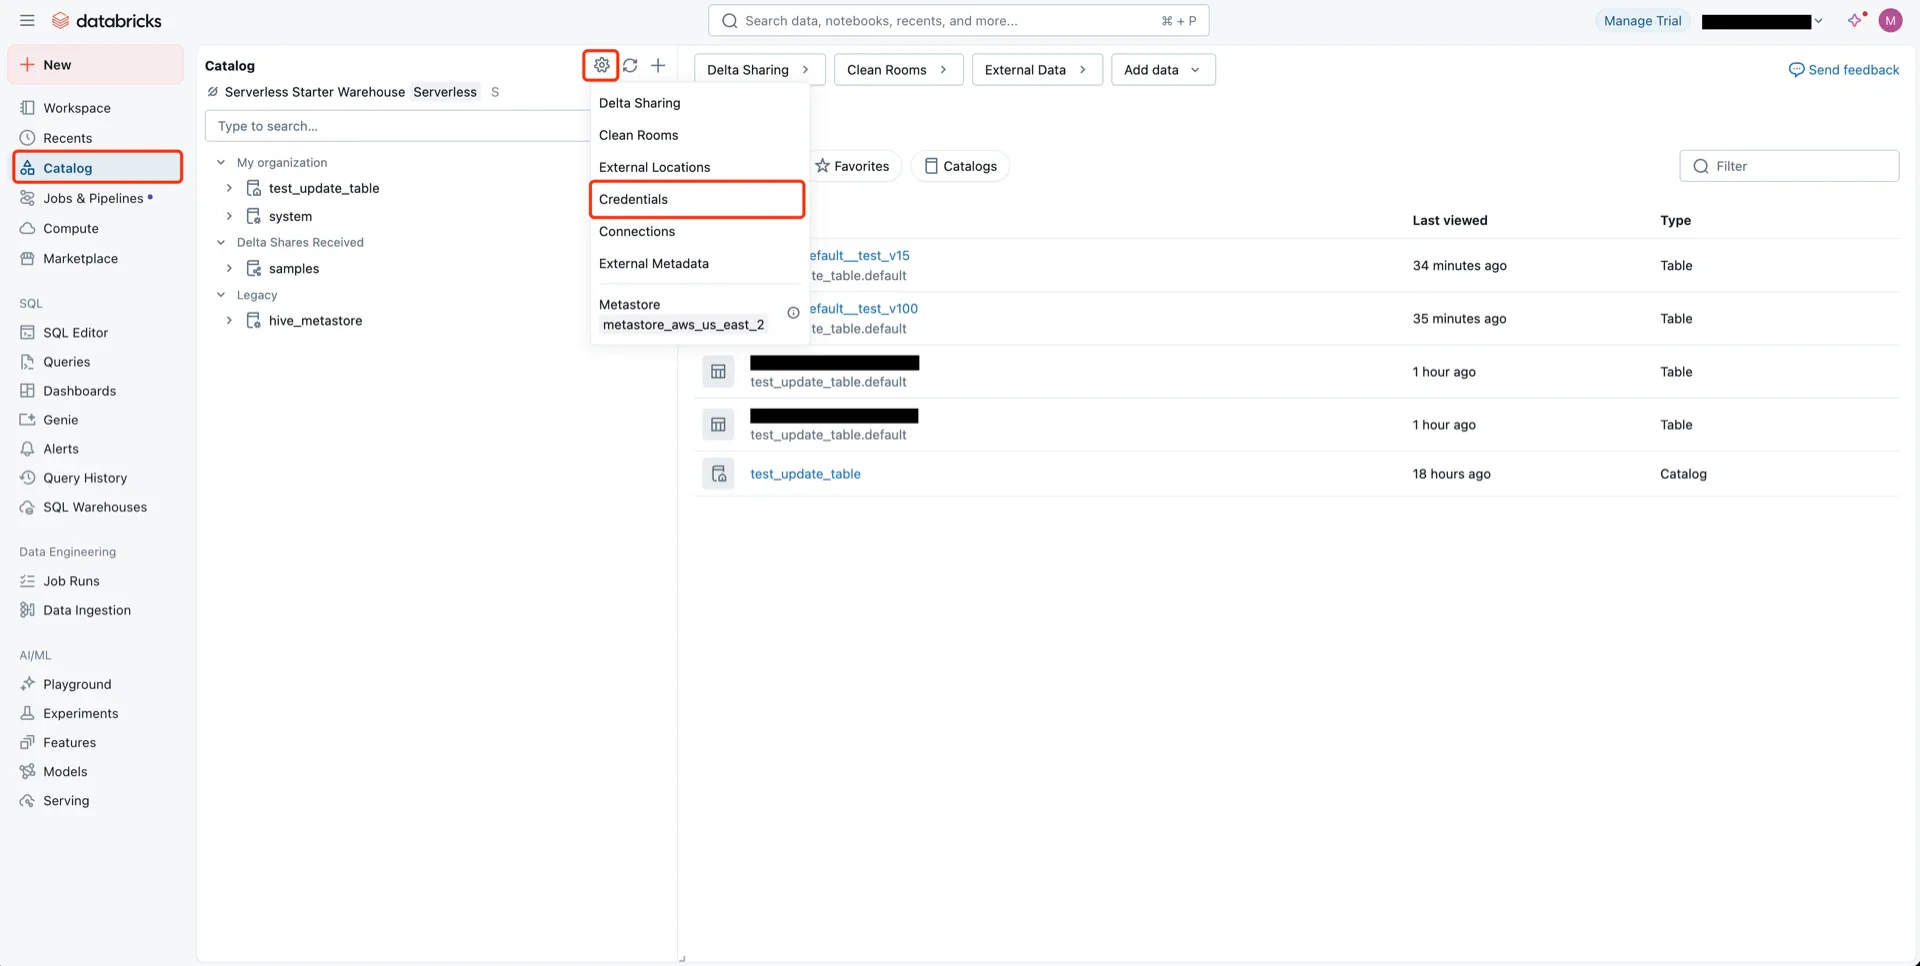
  • Credential: Storage Credential
  • Type: AWS IAM Role
  • Name: any name
  • Role ARN: the ARN recorded in step 7
Credential form Databricks generates a trust relationship policy. Copy it. Trust policy generated

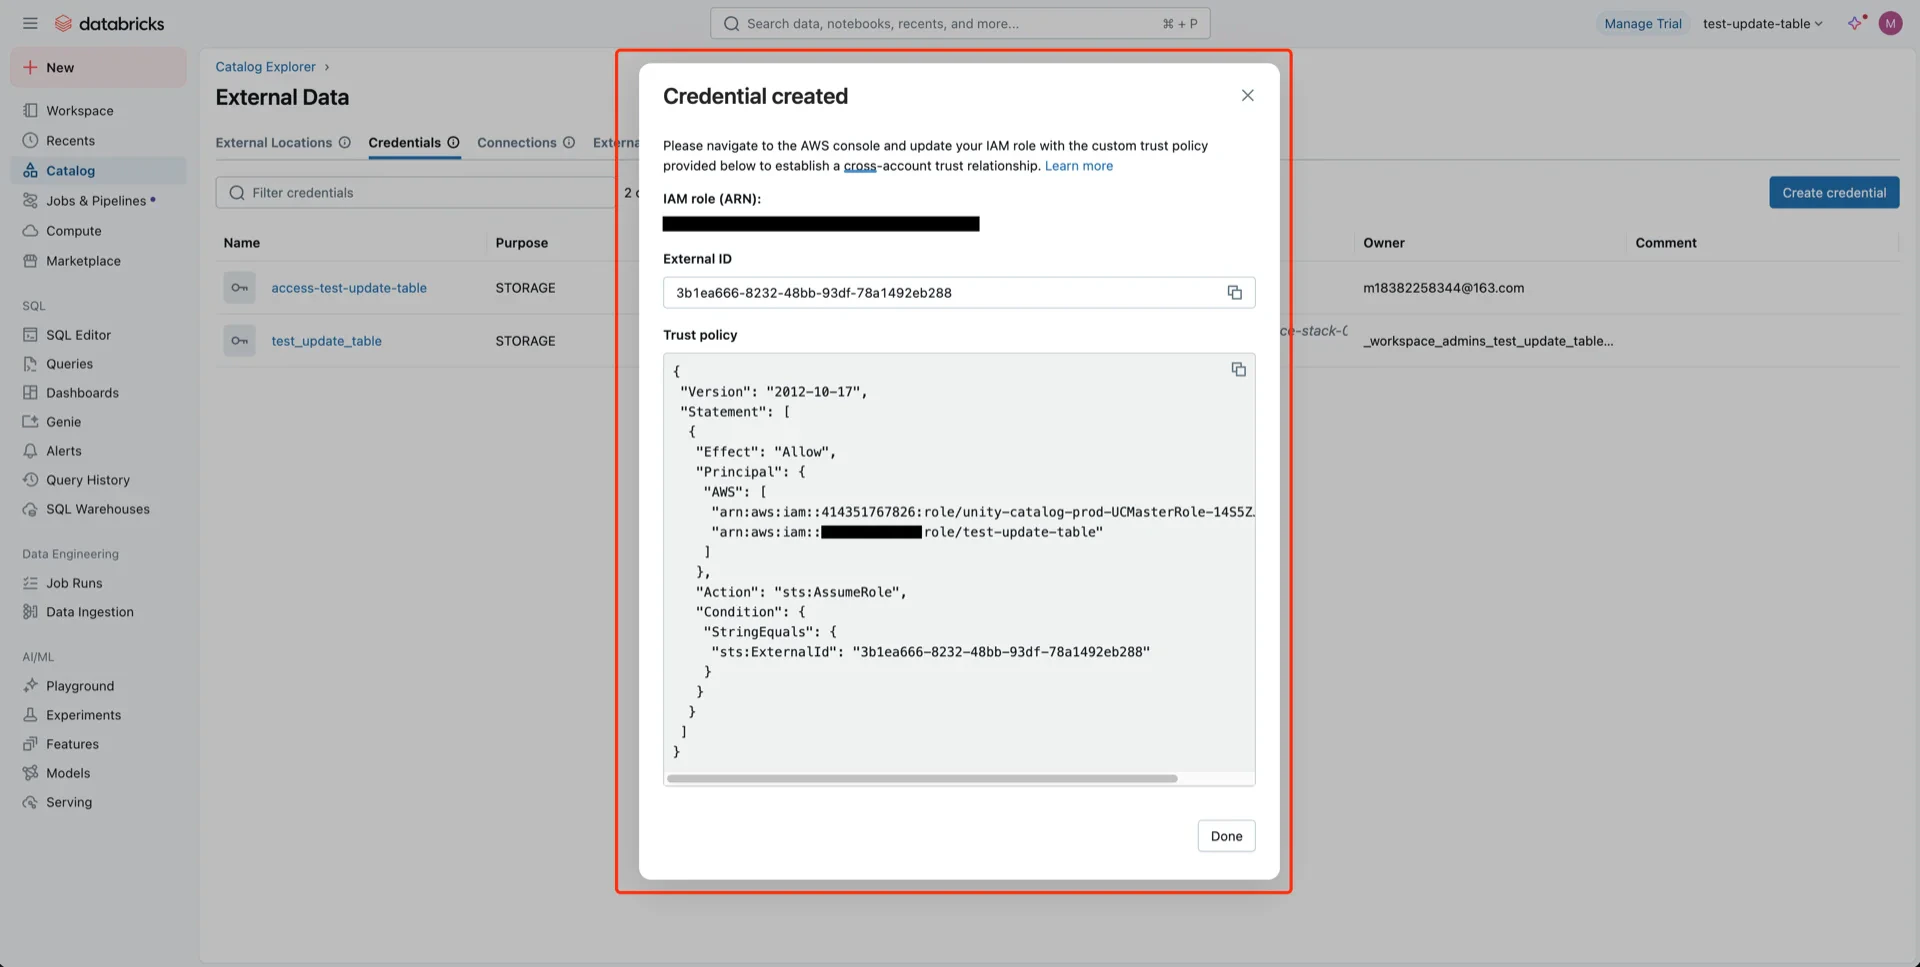
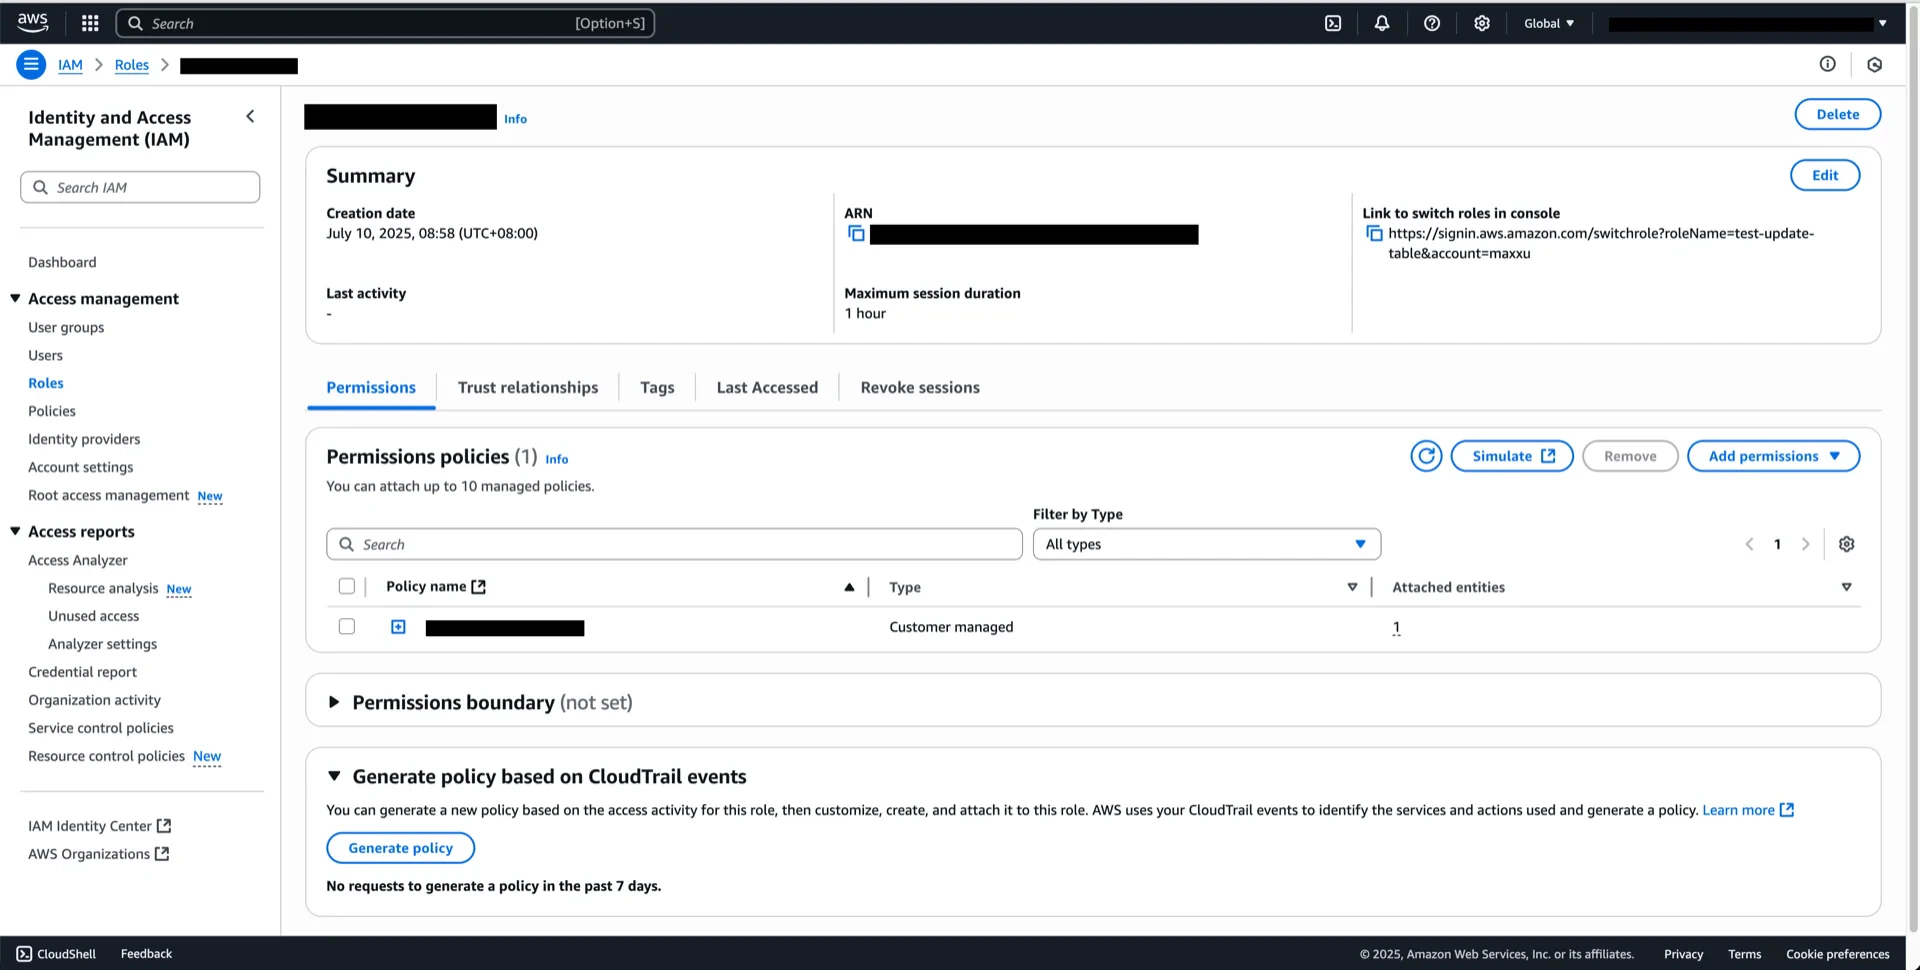
9. Update the IAM Role Trust Policy

Return to the AWS IAM console, open the role created in step 7, and replace the trust policy with the one generated by Databricks. Update trust policy Click Validate in the Unity Catalog console to verify the credential. Validate credential

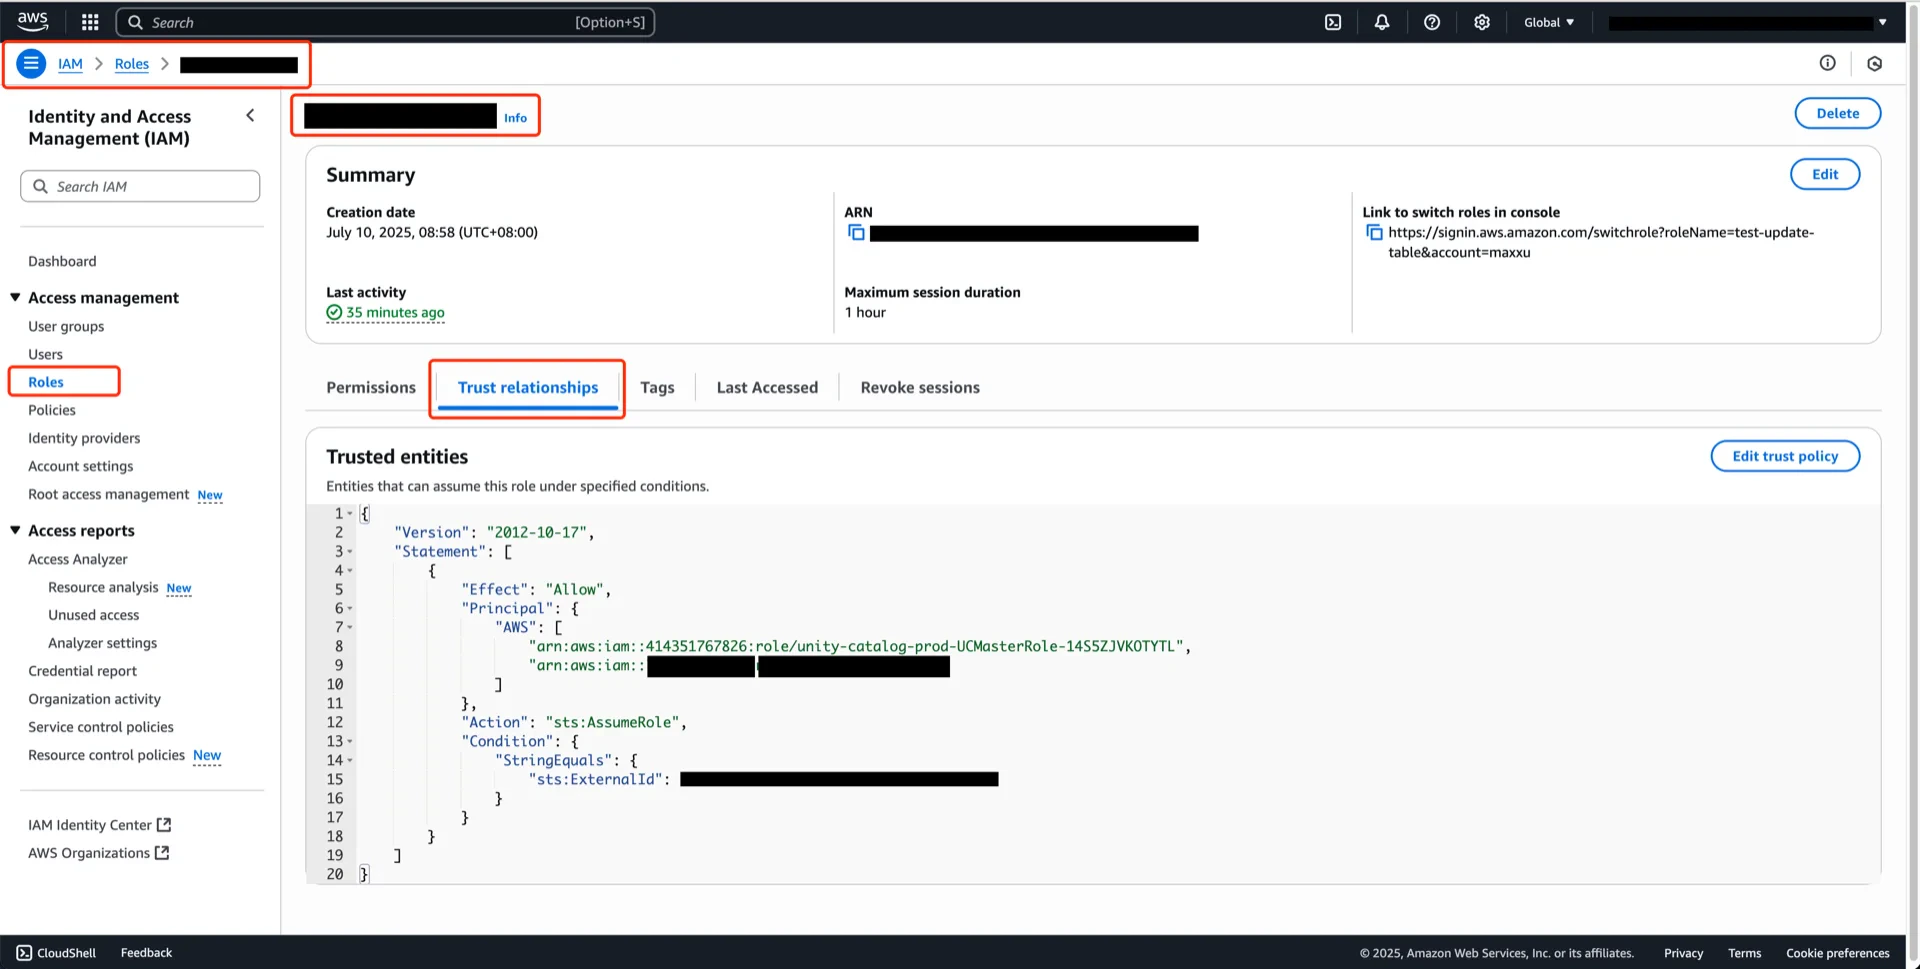
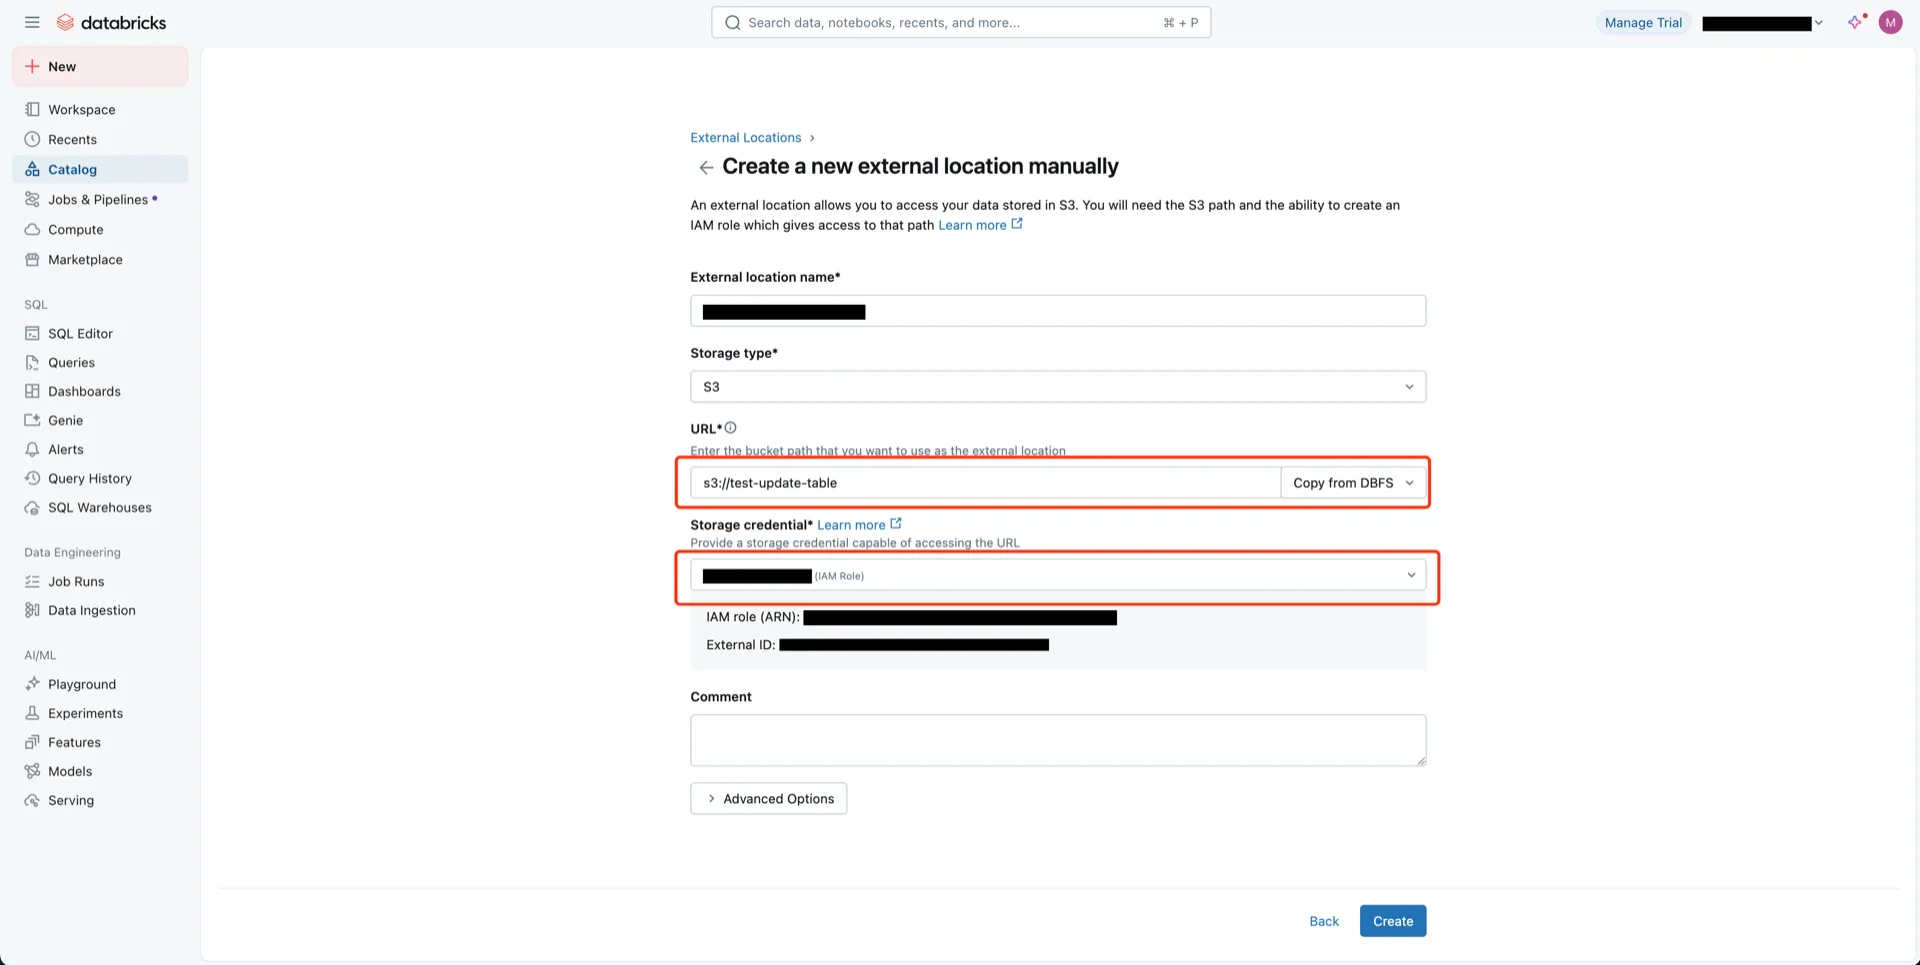
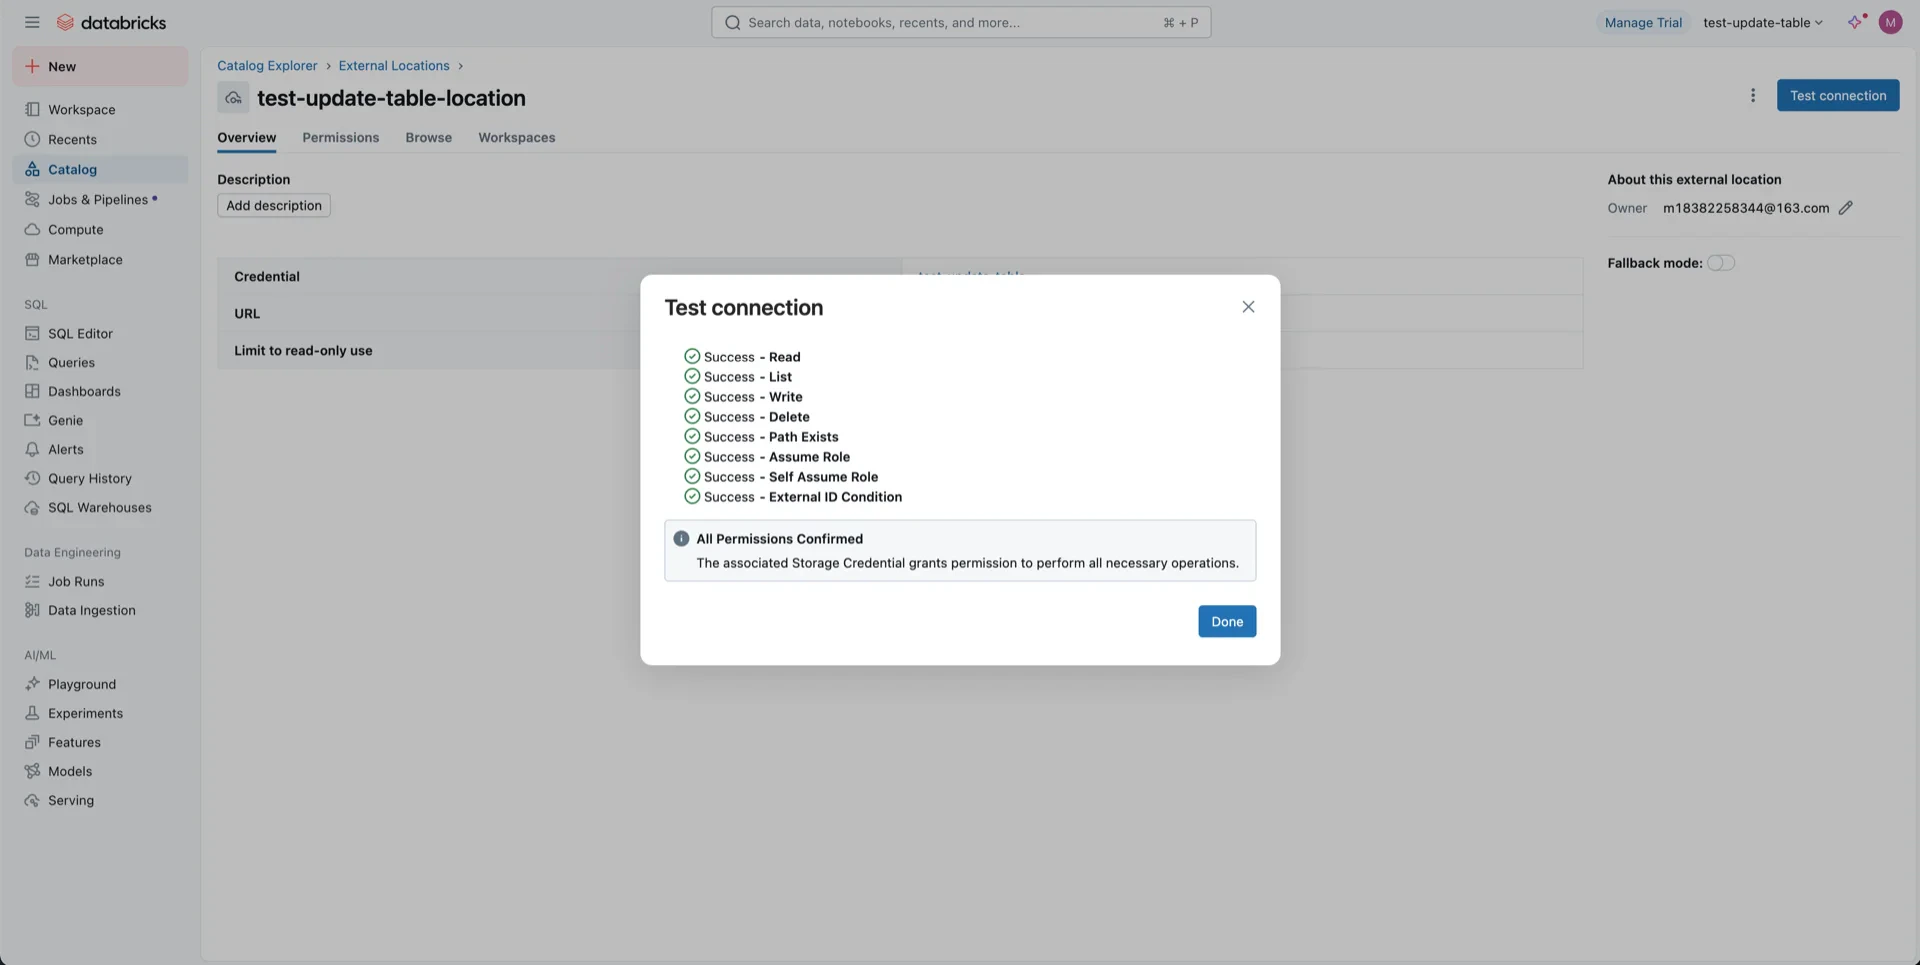
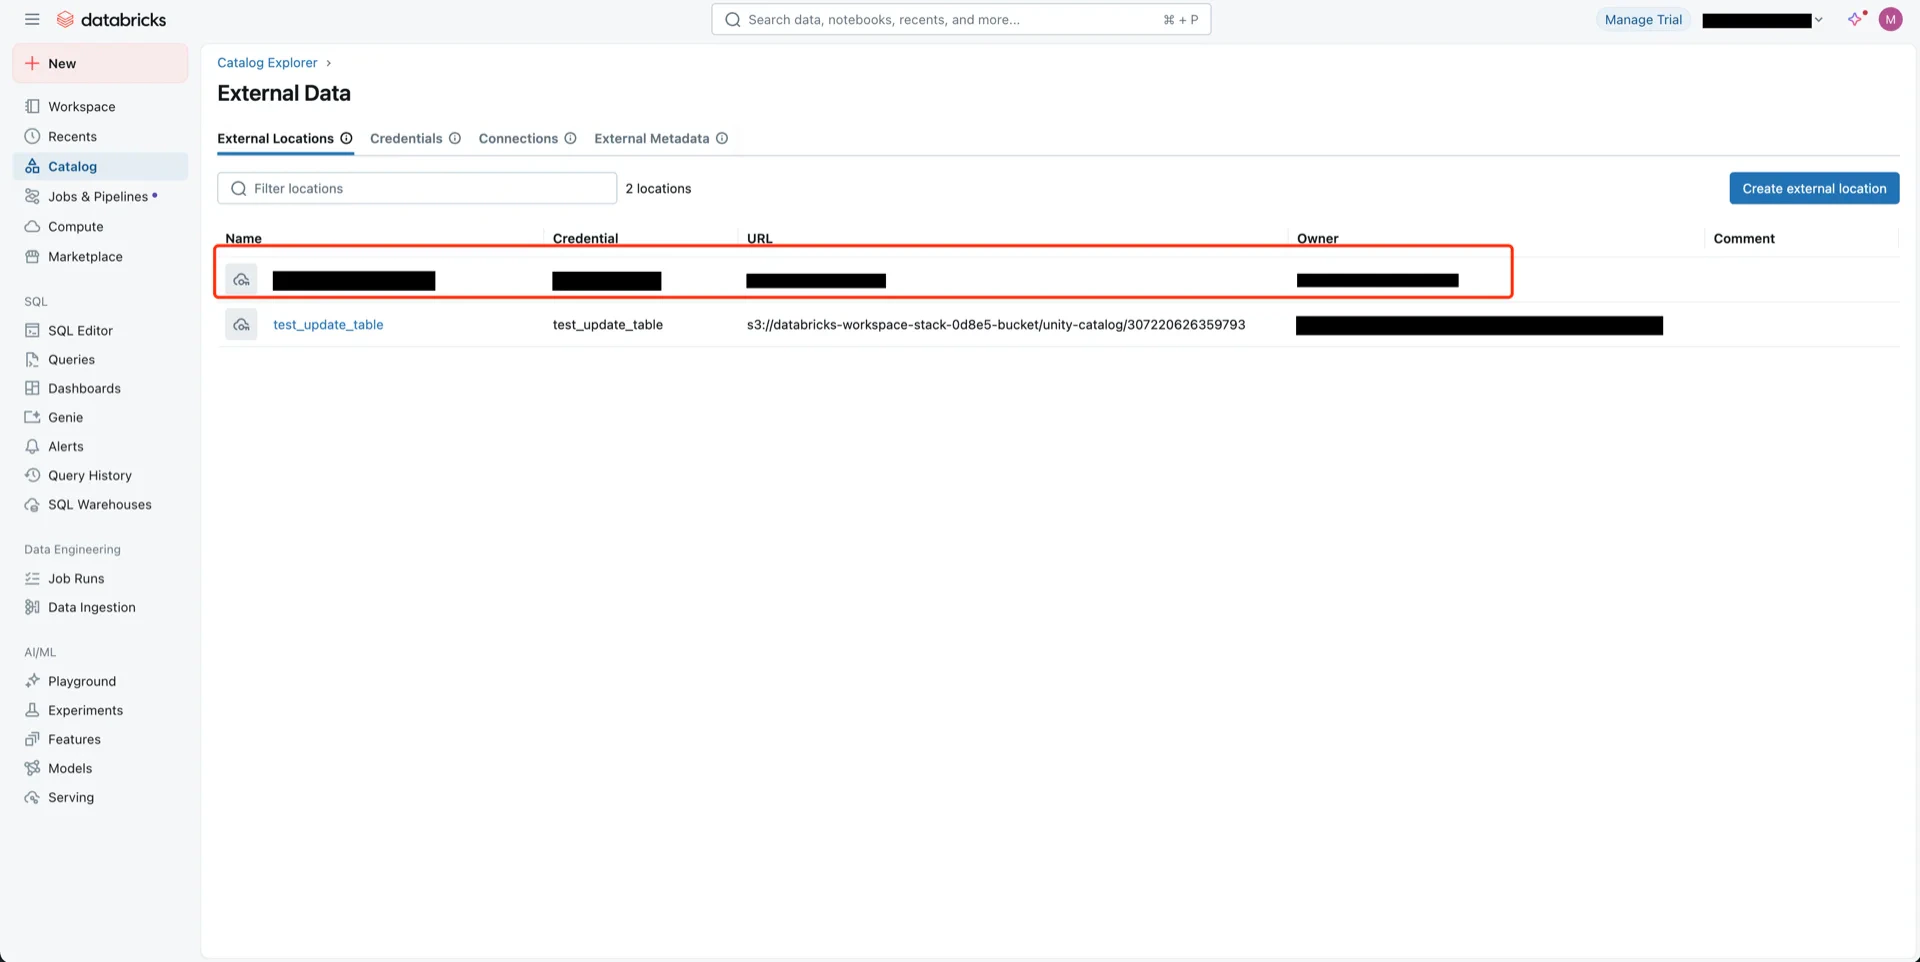
10. Create an External Location

Navigate to Catalog -> Settings -> External Locations. External locations Create external location Choose Manual (the AWS Quickstart creates a new bucket). Manual external location Configure:
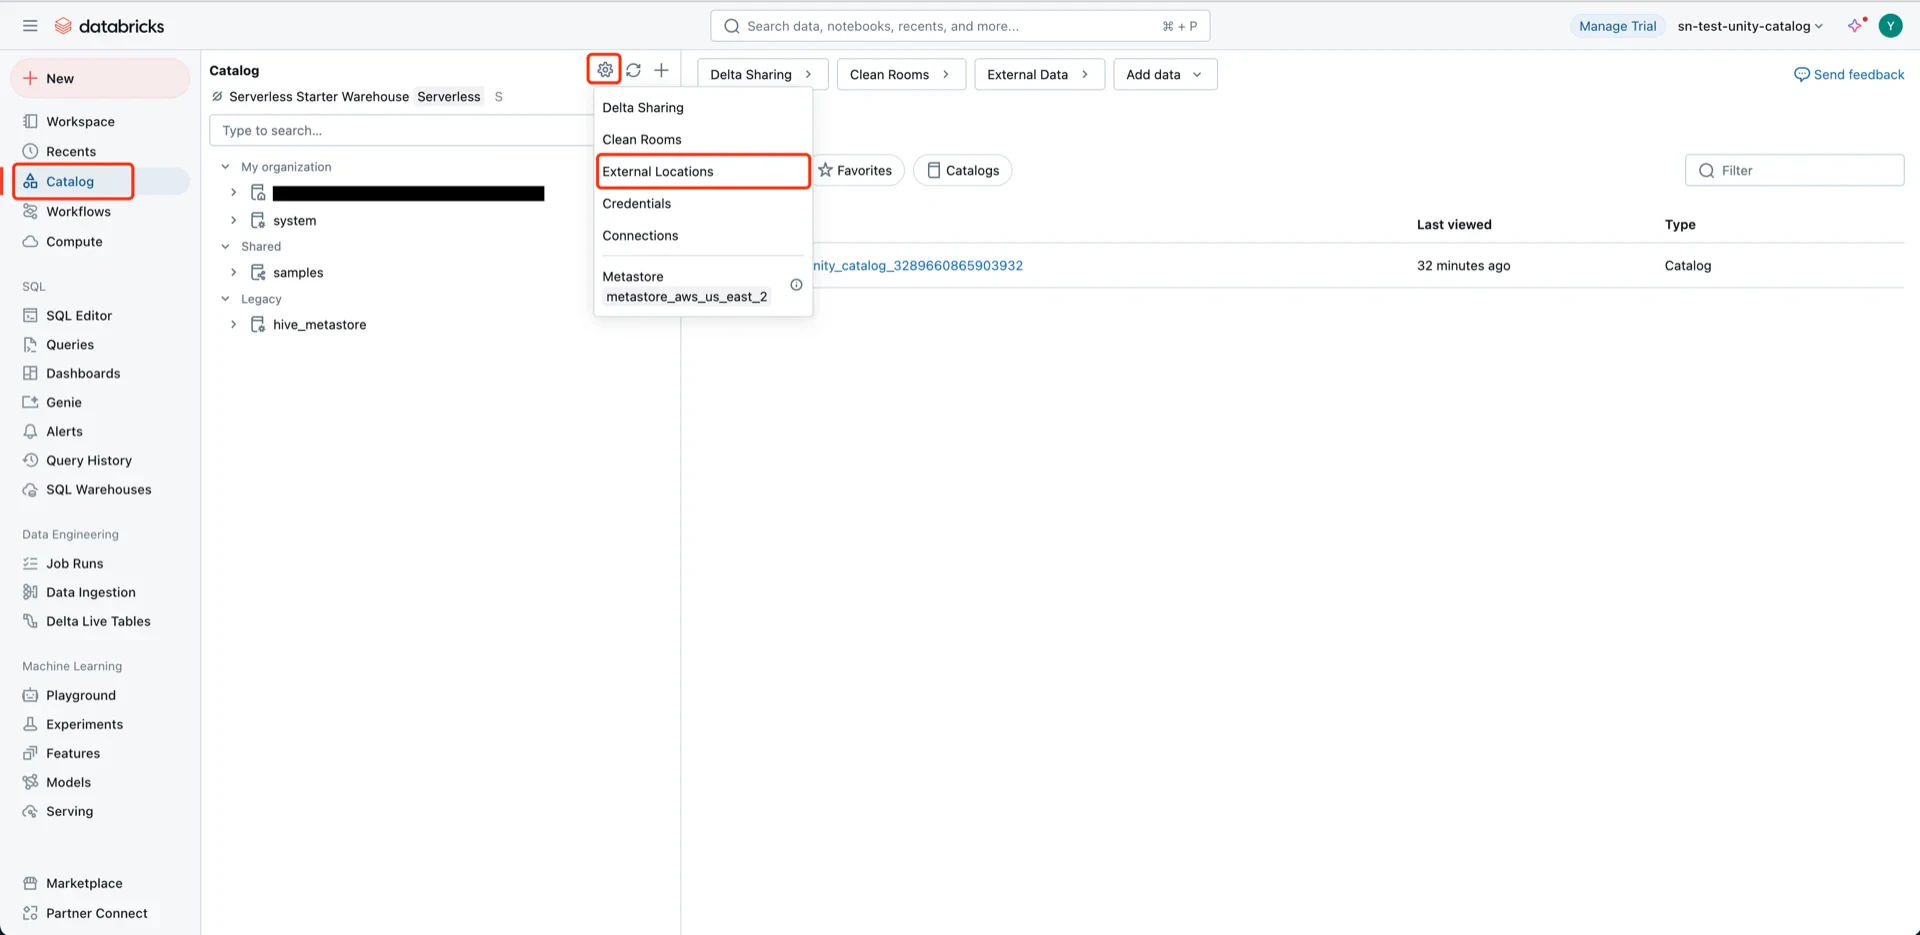
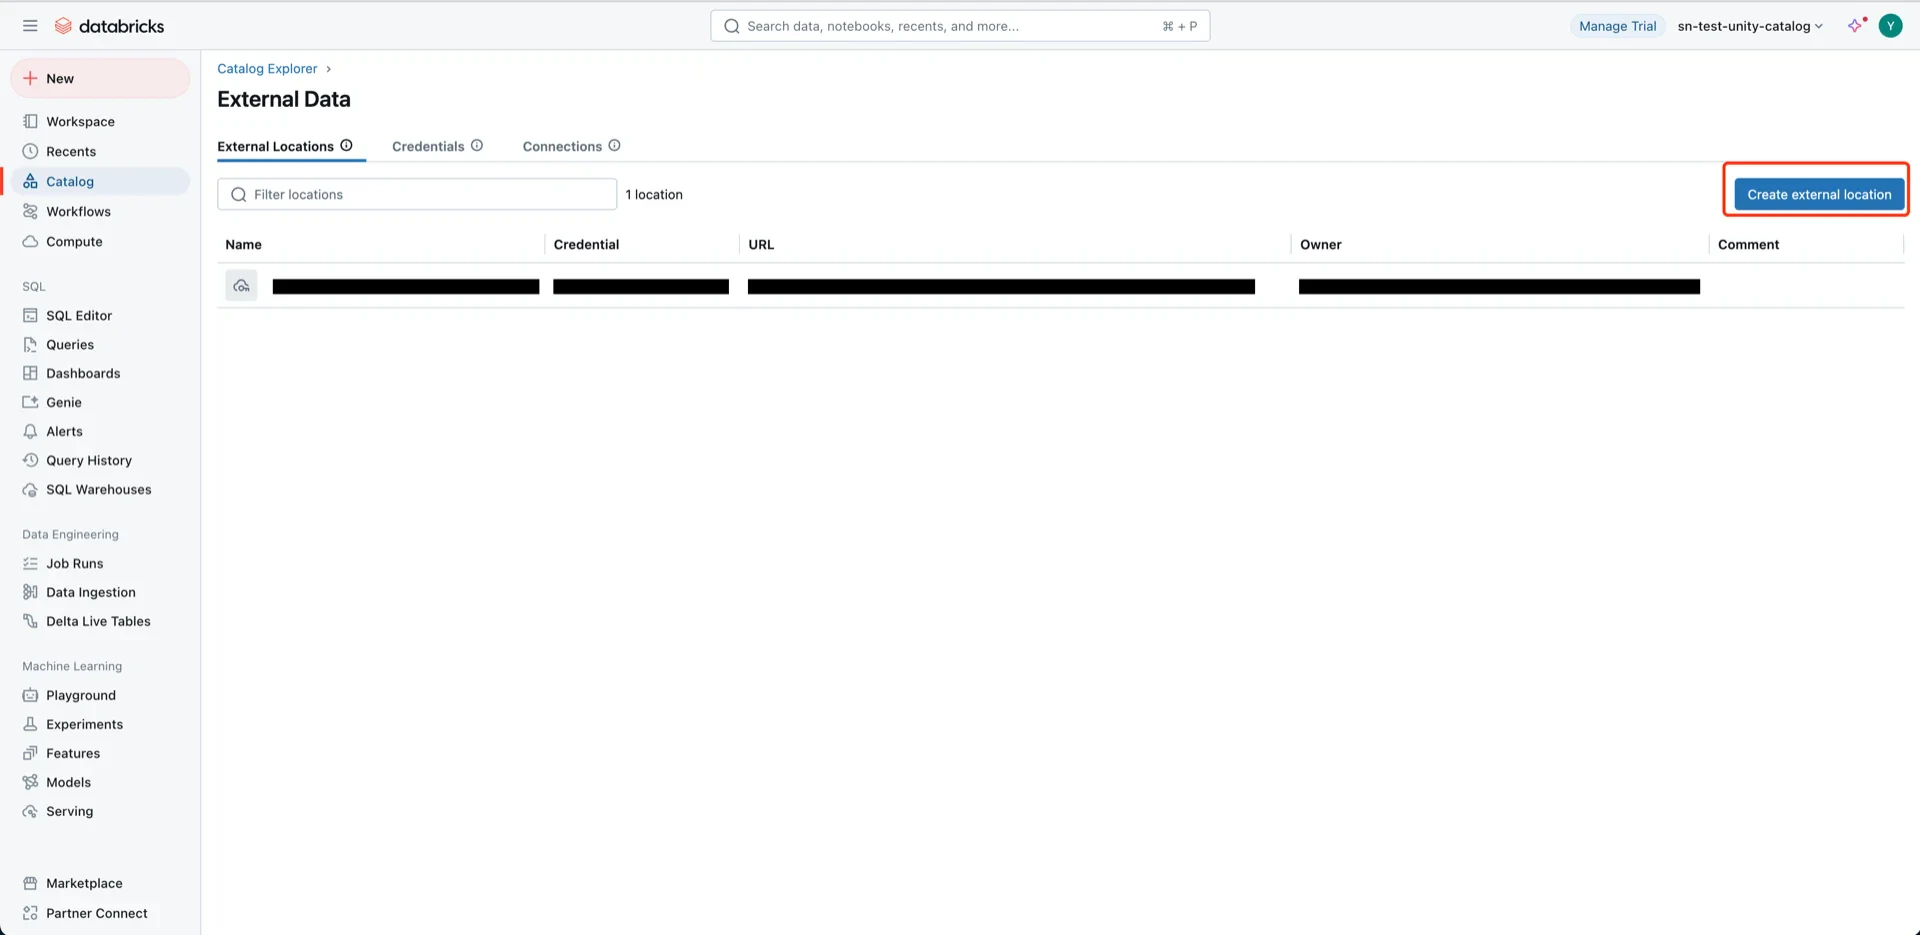
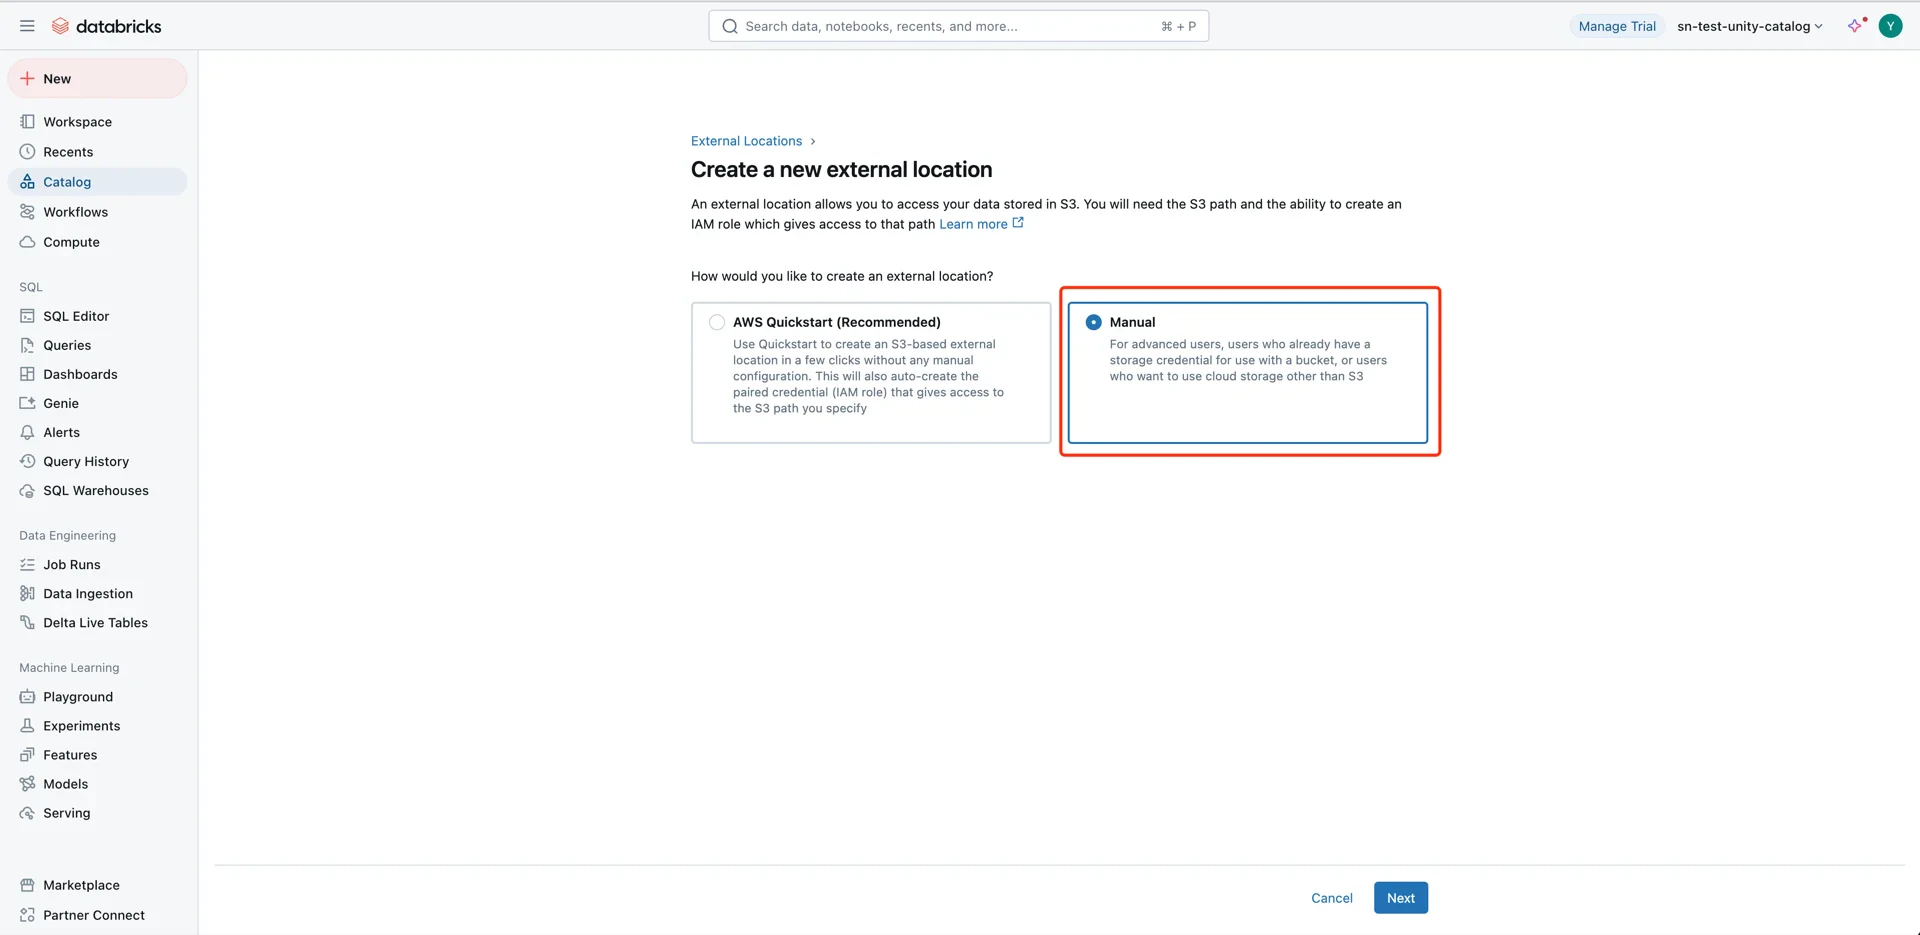
  • External location name: any name
  • URL: s3://<your-bucket>
  • Storage credential: the credential from step 8
External location form After creation, click Test connection to verify access. Test external location If you use OAuth2, grant ALL PRIVILEGES on the external location to the service principal: External location details Grant OAuth2 permissions

11. Create the Catalog

In Databricks, create a new catalog and bind it to the external location created in step 10. Create catalog

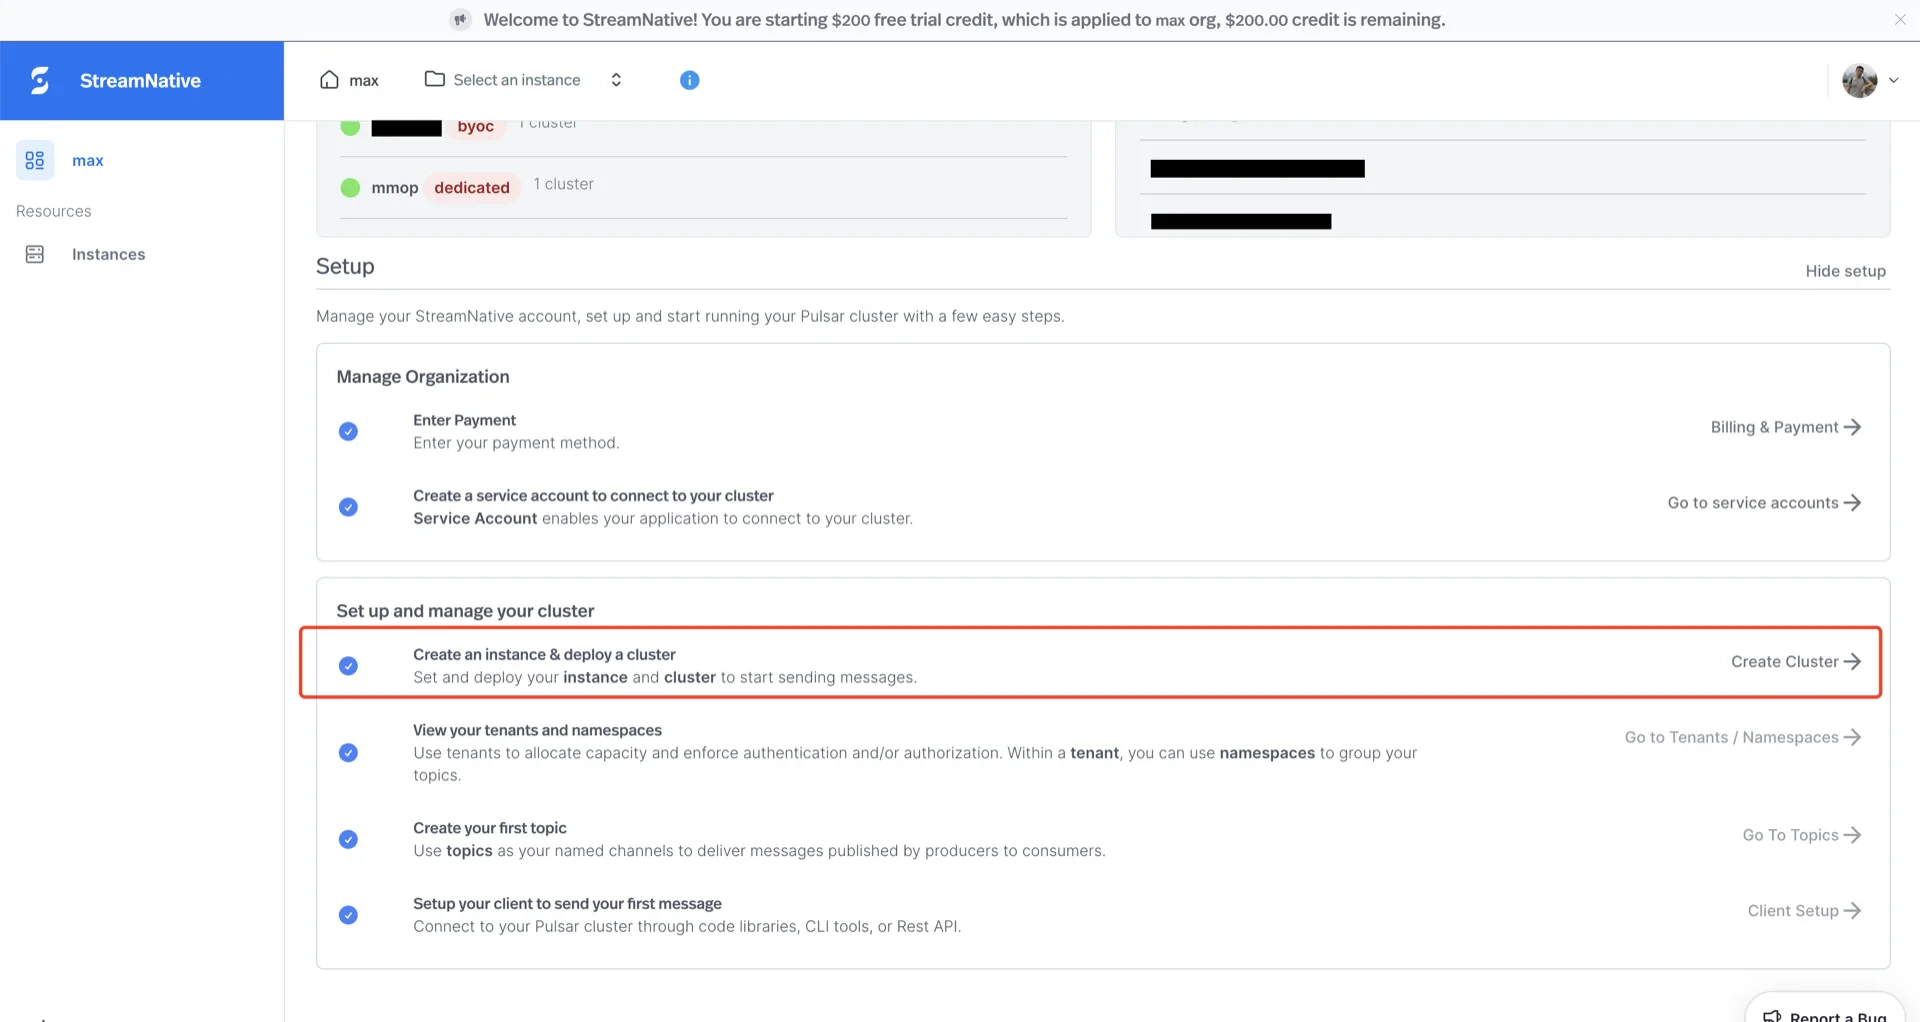
Catalog Information Summary

When the steps above are complete, collect the following values for the StreamNative Ursa compaction service:
ValueDescription
unityCatalogUriDatabricks workspace URL (e.g., https://dbc-xxxx.cloud.databricks.com)
unityCatalogNameThe Unity Catalog name created in step 11
unityCatalogTokenPersonal access token from step 2, or
unityCatalogClientId / unityCatalogClientSecretOAuth2 credentials from step 3
For the next steps, see Configure Lakehouse Catalogs.