

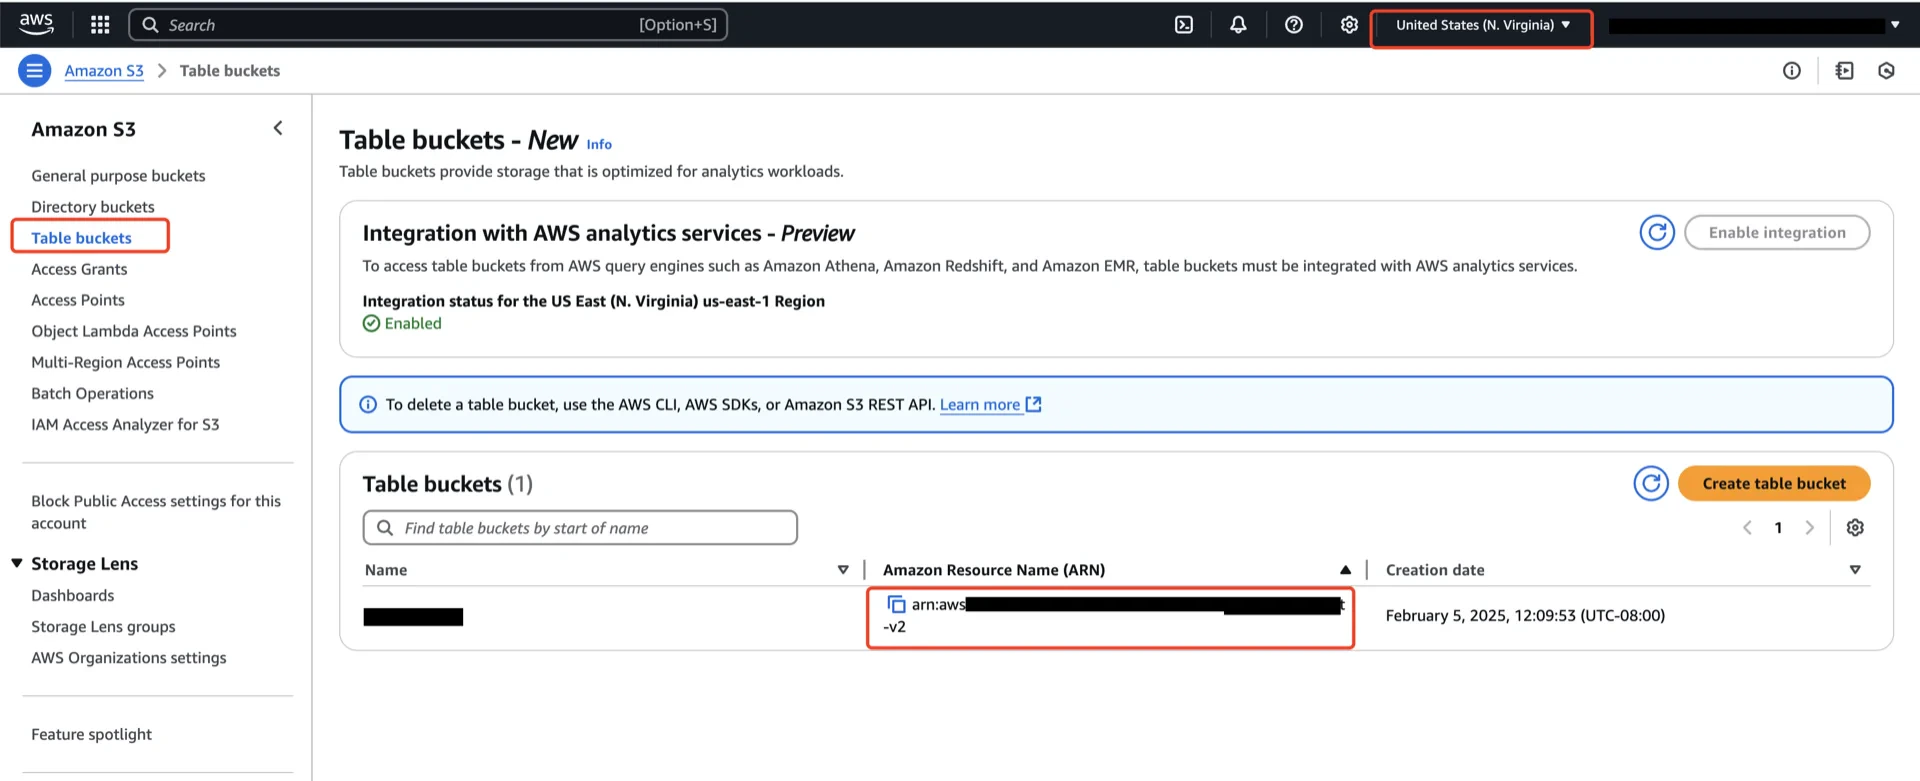
Important: The StreamNative Ursa cluster must run in the same region as the S3Table bucket. Cross-region access is not supported and will fail with an AWS client error.
Prerequisites
- An AWS account with permissions to create S3Table buckets and modify IAM roles
- A StreamNative Ursa cluster (the cluster’s IAM role will be granted access to the S3Table bucket)
1. Create an S3Table Bucket
In the AWS S3 console, create an S3Table bucket in the same region as the Ursa cluster. Record the bucket ARN, which has the form:2. Grant S3Table Permissions via a Table Bucket Policy
Apply a table bucket policy on the S3Table bucket so that the StreamNative Ursa cluster’s IAM role can read and write tables in the bucket.2.1 Find the StreamNative cluster role ARN
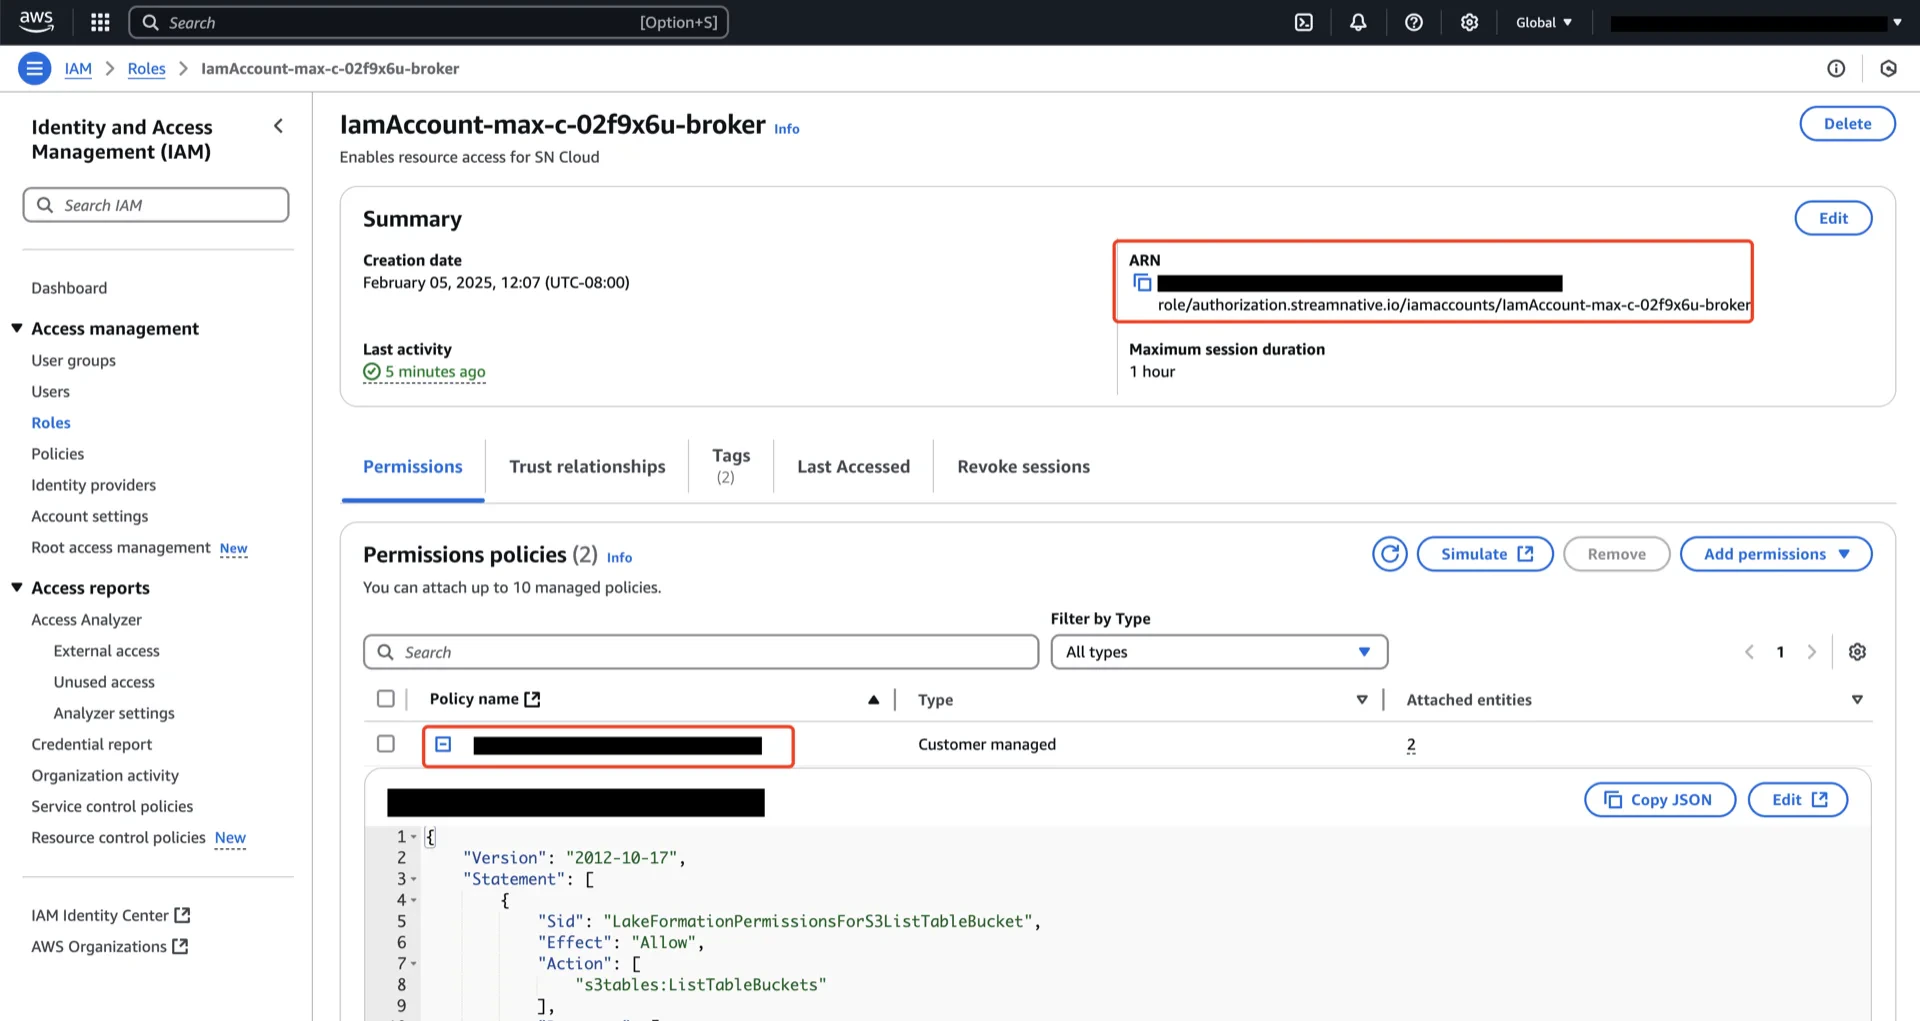
The role ARN to grant access to is the IAM role bound to the broker pods of the StreamNative cluster. When you enable Lakehouse Table for Amazon S3 Tables at the cluster, namespace, or topic level in the StreamNative Cloud Console, the dialog displays the exact IAM role ARN that needs access to your S3Table bucket. Copy that ARN. For details on enabling S3 Tables, see Enable Lakehouse Table.2.2 Apply the table bucket policy
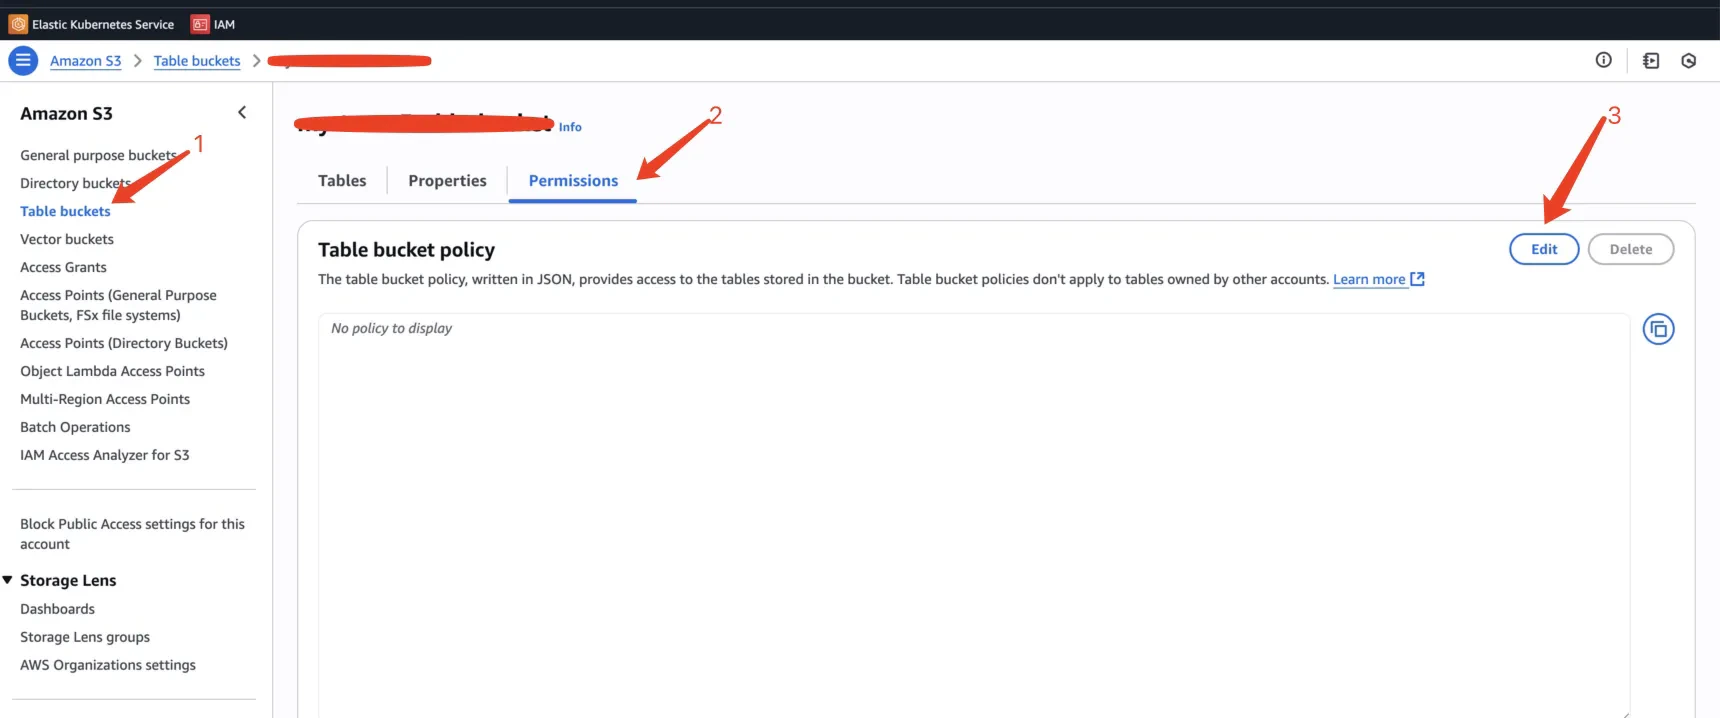
In the AWS S3 console, open your S3Table bucket and go to the Permissions tab. Choose Edit under Table bucket policy and paste the following JSON, replacing<streamnative-cluster-role-arn> with the ARN you copied in the previous step and <your-region>, <your-aws-account>, and <your-bucket-name> with the values for your bucket.
3. Adjust S3Table Maintenance Settings (Recommended)
By default, S3 Tables retains snapshots for 120 hours (5 days). For production workloads, StreamNative recommends shortening this window to 6 hours.
Why this matters. S3 Tables enforces a fixed 5 MB cap on the Iceberg metadata file size. Long retention windows cause many unexpired snapshots to accumulate in the metadata file. When the metadata file grows beyond 5 MB, subsequent snapshot commits will fail, which stops new data from being written into the lakehouse table. A shorter
MaximumSnapshotAge keeps the metadata file under the cap.
You can update the snapshot management settings from the S3 Table bucket console or via the AWS CLI after the bucket is created. See S3 Tables maintenance — Snapshot management for the full list of maintenance settings.
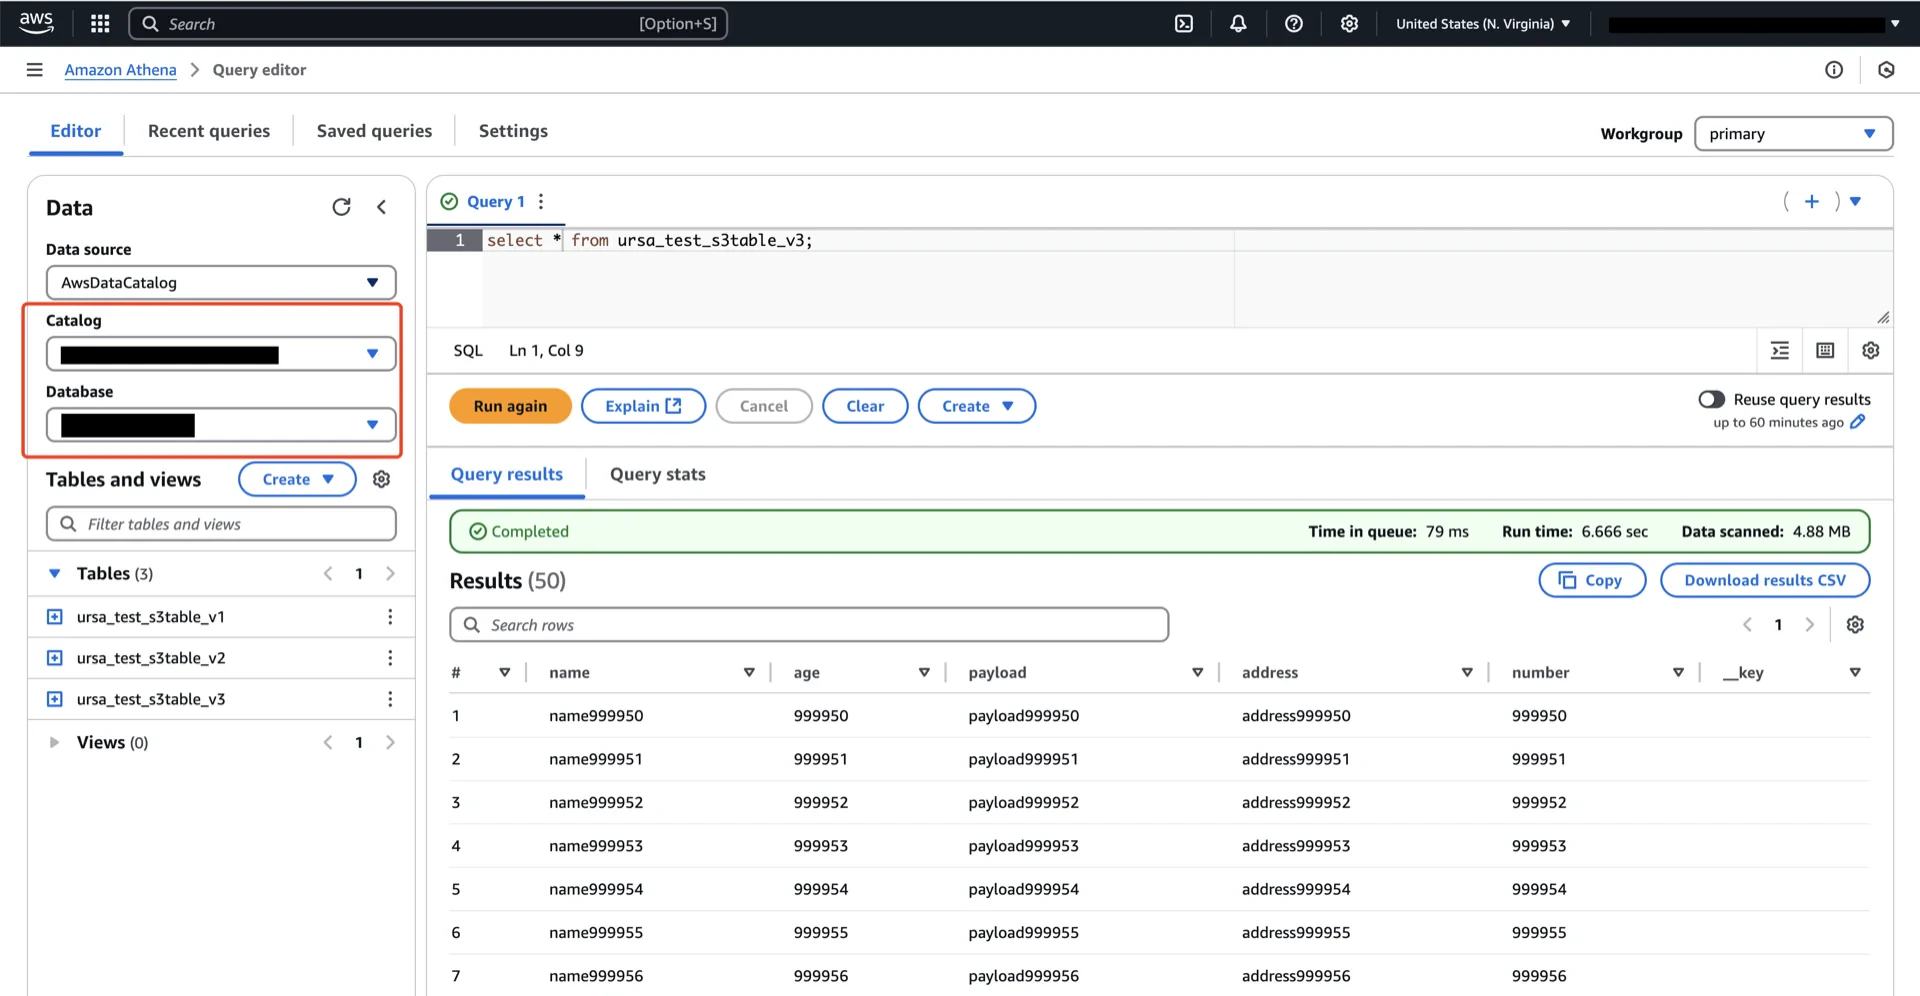
4. (Optional) Configure AWS Athena Access
If you intend to query the S3Table data via AWS Athena, you must integrate it with AWS Lake Formation.4.1 Prerequisites
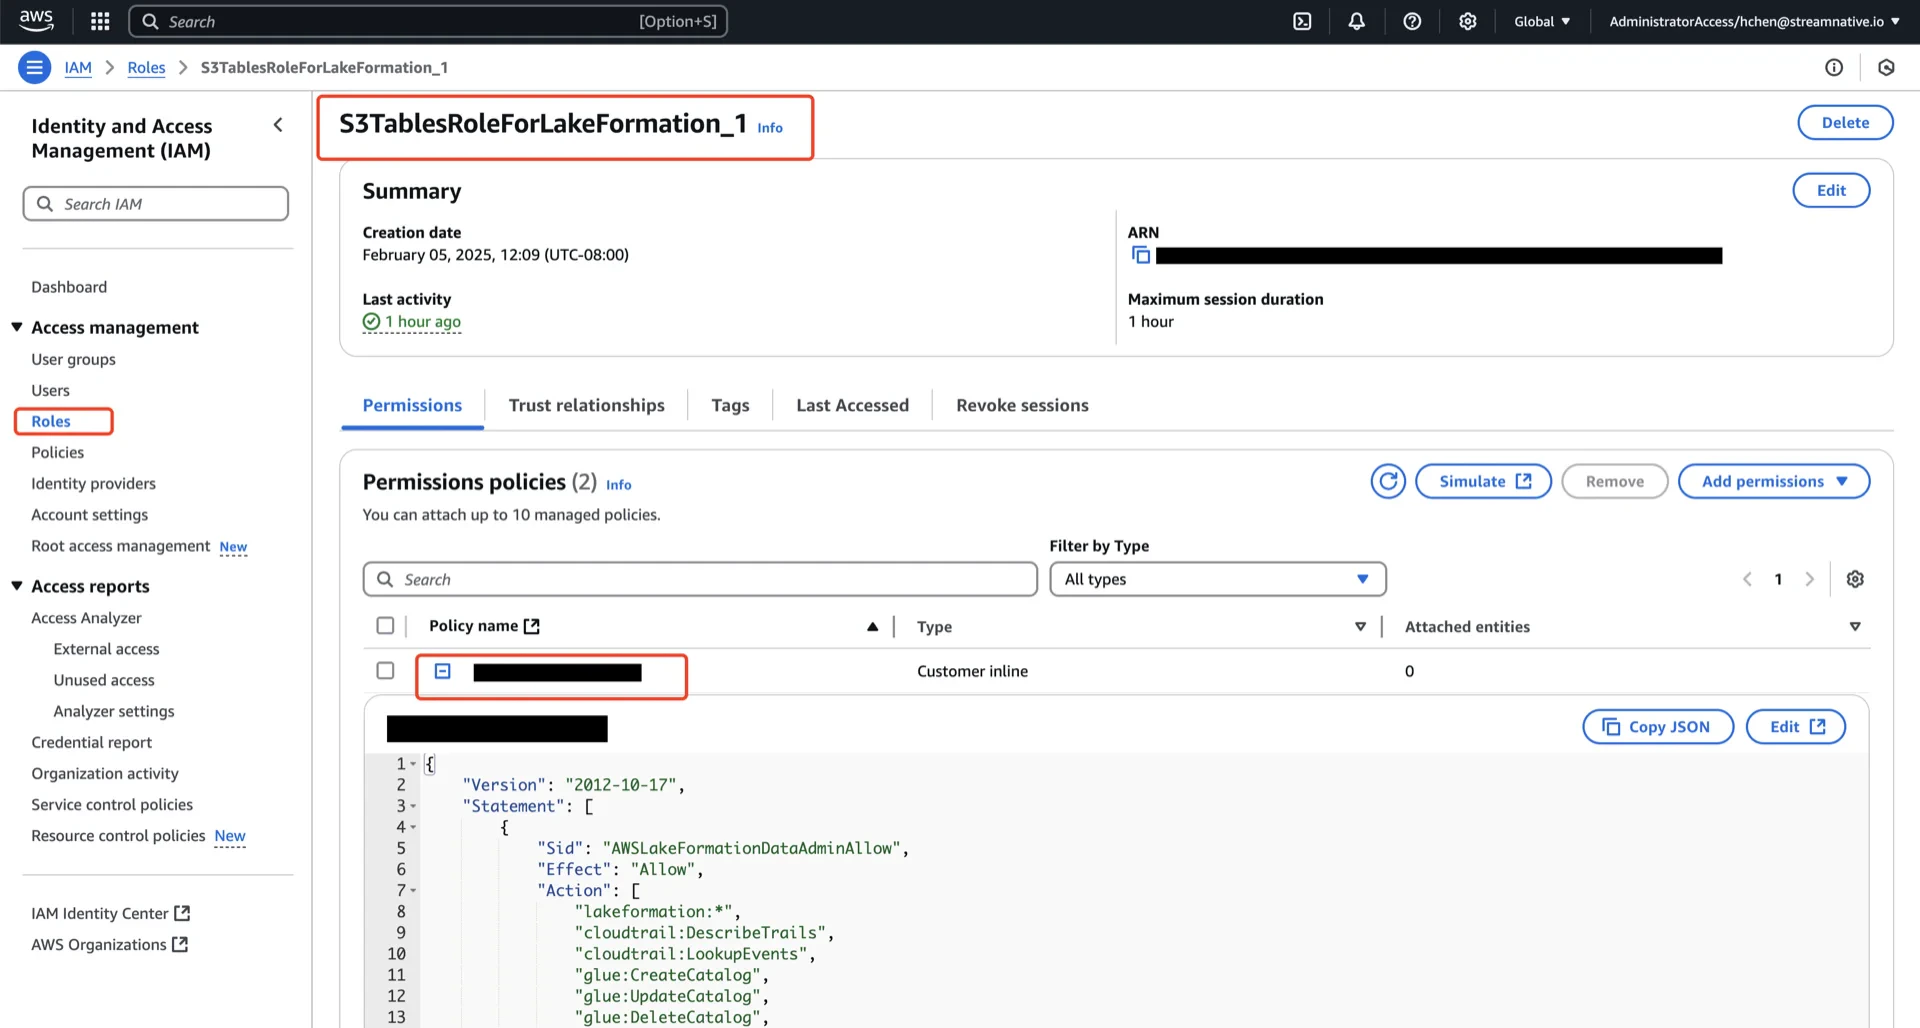
Refer to S3 Tables integration prerequisites. In summary:- Attach
AWSLakeFormationDataAdminto your IAM principal - Add
glue:PassConnectionandlakeformation:RegisterResourcepermissions - Use the latest version of the AWS CLI
S3TablesRoleForLakeFormation_1).
4.2 Create a Resource Link
A resource link provides a Glue Data Catalog reference to your S3Table namespace. See Creating a resource link.4.3 Grant Lake Formation Permissions
On the Table
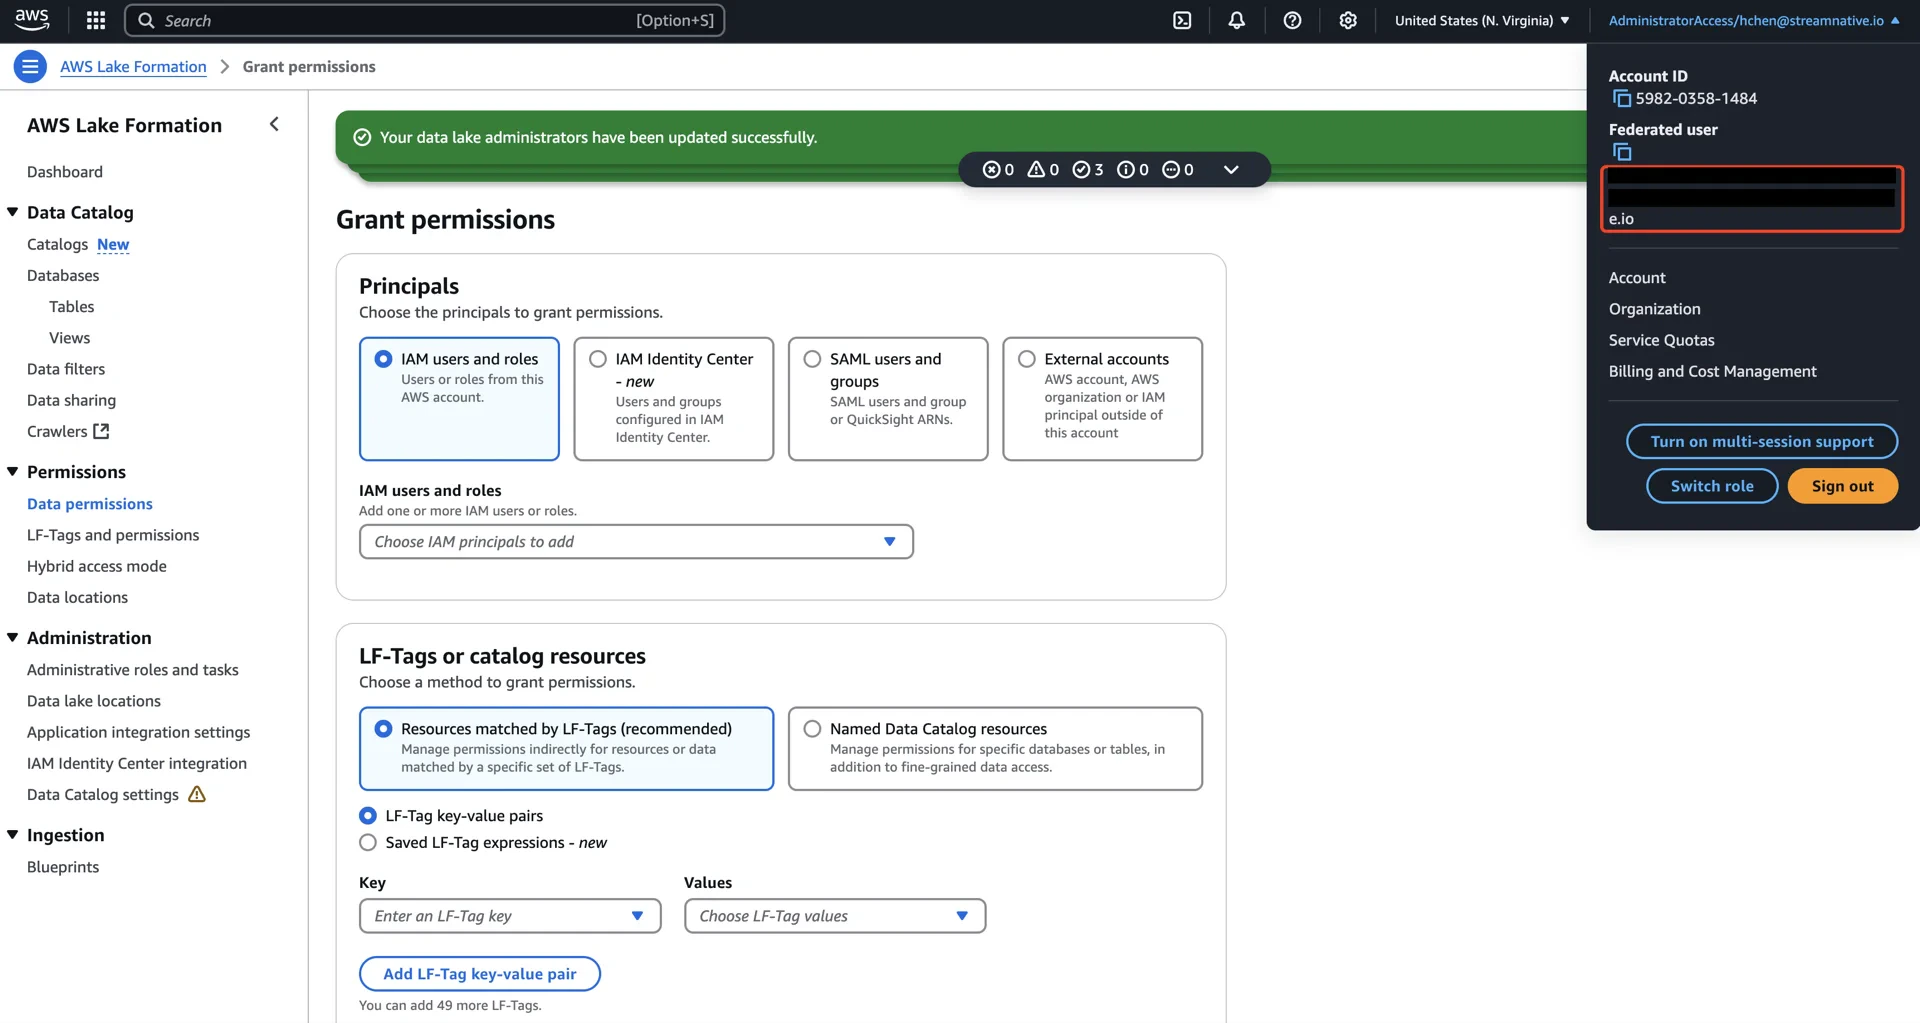
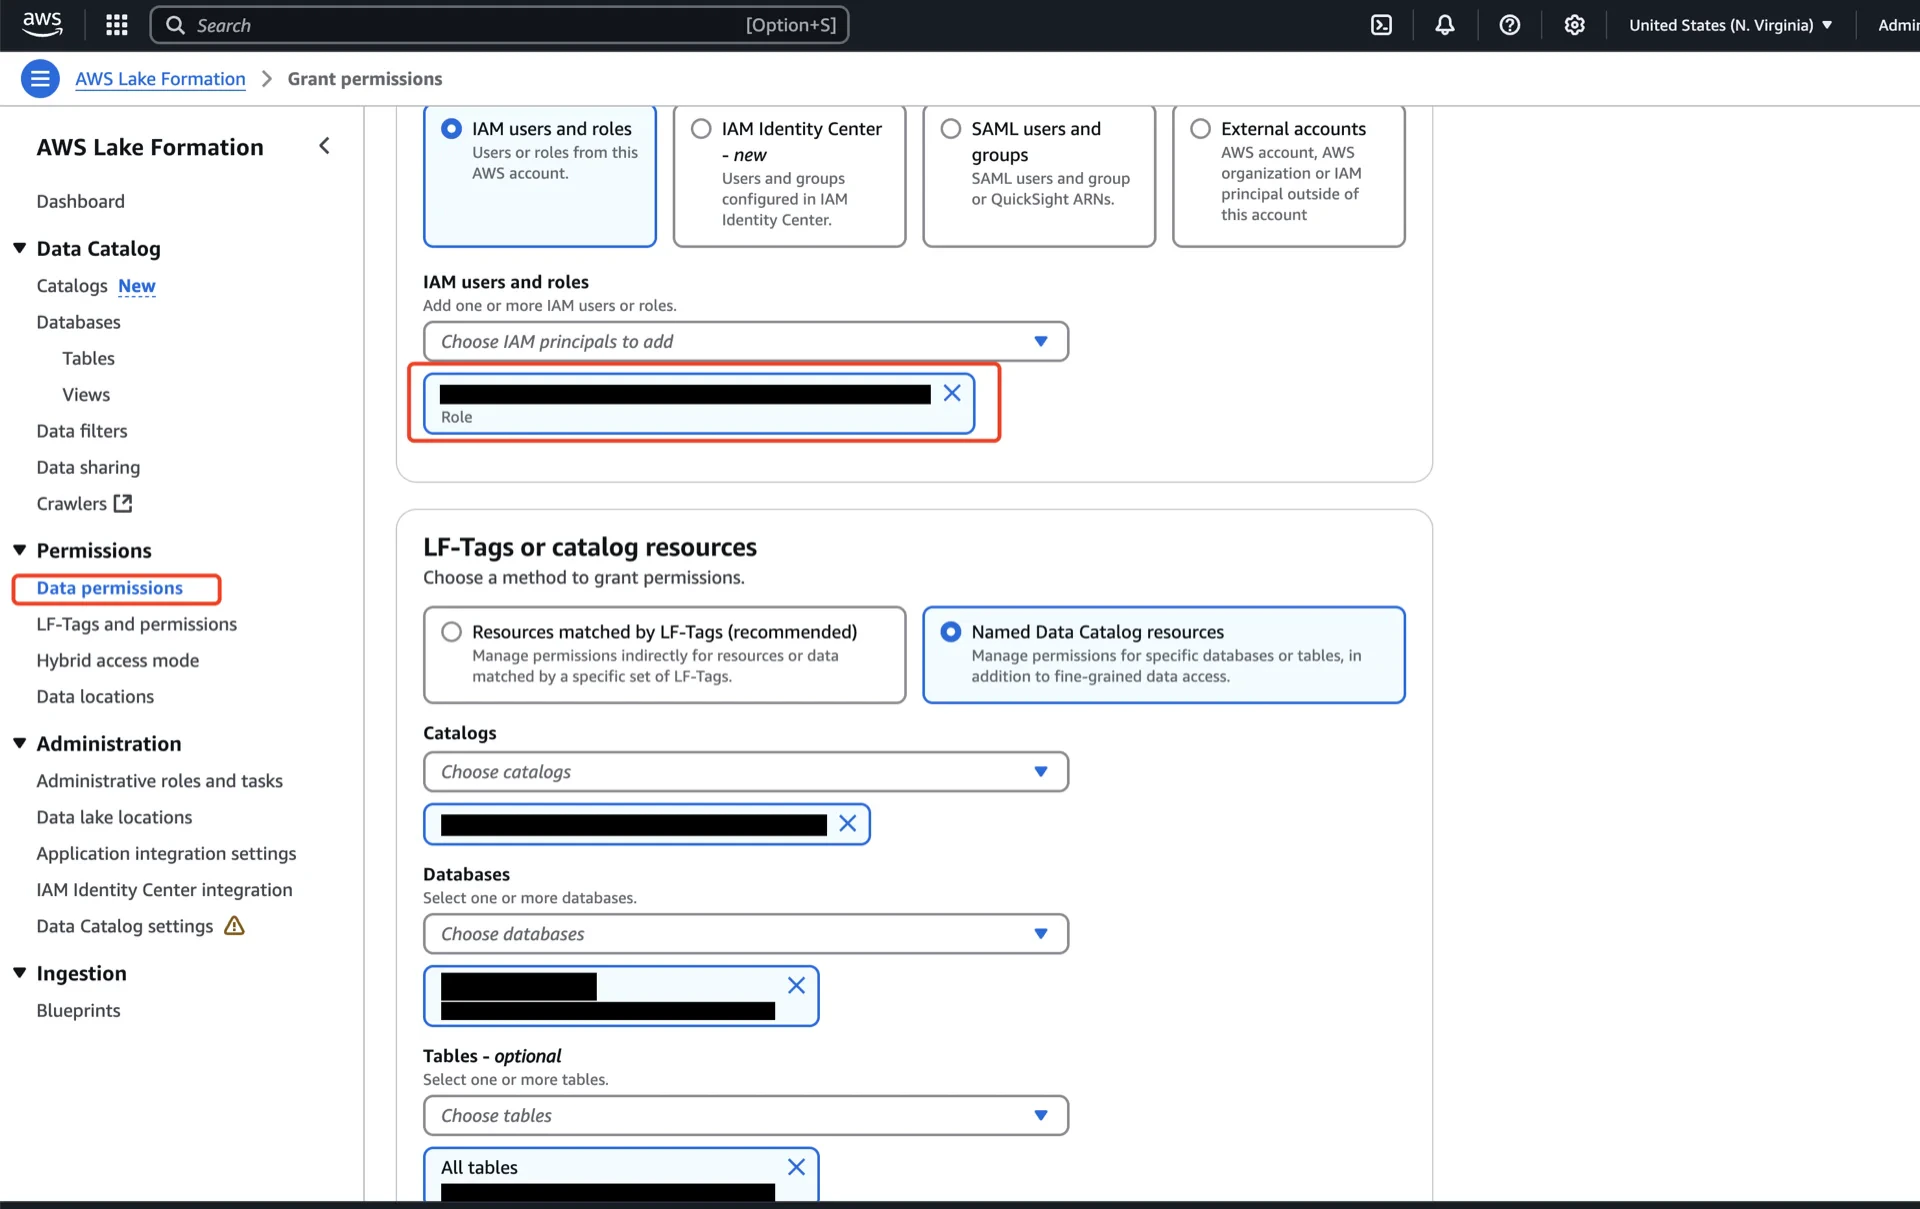
In the AWS Lake Formation console, navigate to Data permissions -> Grant and configure:- Principals: the IAM user, role, or SAML group that will run queries.
- LF-Tags or catalog resources: choose Named Data Catalog resources.
- Catalogs: the Glue Data Catalog created when the table bucket was integrated (
<account-id>:s3tablescatalog/<table-bucket-name>). - Databases: the S3Table namespace.
- Tables: the S3Table table.
- Table permissions: Super.
On the Resource Link
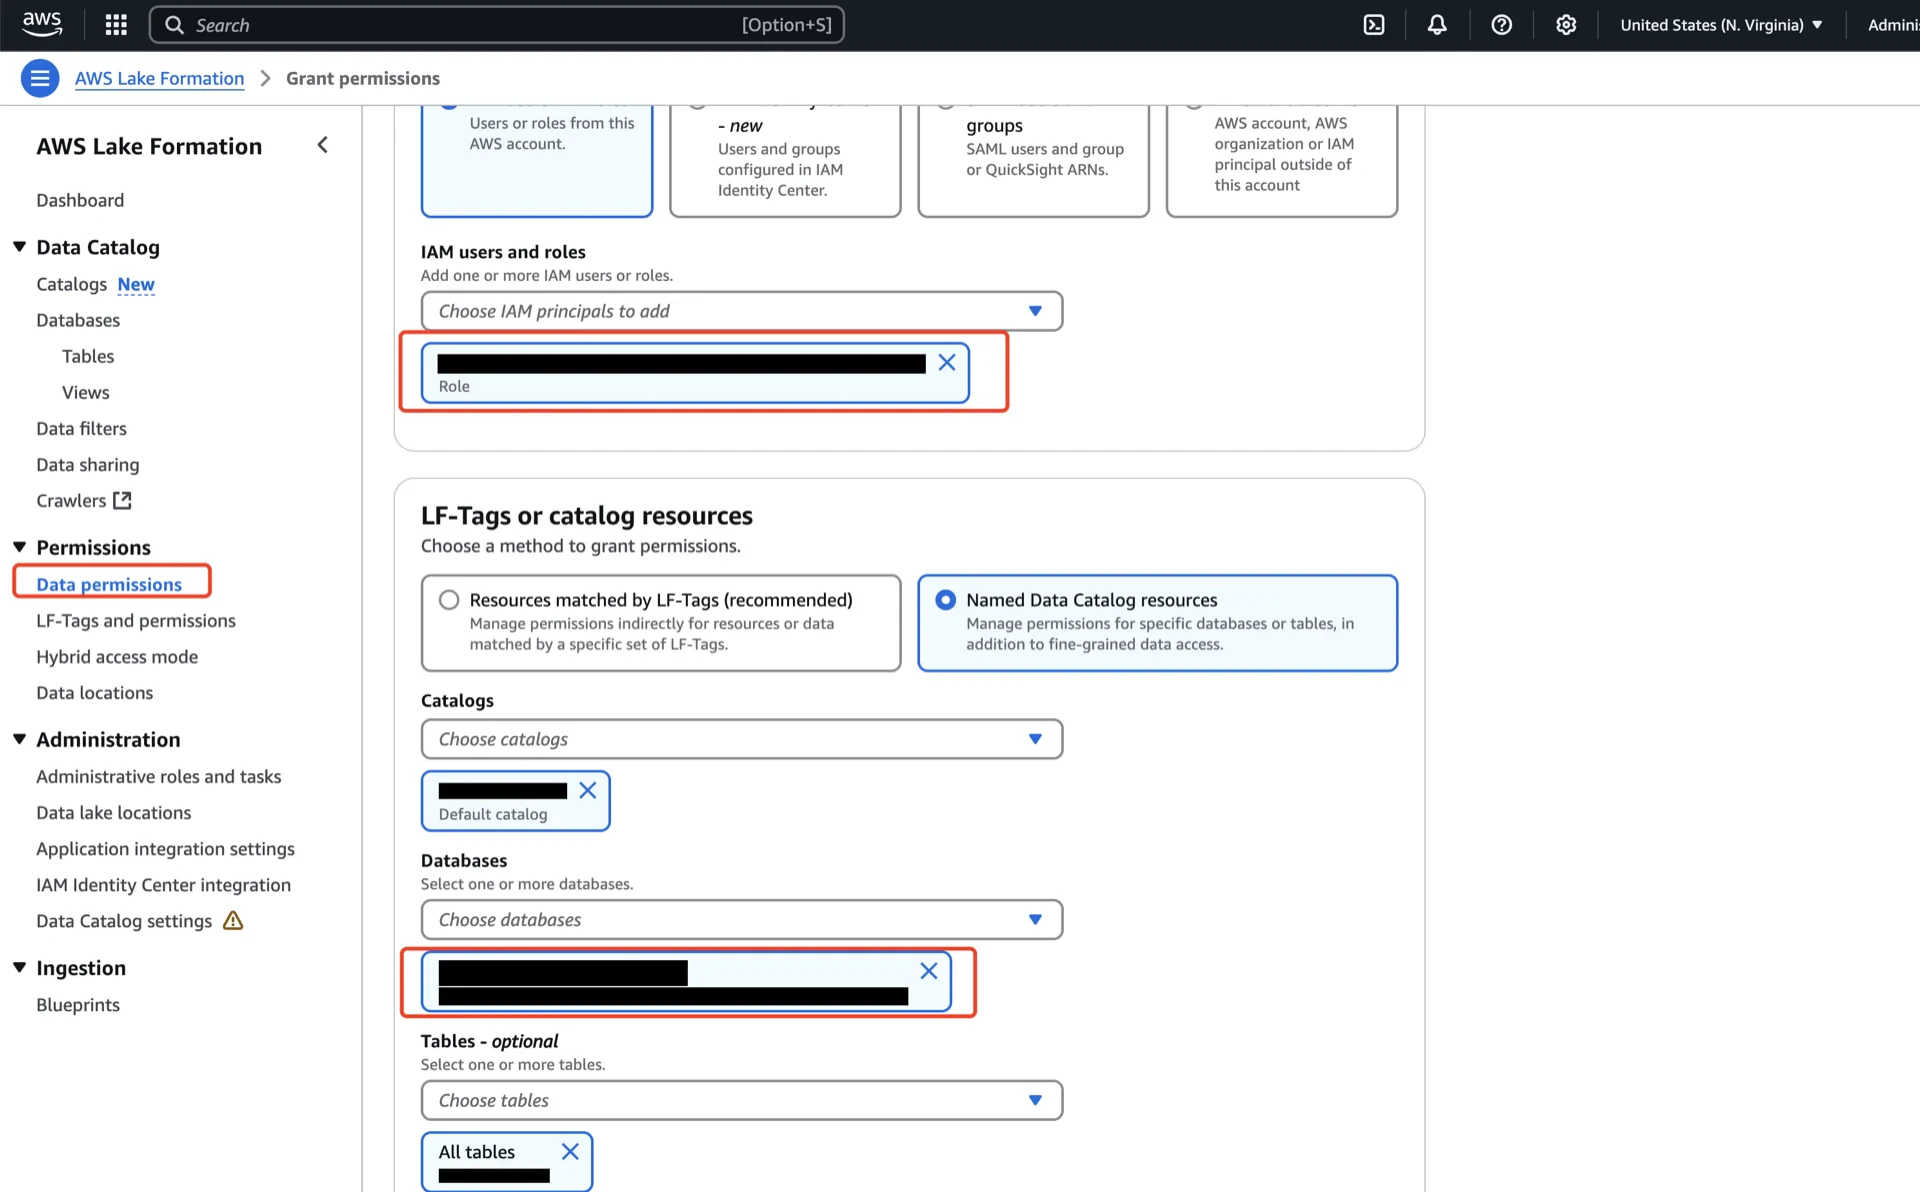
Resource links require their own grants in addition to the underlying namespace/table grants:- Principals: the IAM user/role/group.
- Catalogs: your account’s default catalog.
- Databases: the resource link from step 4.2.
- Resource link permissions: Describe.
Catalog Information Summary
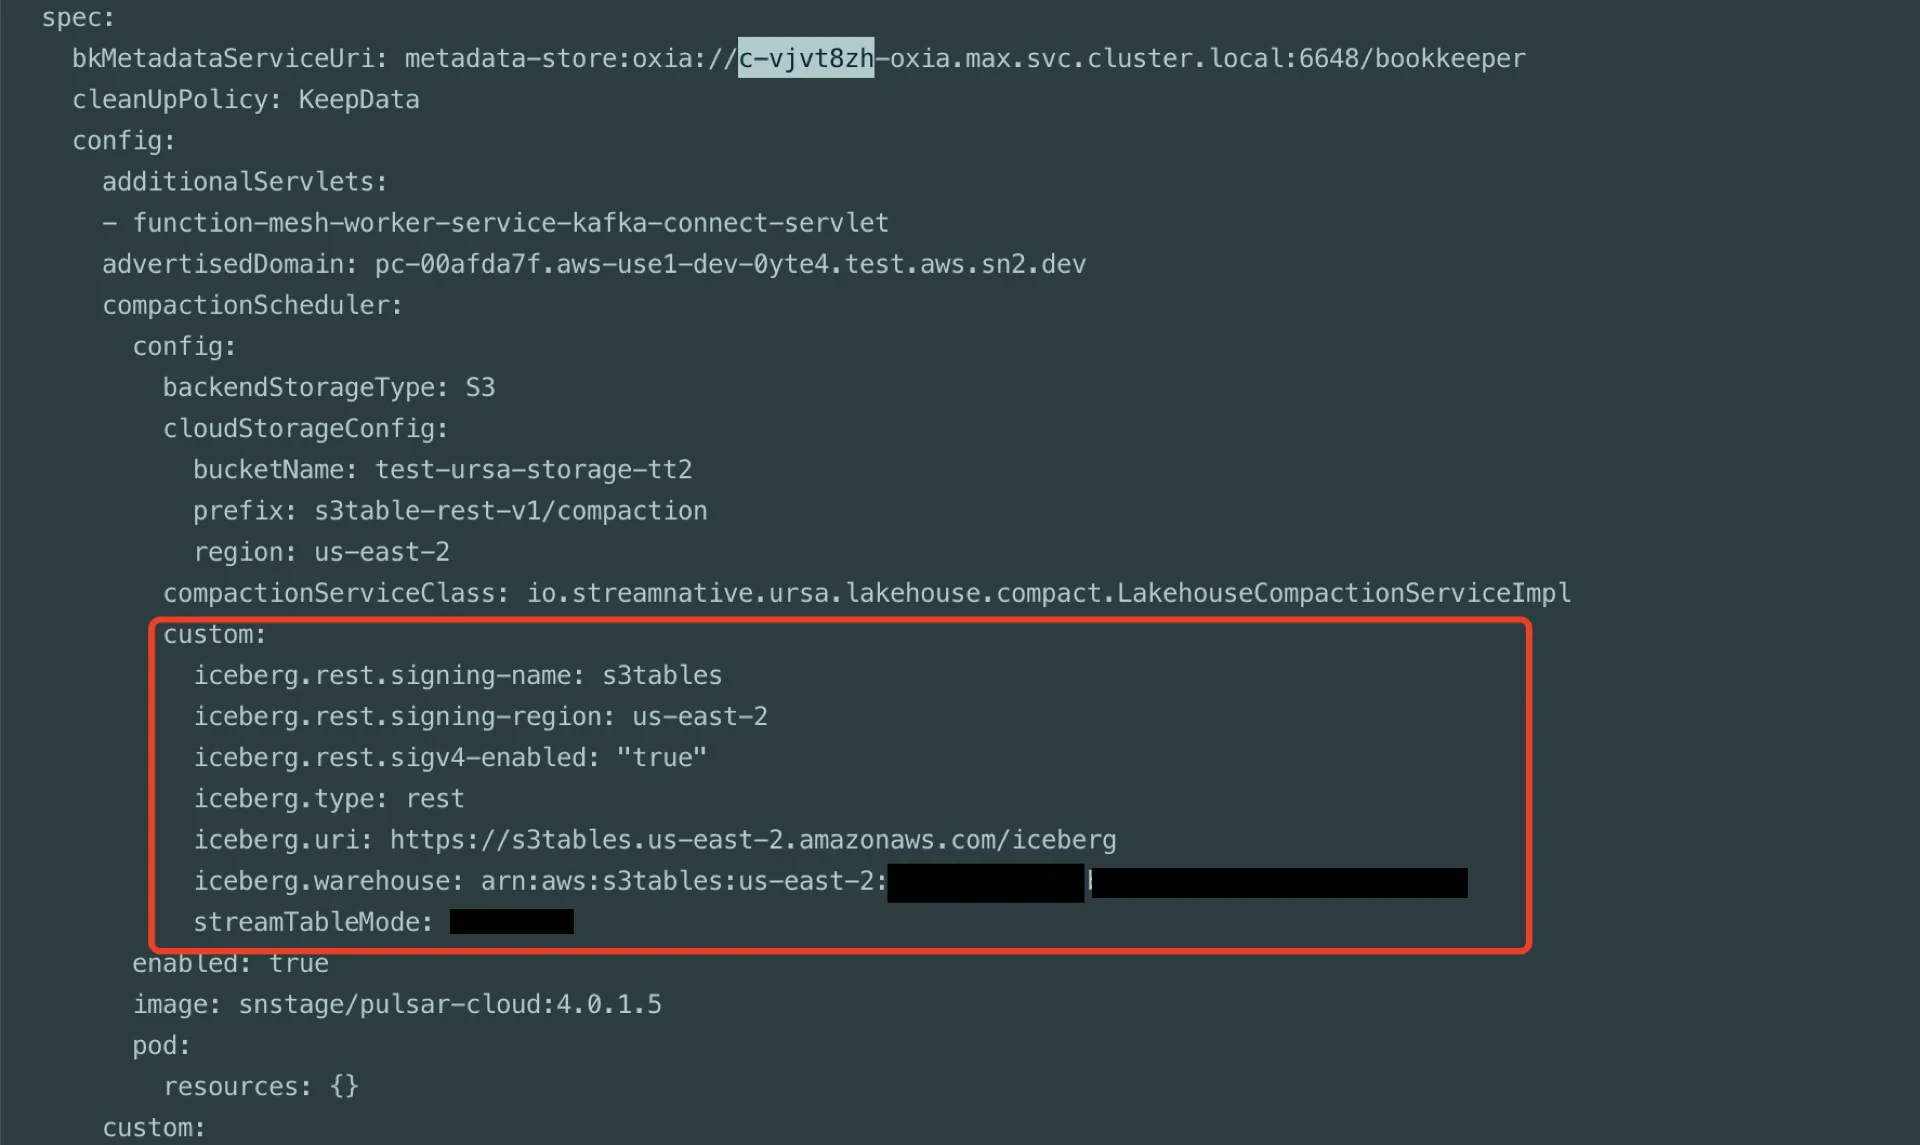
When the steps above are complete, collect the following values for the StreamNative Ursa compaction service:
For the next steps, see Register Lakehouse Catalogs.