

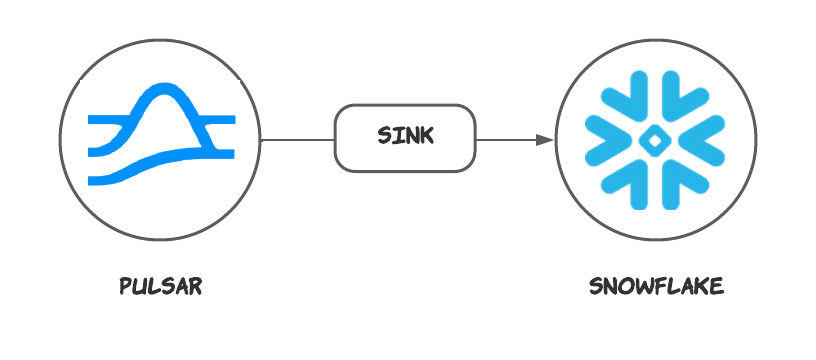
This connector is available as a built-in connector on StreamNative Cloud.
Quick start
Prerequisites
The prerequisites for connecting a Snowflake sink connector to external systems include:- Prepare a snowflake account
-
Get the account URL from the
Admin - Accountspage and click the link. It should be the format likehttps://<account_identifier>.snowflakecomputing.com. - Generate the public key and private key for the authentication. For more details, please check this guide
rsa_key.p8 (the private key) and rsa_key.pub (the public key) locally.
- Log in and configure the public key.
-a is followed by an account identifier, which is a substring of the account URL before. The -u is followed by your user name. After logging in, set the public key passphrase:
(MIIBIjA…) by running the following command:
1. Create Snowflake objects and grant permission
Before creating the connector, you need to grant the permissions in Snowflake. Write the following content into a file, e.g. name it withgrant.sql. The script creates a user snservice that will be used in the sink config later and associate it with a role snrole that is only used in Snowflake internally. Then it grants the necessary permissions.
2. Create a connector
The following command shows how to use pulsarctl to create abuiltin connector. If you want to create a non-builtin connector,
you need to replace --sink-type snowflake with --archive /path/to/pulsar-io-snowflake.nar. You can find the button to download the nar package at the beginning of the document.
If you are a StreamNative Cloud user, you need set up your environment first.
--sink-config is the minimum necessary configuration for starting this connector, and it is a JSON string. You need to substitute the relevant parameters with your own.
You can get the private key passphrase (MIIBIjA…) by running the following command:
You can also choose to use a variety of other tools to create a connector:
- pulsar-admin: The command arguments for
pulsar-adminare similar to those ofpulsarctl. You can find an example for StreamNative Cloud Doc. - RestAPI: You can find an example for StreamNative Cloud Doc.
- Terraform: You can find an example for StreamNative Cloud Doc.
- Function Mesh: The docker image can be found at the beginning of the document.
3. Send messages to he topic
If your connector is created on StreamNative Cloud, you need to authenticate your clients. See Build applications using Pulsar clients for more information.
4. Check the data on Snowflake table
First, you need to execute the following SQL command to grant the roleSNROLE to the user you logged in.
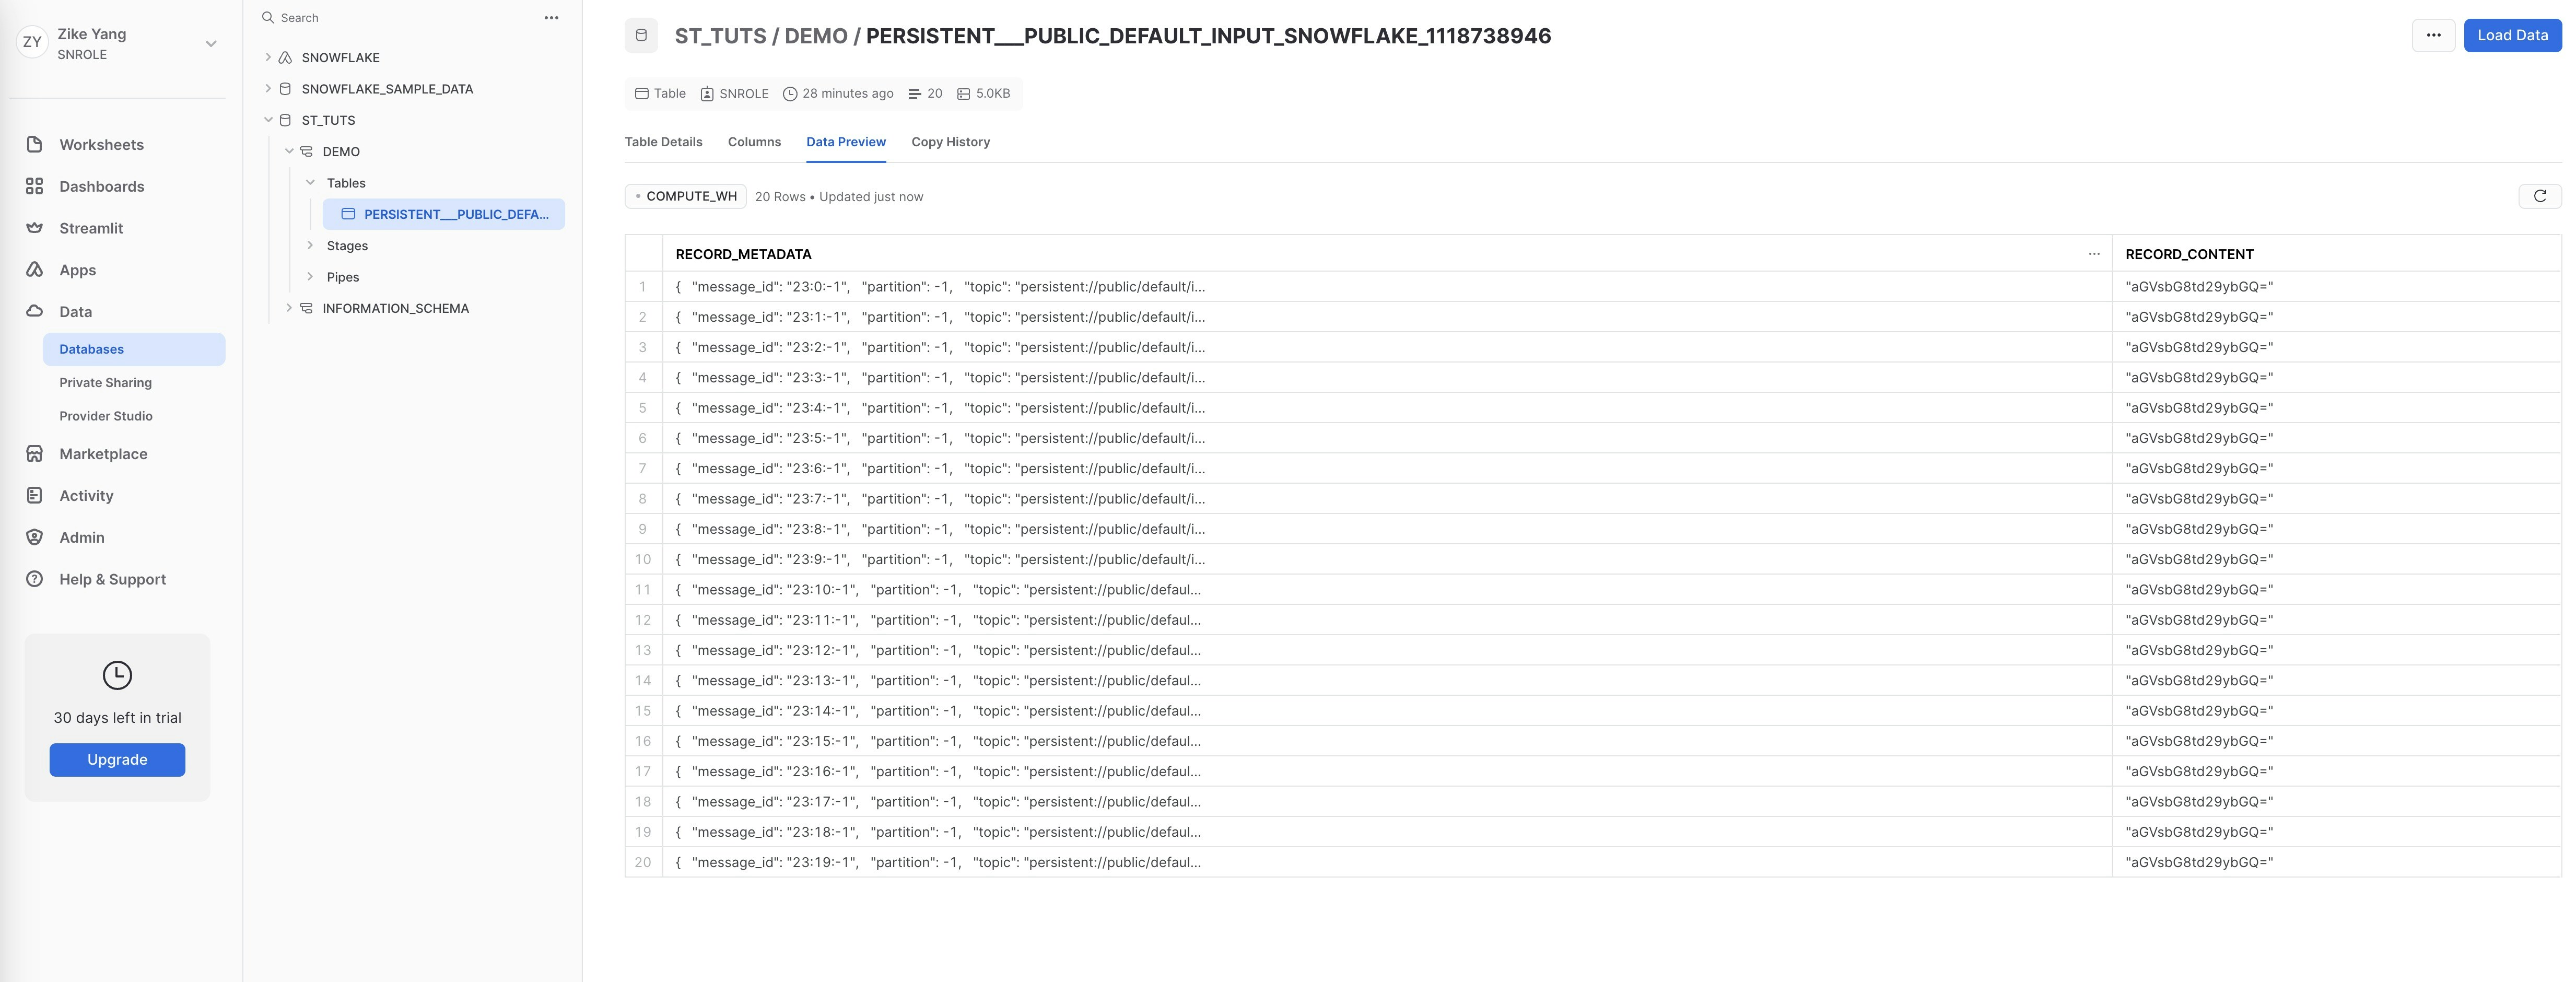
SNROLE, under Data - Database - ST_TUTS - DEMO - Tables you will find table PERSISTENT___PUBLIC_DEFAULT_INPUT_SNOWFLAKE_1118738946 is created and records the messages produced above.
Configuration Properties
This table outlines the properties and the descriptions.Advanced features
This section describes the advanced features of the Snowflake sink connector. For details about how to configure these features, see how to configure.Delivery guarantees
The Pulsar IO connector framework provides three delivery guarantees:at-most-once, at-least-once, and effectively-once.
Currently, the Snowflake sink connector only supports the at-least-once delivery guarantee semantic.
Table name mapping
The Snowflake sink connector supports automatically creating a table when the table does not exist. You can configure the following options:topic2table see example below:
Metadata Fields
There are two fields in the table: metadata and content. Metadata is ancillary information in content, such astopic, messageId, publishTime, and so on.
By default, the following metadata fields of Pulsar will be created as the metadata:
Note Currently, the Snowflake sink connector does not support custom metadata.
Data format types
The snowflake connector supports converting some Pulsar schemas, as listed in the following table.
Here are the supported field types for the Avro/JSON schema: INT, LONG, DOUBLE, FLOAT, BOOLEAN, ENUM, STRING, and UNION.
The following field types are not supported: ARRAY, BYTES, FIXED, RECORD, and MAP. Nested field types are also not
supported.
All data will be converted and written in JSON format under the “content” column. Below is a table showing the
conversion for each Schema Type: