- StreamNative Cloud Console: A user-friendly web-based interface for managing cluster resources, configuring settings, and handling billing.
-
Command-Line Interface (CLI):
- StreamNative CLI (
snctl): The unified command-line interface for deploying and managing StreamNative Cloud infrastructure and interacting directly with your Pulsar clusters and Kafka-protocol endpoints. - Pulsar CLI (
pulsarctl): For managing cluster-specific resources, such as tenants, namespaces, and topics.
- StreamNative CLI (
- REST APIs: For programmatic access and integration with other systems.
Sign up for StreamNative Cloud and get $200 of free credits. No credit card required.
This QuickStart assumes you are familiar with the basics concepts of Apache Pulsar.
Prerequisites
- Access to StreamNative Cloud.
- Internet connectivity.
-
Ensure you have installed Python 3.0 or higher versions and the Pulsar Python client.
Step 1: Sign up
If you have an email account configured for using Single Sign-On (SSO) with StreamNative Cloud, use that email address and password when signing up.
Step 2: Create a StreamNative instance and cluster
You first need to create an instance and a cluster.- Cloud Console
- In the upper-right corner of the StreamNative Cloud Console, click your Profile and select Organizations to list your created organizations.
-
Click the name of your first organization. In the figure below, the organization name is
Demos.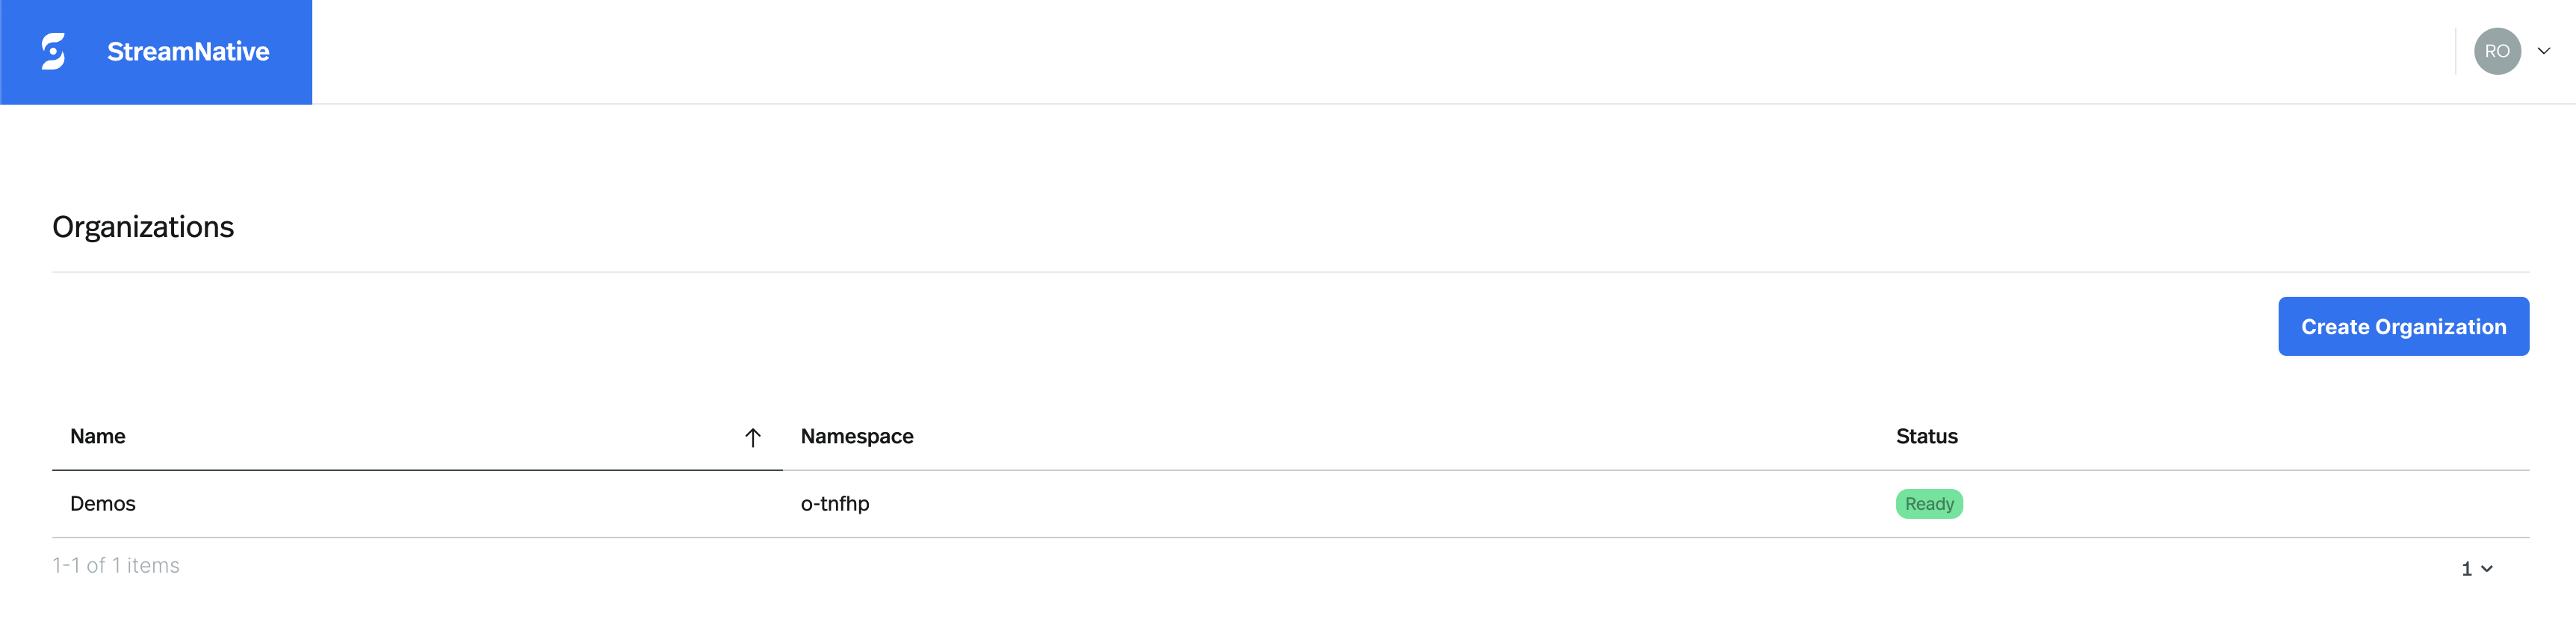
-
On the Select an Instance card of the Organization Dashboard page, click the
+button. - On the Choose the deployment type for your instance, click Deploy Serverless to start the instance creation process.
- On the Instance Configuration page, enter a name for your instance, and select a Cloud Provider. The instance name starts with a lowercase letter, contains any combination of lowercase letters (a-z), numbers (0-9), and hyphens (-), and must be 4-10 characters.
- Click Cluster Location to start the cluster creation process.
- On the Cluster Location page, enter a name for your cluster, select the cluster location, and then click Finish. The cluster name starts with a lowercase letter, contains any combination of lowercase letters (a-z), numbers (0-9), and hyphens (-), and must be 4-10 characters.
Step 3: Create a service account
To interact with your cluster by producing and consuming messages, you need to set up authentication and authorization. This is done by creating a Service Account, which serves as an identity for authenticating and authorizing access to the cluster. The service account will provide the necessary credentials for your applications to securely connect and perform operations on the Pulsar cluster.Currently, you can’t edit a service account. If you need a service account to have Super Admin access, make sure to enable it when creating the service account. By default, service accounts do not have Super Admin enabled.
- Cloud Console
- In the upper-right corner of the StreamNative Cloud Console, click your Profile and select Accounts & Accesses.
- On the left navigation pane, click Service Accounts.
- On the Service Account page, click + New Service Account.
- On the Create Service Account dialog, enter a name for the service account, and then click Confirm.
- On the Service Account page, in the row of the service account you just created, click the … icon, and select Create API Key in the dropdown menu.
-
On the New API Key dialog:
- Enter a name for the API key
- Set the expiration date
- Select the instance you created in Step 2
- Write a description for the API key
- Click Confirm
An API key and associated secret apply to the active StreamNative instance. If you add a new instance, you must create a new API key for producers and consumers on the new Pulsar instance. For more information, see Use API Keys to Authenticate to StreamNative Cloud.
- After the API key is created, you can see the API key shown in the New API Key dialog. Click the Copy and close button to copy the API key to your clipboard. Please note that you cannot retrieve the API key later after closing the dialog.
Step 4: Create Tenant and Namespace, and Authorize the Service Account
After creating the service account and obtaining the API key, the next crucial step is to authorize the service account. This process grants the necessary permissions for the service account to interact with your StreamNative Cloud cluster. Authorization involves setting up Access Control Lists (ACLs) that define what actions the service account can perform. Typically, you’ll want to grant permissions for producing and consuming messages on specific topics or namespaces. For more information about authorization, see Authorization and ACLs.- Cloud Console
- Go back to the Cluster Dashboard page.
- On the left navigation pane, click Instances.
- On the Instances page, click the name of the instance you created in Step 2.
- On the Cluster Dashboard page, click Tenants on the left navigation pane.
- On the Tenants page, click + New Tenant.
-
On the New Tenant dialog:
- Enter a name for the tenant
- Select your user account as the Admin role
- Select the cluster created in Step 2 as Allowed clusters
- Click Confirm
- On the Tenants page, click the name of the tenant you just created. You will be directed to the Tenant Dashboard page.
- On the Tenant Dashboard page, click Namespaces on the left navigation pane.
- On the Namespaces page, click New Namespace.
-
On the New Namespace dialog:
- Enter a name for the namespace
- Select the cluster created in Step 2 as Allowed clusters and Replication clusters
- Click Confirm
- On the Namespaces page, click the name of the namespace you just created. You will be directed to the Namespace Dashboard page.
- On the Namespace Dashboard page, click Configuration on the left navigation pane.
-
On the Namespace configuration page, click ADD ROLE. Select the name of the service account you just created, and choose the consume and produce permissions. This grants your service account the
produceandconsumepermissions for this namespace.
produce and consume permissions for this namespace. You can now continue on to building a Python app, connecting to the cluster, and producing and consuming messages.
Step 5: Produce and consume messages
This QuickStart provides you with an example Python app to get you up and running with consuming and producing messages. This is a simple example and is not intended for production environments.
Create a producer/consumer
- Cloud Console
- Return to the StreamNative Cloud Console and go to the “Cluster Dashboard” page.
- On the left navigation pane, click Pulsar Clients.
-
On the Pulsar client setup page, click the Code libraries tab, follow the setup wizard to get the sample codes for your producer and consumer.
a. Select Python as the client library and click Next.
b. Select the service account you created and click Next.
c. Select API Key as the authentication type and click Next.
d. Install
pulsar-clientpython client library.e. Select the target tenant, namespace, topic, and subscription. f. You are now ready to copy the auto-generated sample codes. -
Return to your text editor and create two new files:
producer.pyandconsumer.py. Copy and paste the sample code for the producer intoproducer.pyand the sample code for the consumer intoconsumer.py. In both files, replace<JWT Token>with the API key you copied from the Service Account page.
Run the clients to produce and consume your first message
-
Open a terminal window, navigate to the folder containing the
consumer.pyfile, and run the following command: -
Open a second terminal window, navigate to the folder containing the
producer.pyfile, and run the following command: -
Return to the first terminal window. You should see the following:
Next steps
- After you have successfully provisioned a Serverless cluster and connected to the cluster, you can learn more about working with StreamNative Cloud by reading through Cloud Console basics.
- If you want to learn more about Pulsar, Kafka, and StreamNative Cloud, take our developer courses at the StreamNative Developer Portal.
- If you want to create multiple Pulsar clusters replicating messages with geo-replication mechanism, you can learn more by reading through the Geo Replication on StreamNative Cloud.