

Pulsar clusters run two schema registries and they aren’t interoperable. If you haven’t decided which
one your applications should use, start with
Data governance overview.
Enable the Schema Registry
- In the StreamNative Cloud Console, open the left navigation pane, and under Admin select Kafka Clients.
-
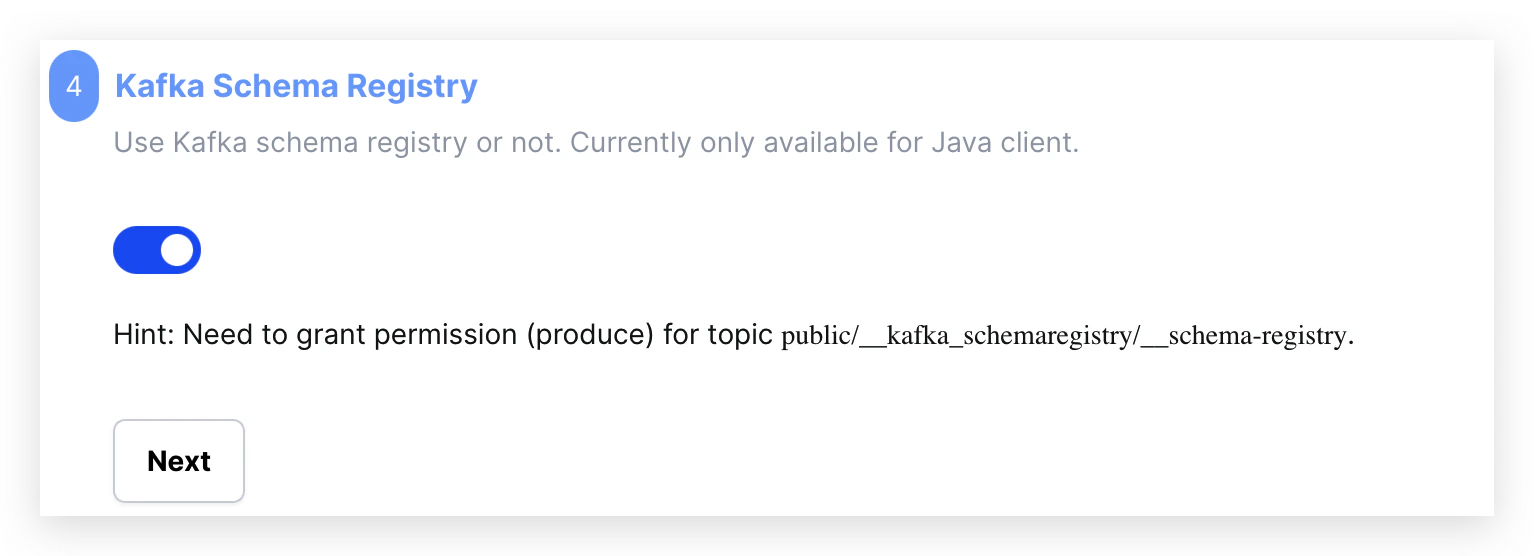
Choose the Java client, then turn on the Kafka Schema Registry toggle.
Get the Schema Registry URL
On a Pulsar cluster, the Schema Registry URL is the cluster’s HTTP service URL with/kafka
appended:
- snctl
- Cloud Console
Grant access
Clients need permission to read and register schemas. StreamNative Cloud supports two authorization models, and which one applies depends on your cluster.Role-based access control
Assign one of the Schema Registry roles, scoped to the subjects the client uses:
See Manage RBAC roles for how to
bind a role to a service account.
Topic-level permission
Older clusters authorize Schema Registry access through a single ACL on the registry’s backing topic instead. Grantproduce on public/__kafka_schemaregistry/__schema-registry:
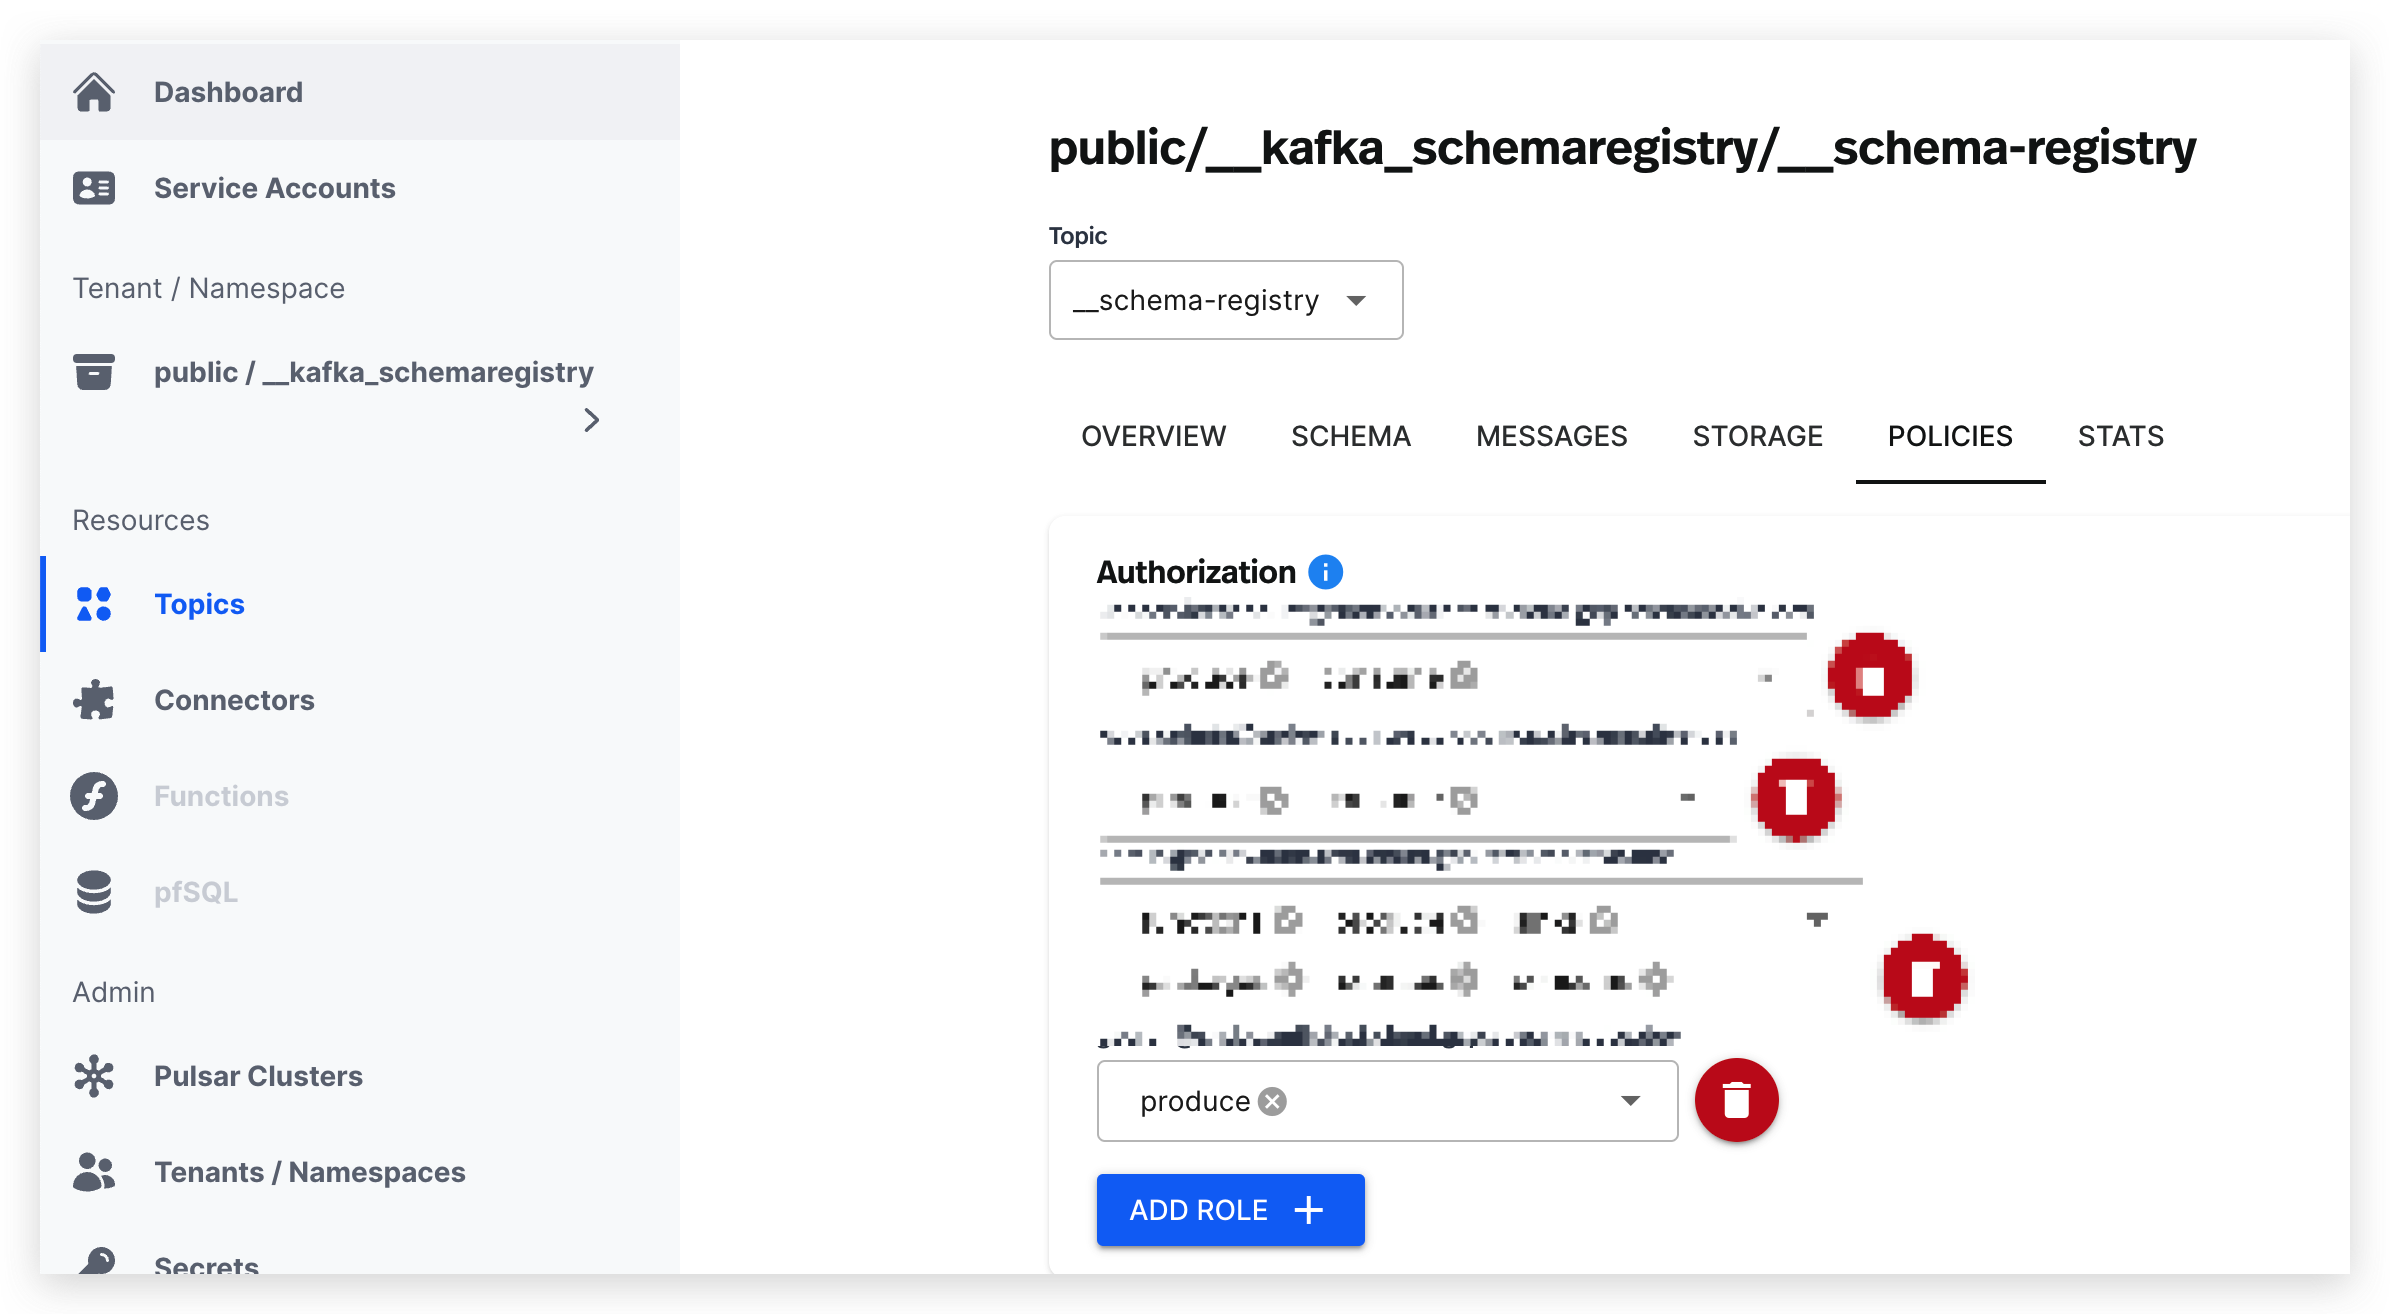
Under this model the same permission covers both reads and writes—a client that only reads schemas
still needs
produce on that topic. Prefer role-based access control where it’s available, since it
scopes permissions per subject.Connect a client
Point your client’sschema.registry.url at the URL from above and supply credentials. Basic
authentication works with every Kafka client; OAuth2 is available for the Java client.
Next steps
Kafka Schema Registry reference
Compatibility modes, the REST API, and schema ID validation.
Use Kafka schemas from Pulsar clients
Keep the Pulsar APIs while resolving schemas from this registry.
Replicate schemas
Set up active-standby replication with Universal Linking.
Pulsar Schema Registry
The other registry on this cluster.