

Before you begin
You need SQL Workspace Private Preview access and a cloud role that permits SQL Workspace creation. The creation wizard displays only placements available to your organization.Create the workspace
- Sign in to the StreamNative Cloud Console and select your organization.
- In the activity bar, click SQL.
- Open the workspace selector and click Manage workspaces.
- On the SQL Workspaces page, click New workspace.
- Enter a workspace name. Use lowercase letters, numbers, dashes, or dots. You cannot change the name after creation.
- Select an eligible hosted Location or ready BYOC Cloud Environment.
- On the Engine page, select RisingWave. RisingWave is the only supported engine during Private Preview.
- Optional: select Pulsar or Kafka clusters to add as SQL Catalogs during creation.
- Review the configuration and click Create.
- Wait until the workspace status is Ready.
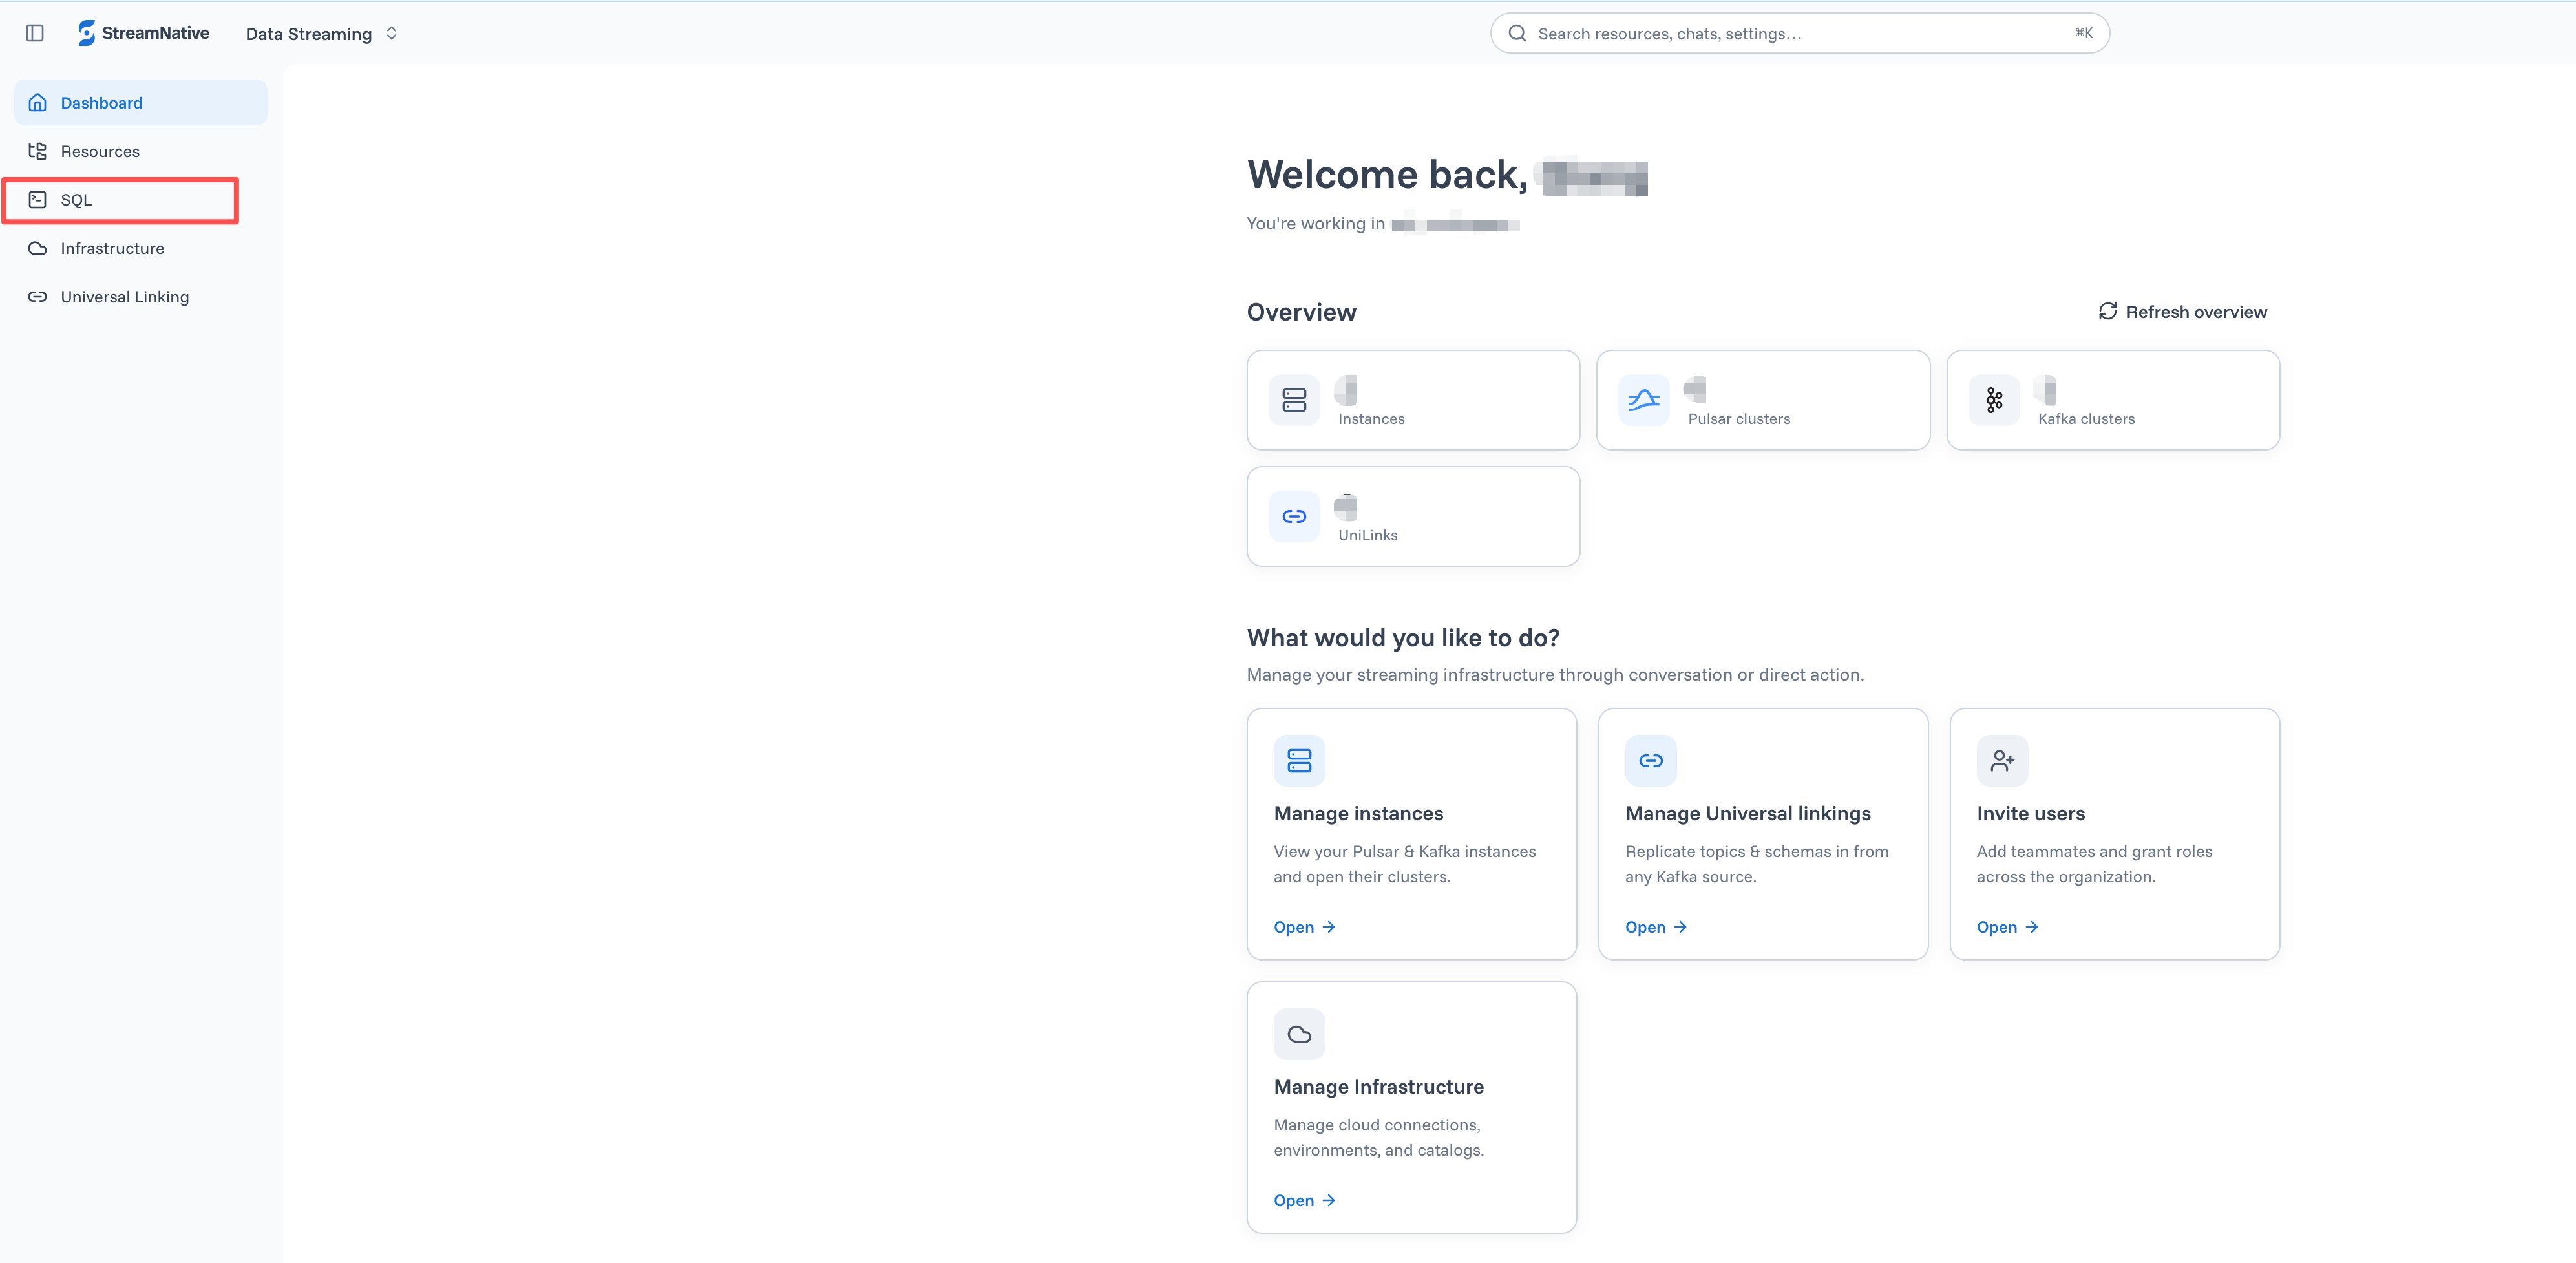
Open SQL from the StreamNative Cloud Console activity bar.
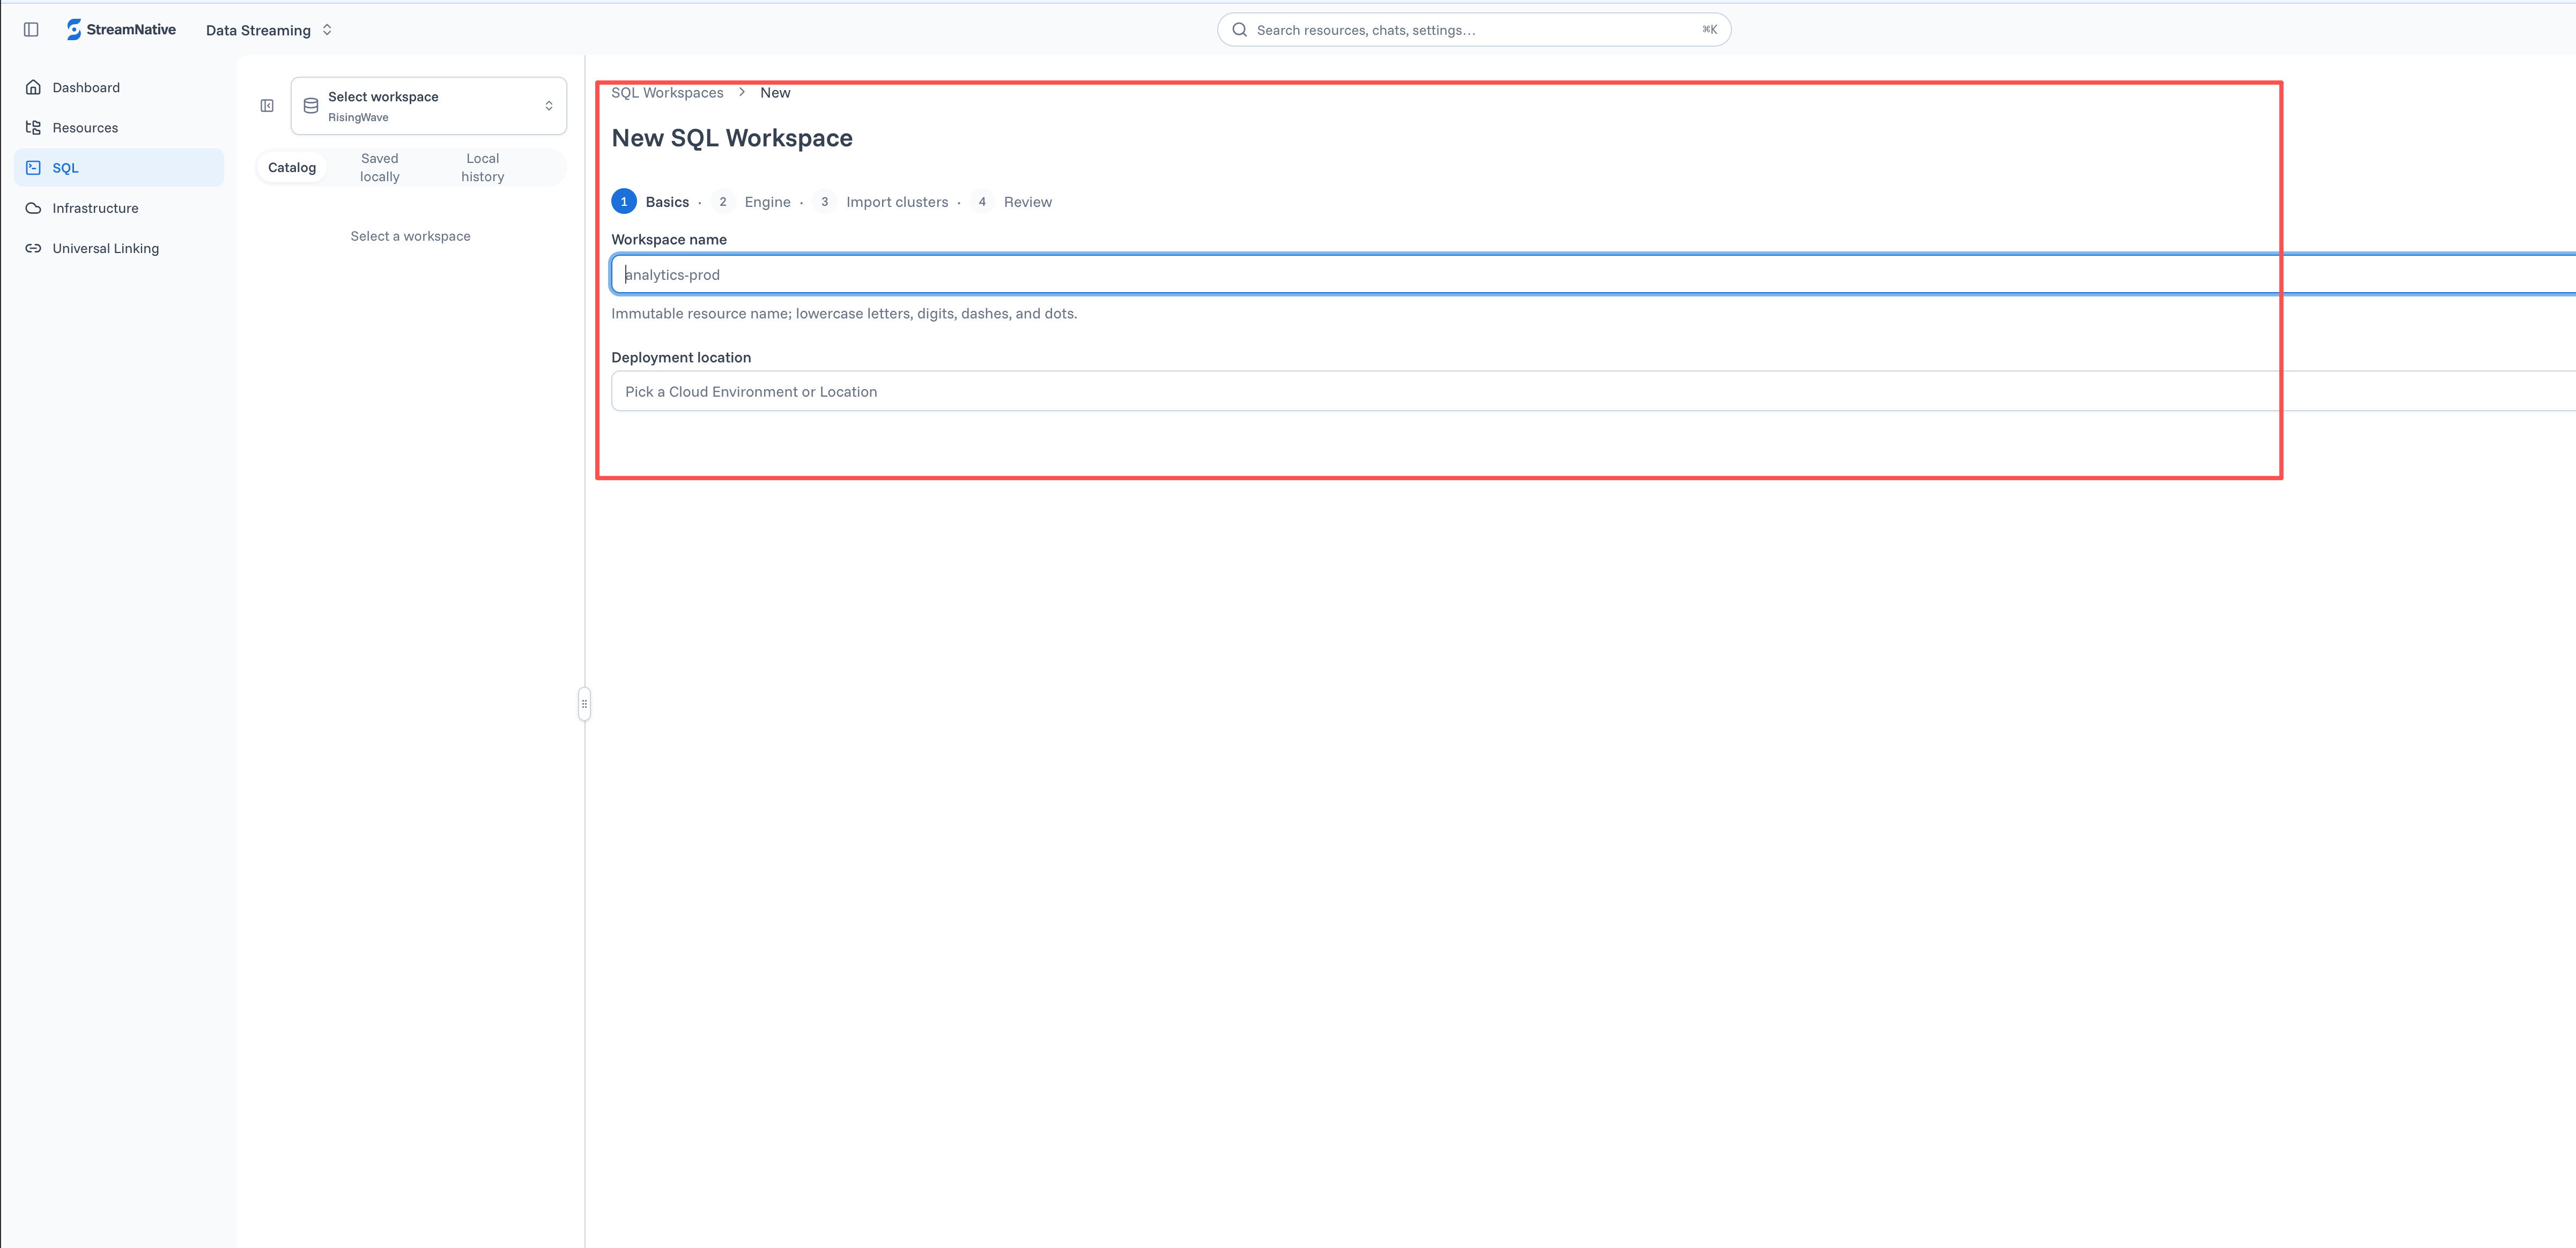
Enter the name and placement for a new SQL Workspace.