Authentication Methods
StreamNative Cloud provides three authentication methods (username/password, Google, and SSO), as summarized in the following table.| Authentication method | Description |
|---|---|
| Username/password | A user that authenticates using a combination of username and password. |
| A user that authenticates using a user’s Google account. | |
| SSO | A user that authenticates using single sign-on (SSO) with an organization’s identity provider (IdP). |
- Each user account represents one user and allows management of their access to StreamNative Cloud.
- User accounts are organization-level resources. An organization can have only one identity provider (IdP).
- You can sign in to a user account using the StreamNative Cloud Console or StreamNative CLI.
- Principals (users and service accounts) can be granted ACLs. For details, see Control Access to StreamNative Cloud.
- You can create and manage users using the StreamNative Cloud Console.
- A user account can be a member of one or more organizations. When a user is a member of multiple organizations, their authentication types are the same across all organizations.
- If your email provider supports creating multiple accounts or aliases by adding a plus sign (
+) and a tag or word before the@sign in an email address, each alias that is used to sign up for StreamNative Cloud will be its own separate account. This doesn’t work for organizations enabled SSO login. - A user account can have multiple authentication methods.
Users using username/password
Create a user (initial)
If you don’t have a StreamNative Cloud user account, you can create one with a username and password. To create a user in StreamNative Cloud:- Go to the StreamNative Cloud Console.
- The Create Your Account page appears.
- To sign up for a new account, type your email and click Continue button.
- Enter a password and click the Continue button. A verification link will be sent to your email address.
- Check your email account for a Your account with StreamNative Cloud email.
- In the email, click “Verify email address”. You will be redirected to an Email Verified page on StreamNative Cloud. Then click “Back to cloud console for login”.
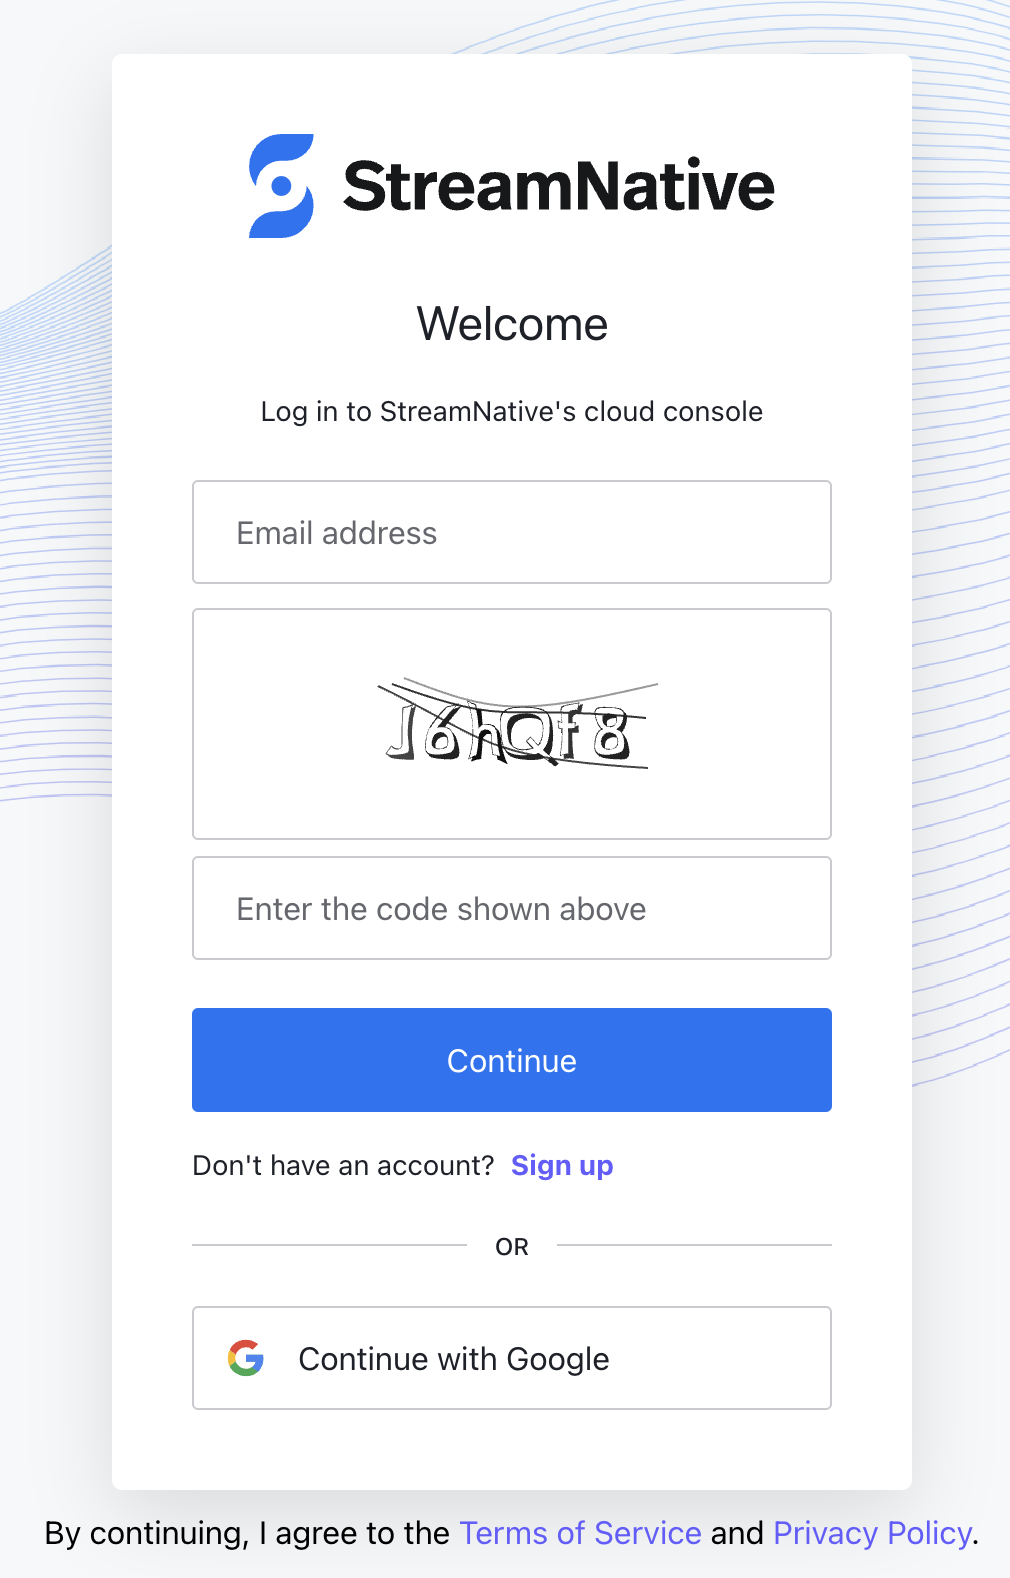
- The Log in to StreamNative’s cloud console page appears.
- Type in your email and password to continue. Follow the instruction to complete the sign-up form to create your first organization.
- You are signed in to StreamNative Cloud and can begin using the StreamNative Cloud Console.
Password requirements
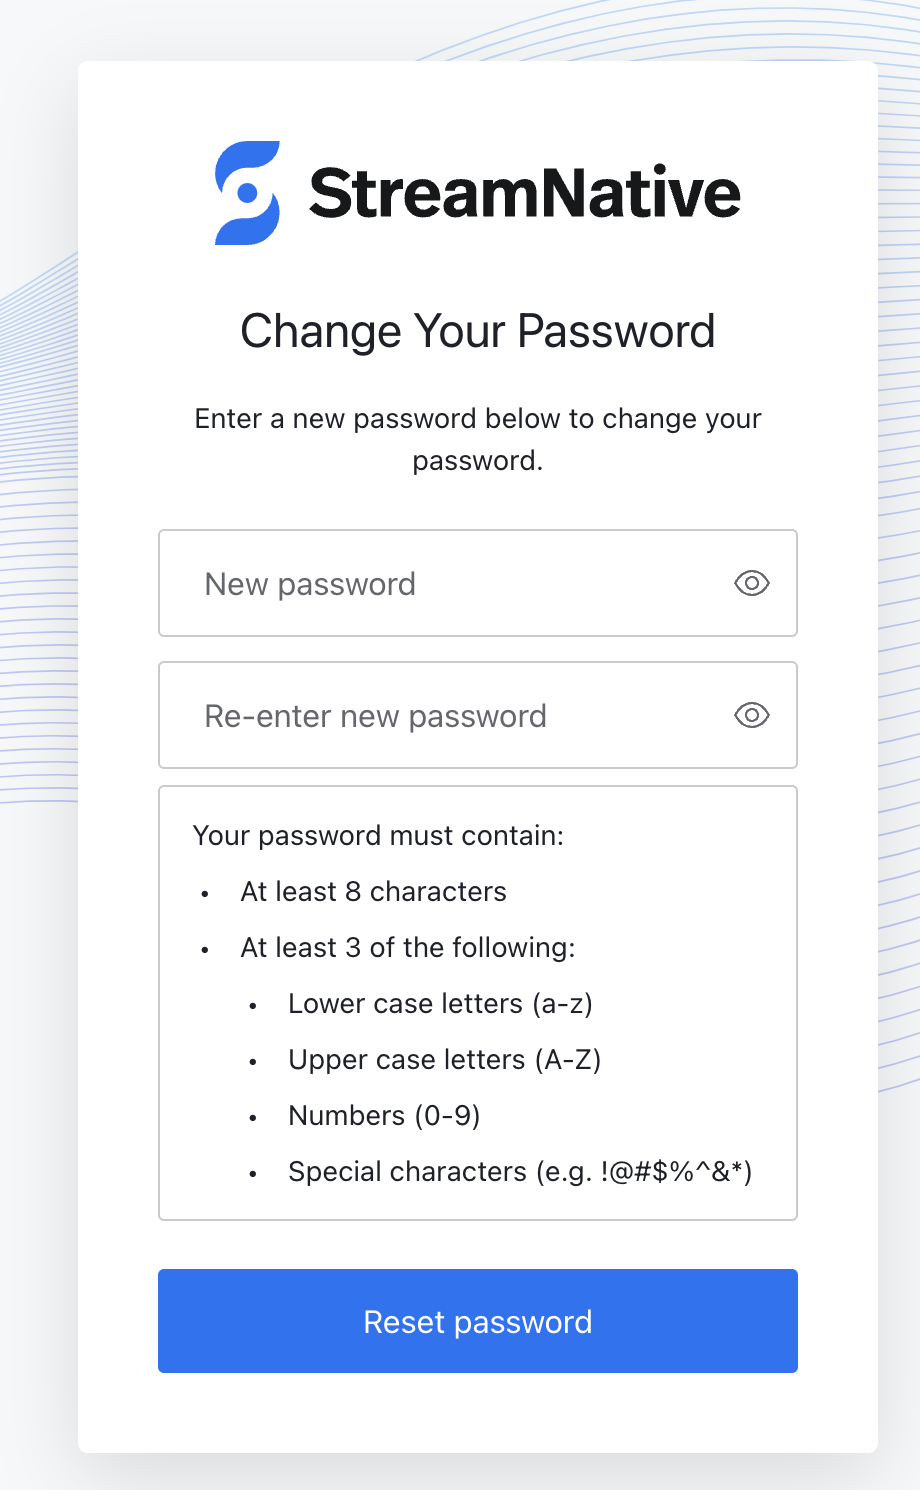
Passwords must conform to the following restrictions:- At least 8 characters
- At least 3 of the following:
- Lower case letters (a-z)
- Upper case letters (A-Z)
- Numbers (0-9)
- Special characters (e.g.
! @ # $ % ^ & *)
Resetting your password
If you forget your password, reset it by doing the following:- Go to the Cloud Console. Enter your email address into the login prompt as though you were going to sign in, and click Continue.
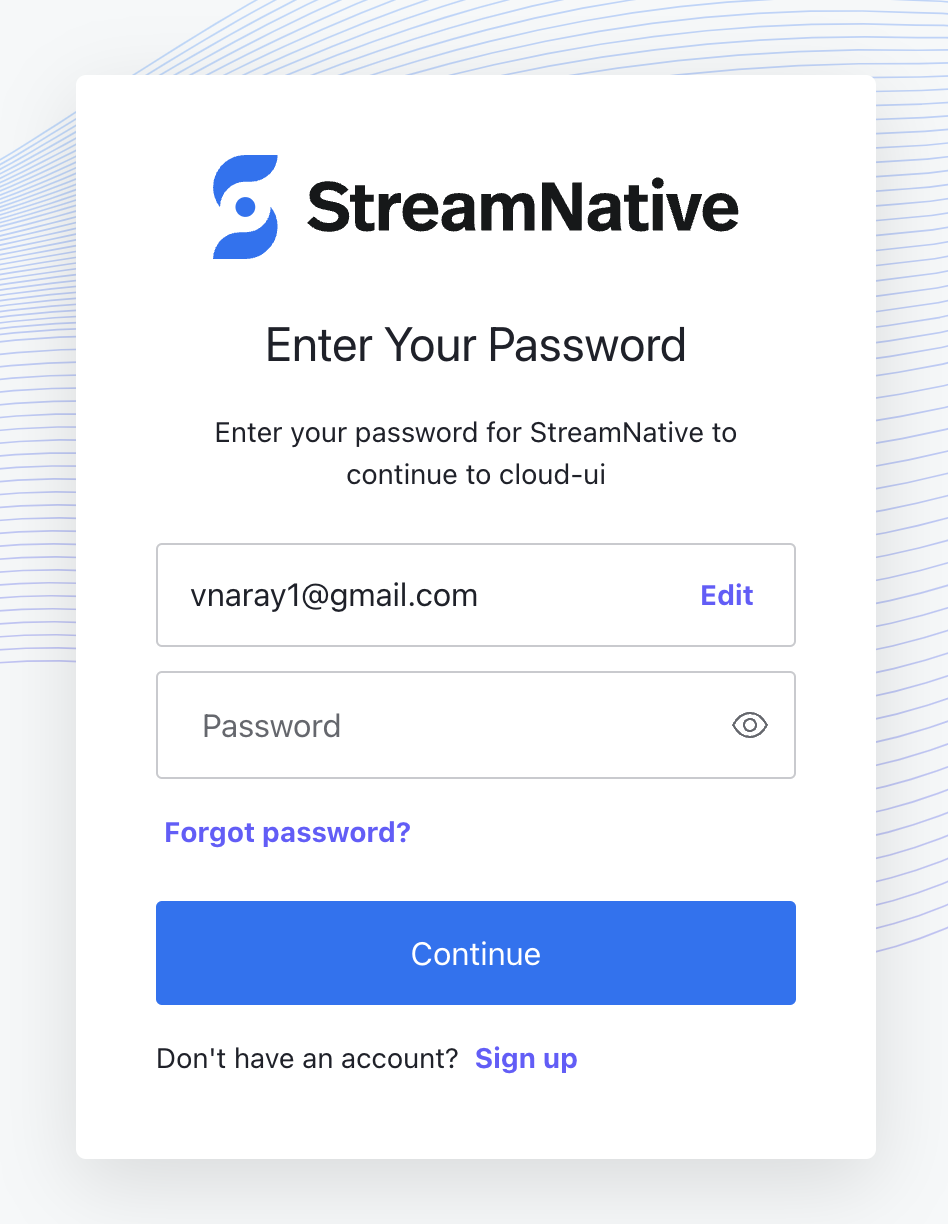
- On the next screen, you will be prompted to enter your password. Below the password field is a link titled Forgot password?. Click it.
- The next screen, titled Forgot your password?, contains a field to enter your email address to receive instructions on resetting your password. Confirm the email address in the field is correct, and click Continue.
- Check your inbox for an email from StreamNative Cloud titled “Reset your password.” If you do not see it, check your Spam folder.
- Navigate to the link specified in the email, and you will see a page where you can reset your password. Enter in your new password, re-enter it to confirm it, and click Reset password.
Signing In with Google
Users can create a user account for StreamNative Cloud using Google as their social identity provider (IdP). This simplifies user registration and sign-in and is a convenient alternative to mandatory account creation. If your organization starts on StreamNative Cloud using the “Continue with Google” option, you can migrate later to use SAML-based single sign-on (SSO).You cannot currently disable Google authentication to use username/password authentication.
Use Continue with Google to authenticate
You can sign up for a StreamNative Cloud user account with Google and then you will be able to use Continue with Google on every future visit. To use Continue with Google:- Go to StreamNative Cloud Console.
- Click Continue with Google.
- On the Choose an account page, click on your Google account.
- After you’re authenticated with Google, you will be redirected to StreamNative Cloud console. Follow the instruction to complete the sign-up form to create your first organization.
- You are signed in to StreamNative Cloud and can begin exploring and using the StreamNative Cloud Console.
Single sign-on (SSO) users
User accounts created after enabling single sign-on (SSO) for your organization provide acccess to StreamNative Cloud using an existing SAML-based identity provider (IdP). If you would like to enable SSO for your organization, please reach out to your StreamNative Account Manager.Manage user accounts
As an administrator, you can invite users to your organization and delete the current users. This section describes how to invite, view, and delete users in your organization. You can perform all these operations using the StreamNative Cloud console. Alternatively, you can do them using StreamNative CLI. Before executing any commands, ensure thatsnctl is correctly configured for the appropriate organization. For guidance on signing in to an organization with snctl, refer to the section on Sign in to an organization.
Invite a user
Invite a user using the StreamNative Cloud Console
You can use the StreamNative Cloud Console to invite a user.- Through the Dashboard page
- Through the Organization page
- Through the Users page
- In the upper-right corner of the StreamNative Console, click your Profile and select Organizations to check your created organizations.
- Click the name of your organization.
- On the Users card of the Dashboard page, click the Add icon and a dialog box appears.
- Enter the user’s email address and then click Invite.
-
Click the
Accessbutton to grant roles to the user account. For details on available roles, see Predefined Role
Invite a user using snctl
- Command-line
- YAML
To invite a new user to your organization, follow these two steps:For example, to invite a user with the email For example, to create a role binding for At this point, the new user is fully prepared to access the invited organization on StreamNative Cloud.However, if the new user has not yet registered on StreamNative Cloud, they will NOT receive an invitation email if invited through
- Create a User account
- Bind the User account to a Role
Create a User account in an organization
To create a new User account in an organization, follow the command below. Ensure that${email} is replaced with a valid email address where the new user will receive an invitation from StreamNative Cloud. The ${user_account_name} is a unique identifier for the user account within your organization. It is recommended to use the user’s email address as the identifier for simplicity and clarity.john.doe@test.local, you would use:Bind the User account to a Role
After creating a user account, you must bind a role to it to grant permissions. For use all predefined roles, see Predefined Role. The following example shows how to bind theadmin role.To bind a User account to a role, use the following command to create a role binding. Make sure that the ${user_account_name} is the one you created in the previous step. The ${rolebinding_name} should be a unique identifier for the role binding within your organization. For ease of reference, it is recommended to use the format ${user_account_name}_${role} as the identifer.john.doe@test.local, use:snctl. In this case, the new user should follow the sign-up instructions to create a new account. Once signed in, they will be able to locate the organization they were invited to on the ‘Organizations’ page.Conversely, if the new user is already a registered member of StreamNative Cloud, they will immediately find the organization they have been invited to on their ‘Organizations’ page.Delete a user account
Delete a user using the StreamNative Cloud Console
To delete a user, follow these steps.- In the upper-right corner of StreamNative Console, click your Profile and select Users from the drop-down list.
- Click the ellipsis at the end of the row of the user that you want to delete, and then click Delete. A dialog box displays.
- Click Confirm.
Delete a user using snctl
- Command-line
- YAML
To delete a new User account in an organization, follow the command below.For example, to delete the user account
john.doe@test.local, you would use:View user accounts
View user accounts using the StreamNative Cloud Console
In the upper-right corner of StreamNative Console, click your Profile and select Users from the drop-down list to view the users for an organization, including the email address and status of the users.View user accounts using snctl
You can view the list of user accounts by running the following command:
${user_account_name}, you can use:
john.doe@test.local, you would use: