Create an instance
- Console
- snctl
- Terraform
In the UI, you will create a Serverless instance and a cluster within the instance.
- Navigate to the Organization Dashboard.
- Click Instances on the left navigation pane to go to the Instances page.
- Click + New Instance button to start the instance creation process.
- On the Choose the deployment type for your instance page, click Deploy Serverless to start the instance creation process.
-
On the Instance Configuration page, enter the Instance Name and select the Cloud Provider.
Item Description Instance Name Enter a name for the instance. An instance name starts with a lowercase letter, contains any combination of lowercase letters (a-z), numbers (0-9), and hyphens (-), and must be 4-40 characters. Cloud Provider Select the cloud provider. Currently, Google Cloud is available. - Click Cluster Location to start the cluster creation process.
-
On the Cluster Name page, enter the Cluster Name and select the Location from the dropdown list.
Item Description Cluster Name Enter a name for the cluster. A cluster name starts with a lowercase letter, contains any combination of lowercase letters (a-z), numbers (0-9), and hyphens (-), and must be 4-10 characters. Location Select the location from the dropdown list. The location represents the available regions in the designated cloud provider. - Click Finish.
Manage instances
- Console
- snctl
- Terraform
To view instances created for an organization, follow these steps.
- In the upper-right corner of the StreamNative Cloud Console, click your Profile and select Organizations.
- Click the name of the organization you want to check.
- Select Instances from the left navigation pane.
-
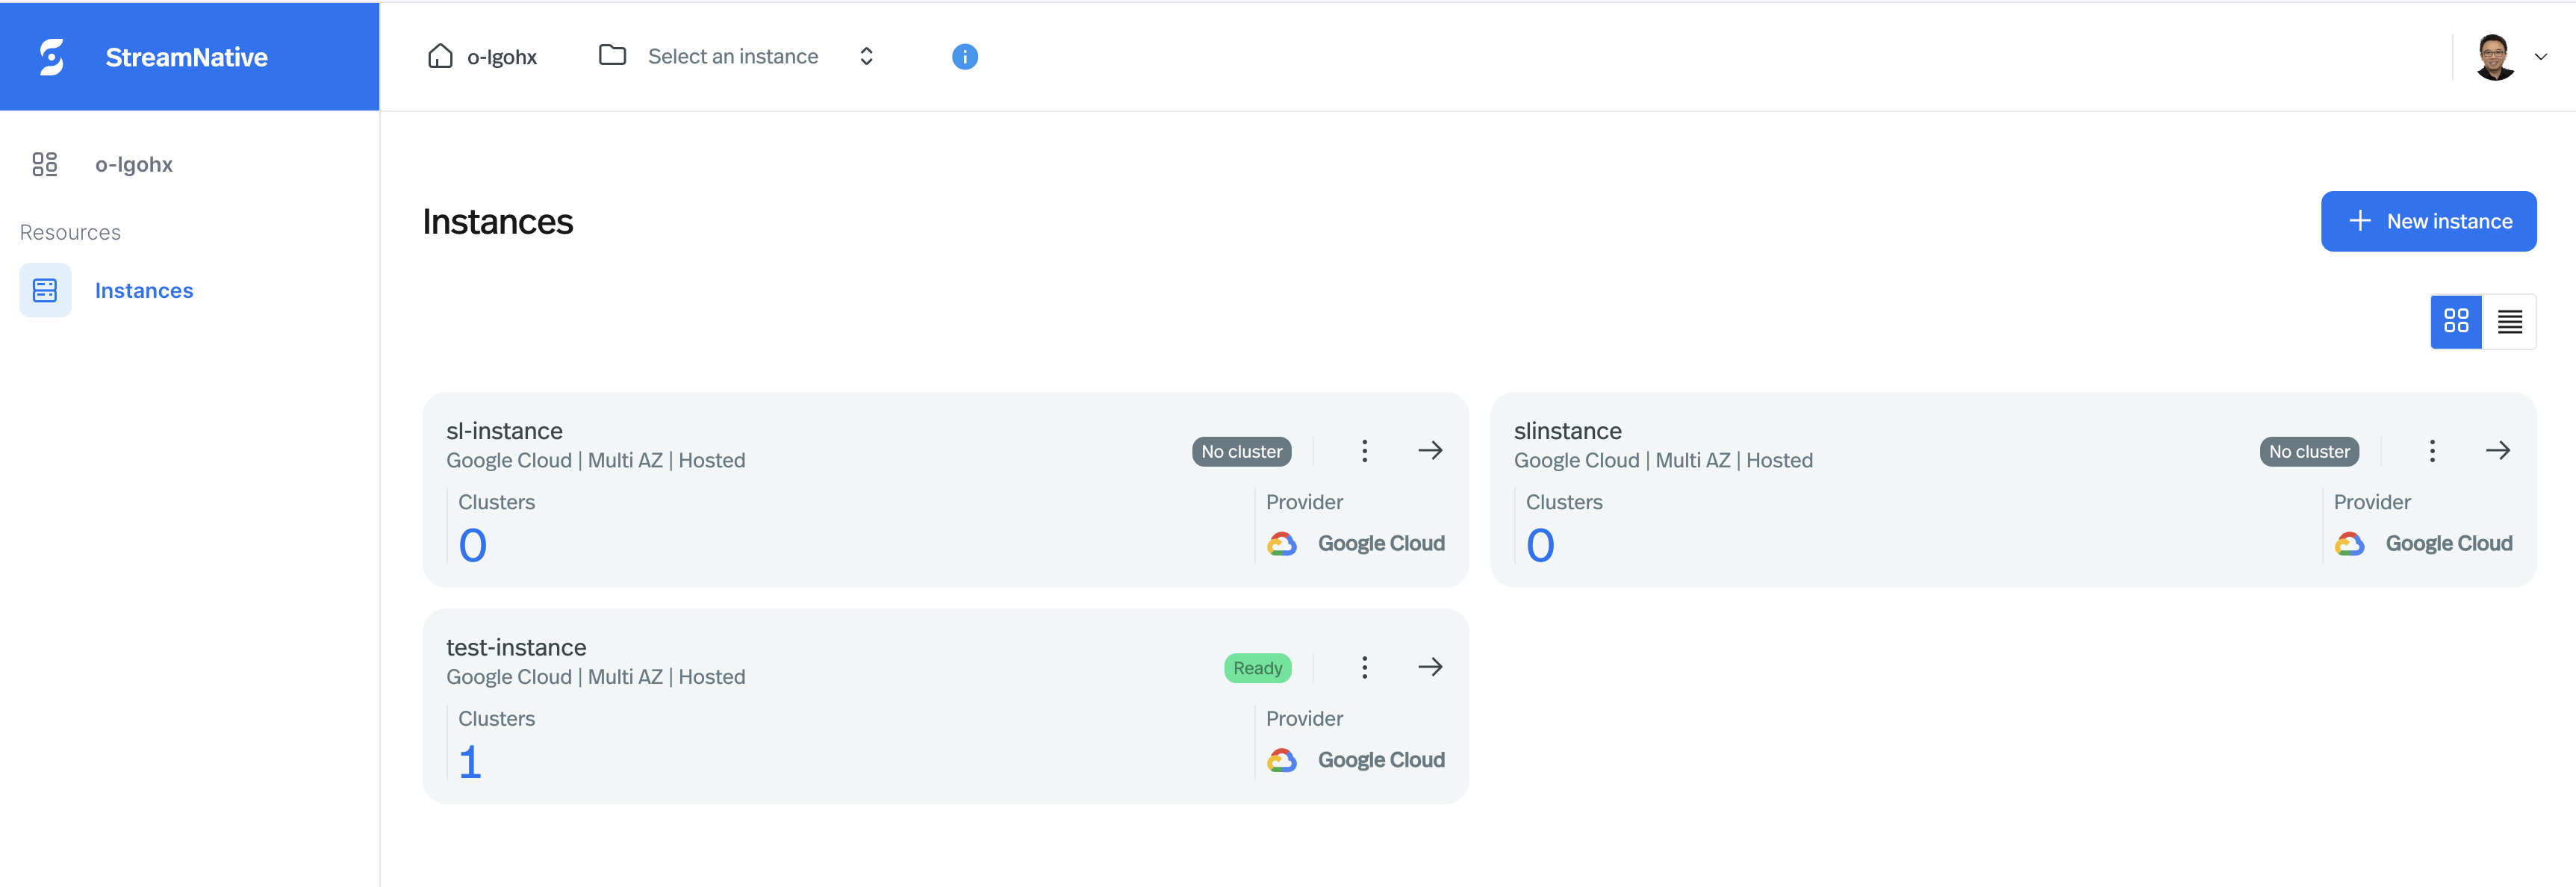
On the Instances page, you should able to see the list of instances available for the organization. In each Instance Card, you are able to see Instance Name, Status, Cloud Provider, Number of Clusters, and etc. You can also click the right arrow icon to go the Instance Dashboard page.
-
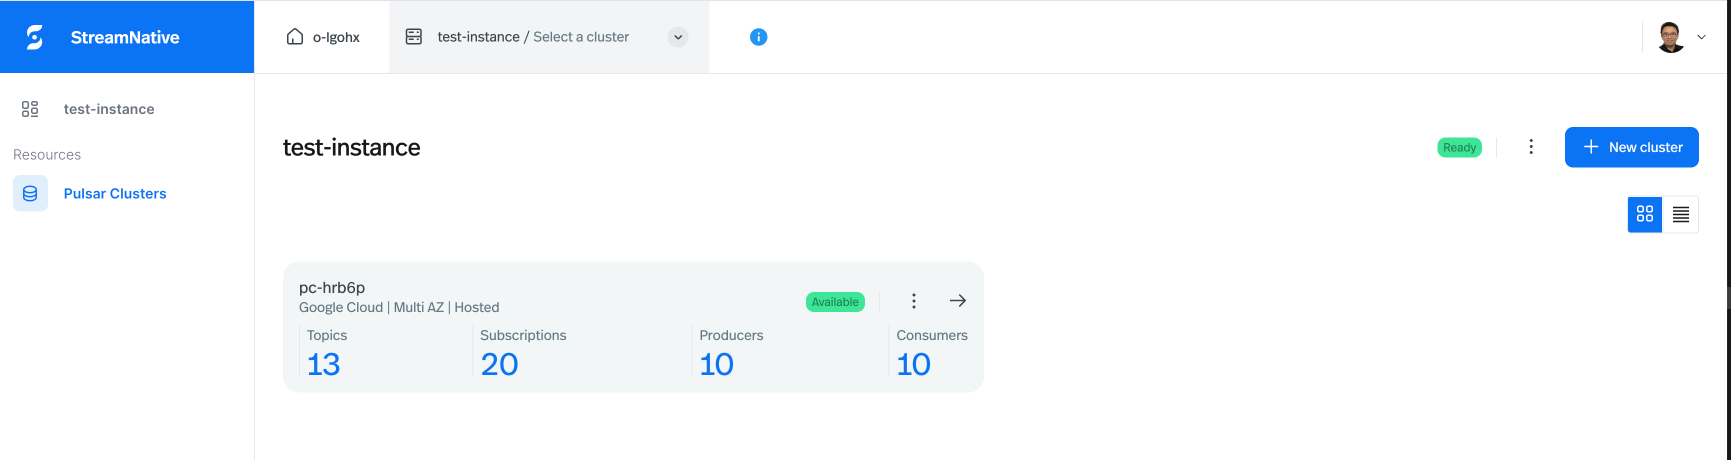
On the Instance Dashboard page, you are able to see the list of clusters available for the instance. In each Cluster Card, you are able to see Cluster Name, Status, Number of Topics, Number of Subscriptions, Number of Producers, Number of Consumers, and etc. You can also click the right arrow icon to go the Cluster Dashboard page.
Delete an instance
You cannot delete an instance if there are resources associated with the instance.
- Console
- snctl
- Terraform
- Navigate to the Instances page.
- Click the ellipsis at the top right corner of the instance card that you want to delete, and then click Delete.
- In the Delete instance dialog, enter the instance name and then click Confirm.
Next steps
Related topics
- Check other types of instances: