Prerequisites
Before you begin, make sure you have the following:
- A StreamNative Cloud account. If you do not have one, sign up for a free trial.
- A supported web browser (Chrome, Firefox, Safari, or Edge).
- Apache Kafka CLI tools (v3.1.0 or later) installed on your local machine.
Step 1: Log in to StreamNative Cloud Console
Navigate to the StreamNative Cloud Console and sign in with your credentials.Step 2: Create a Kafka cluster
Create an organization, an instance, and a Kafka cluster powered by the Ursa Engine.- In the upper-right corner, click your profile icon and select Organizations.
- Click Create Organization and enter a name for your organization.
- On the left navigation pane, click Dashboard.
- On the Instances card, click New, then select your deployment type (Dedicated or BYOC).
- Enter a name for your instance, select your preferred cloud provider and region, and proceed to the next step.
-
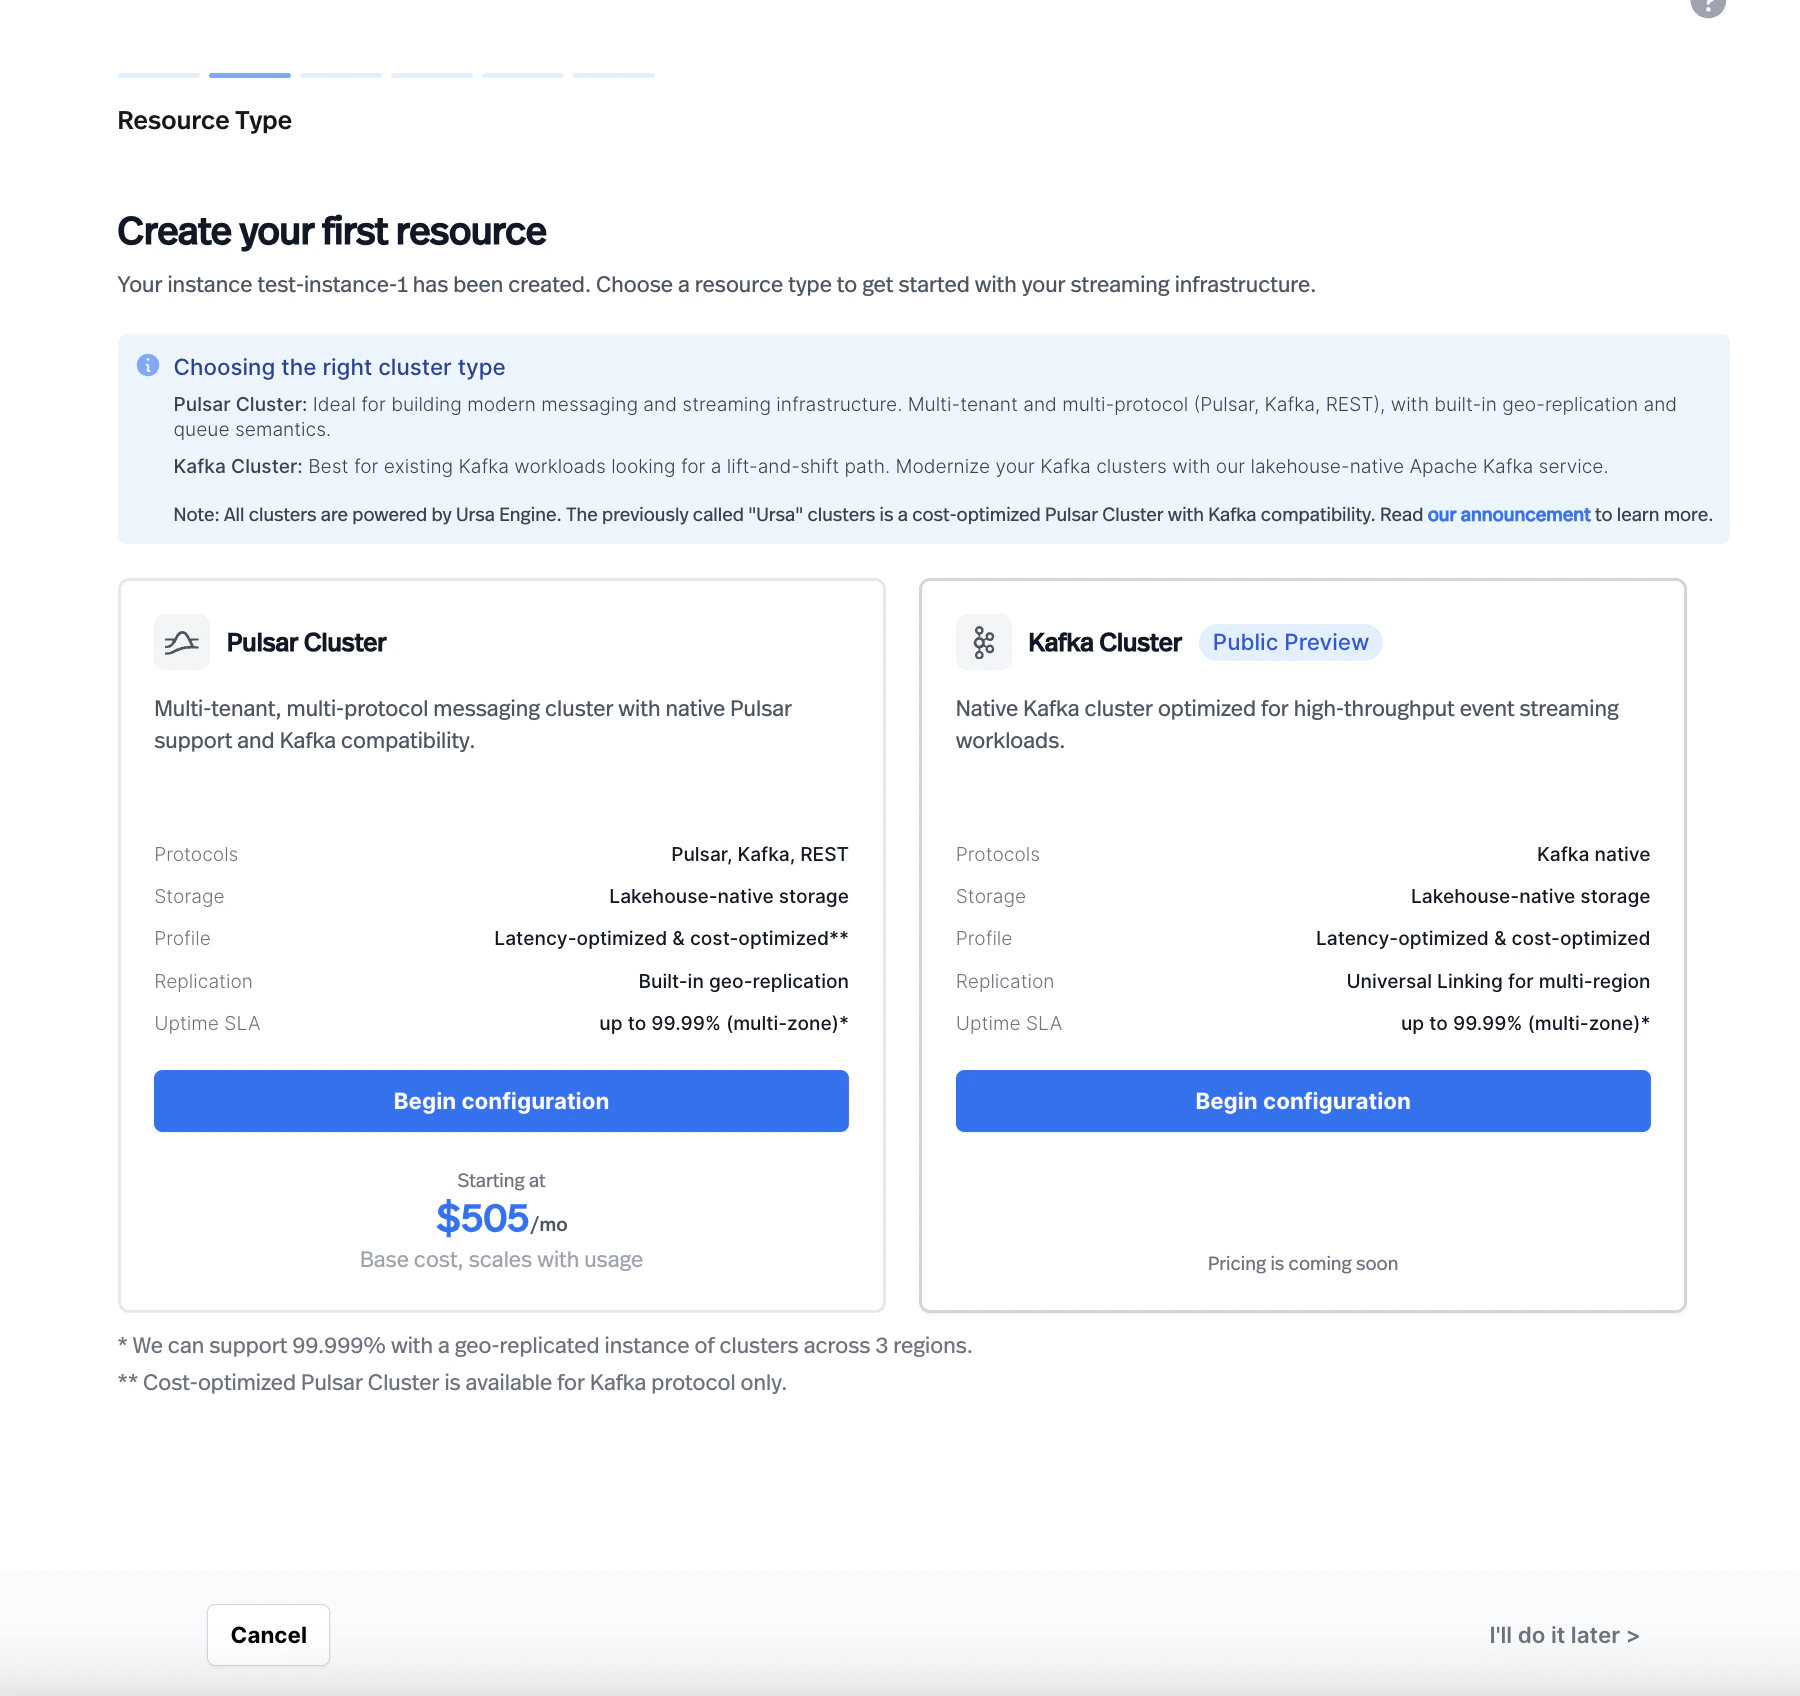
On the Resource Type page, select Kafka Cluster.
-
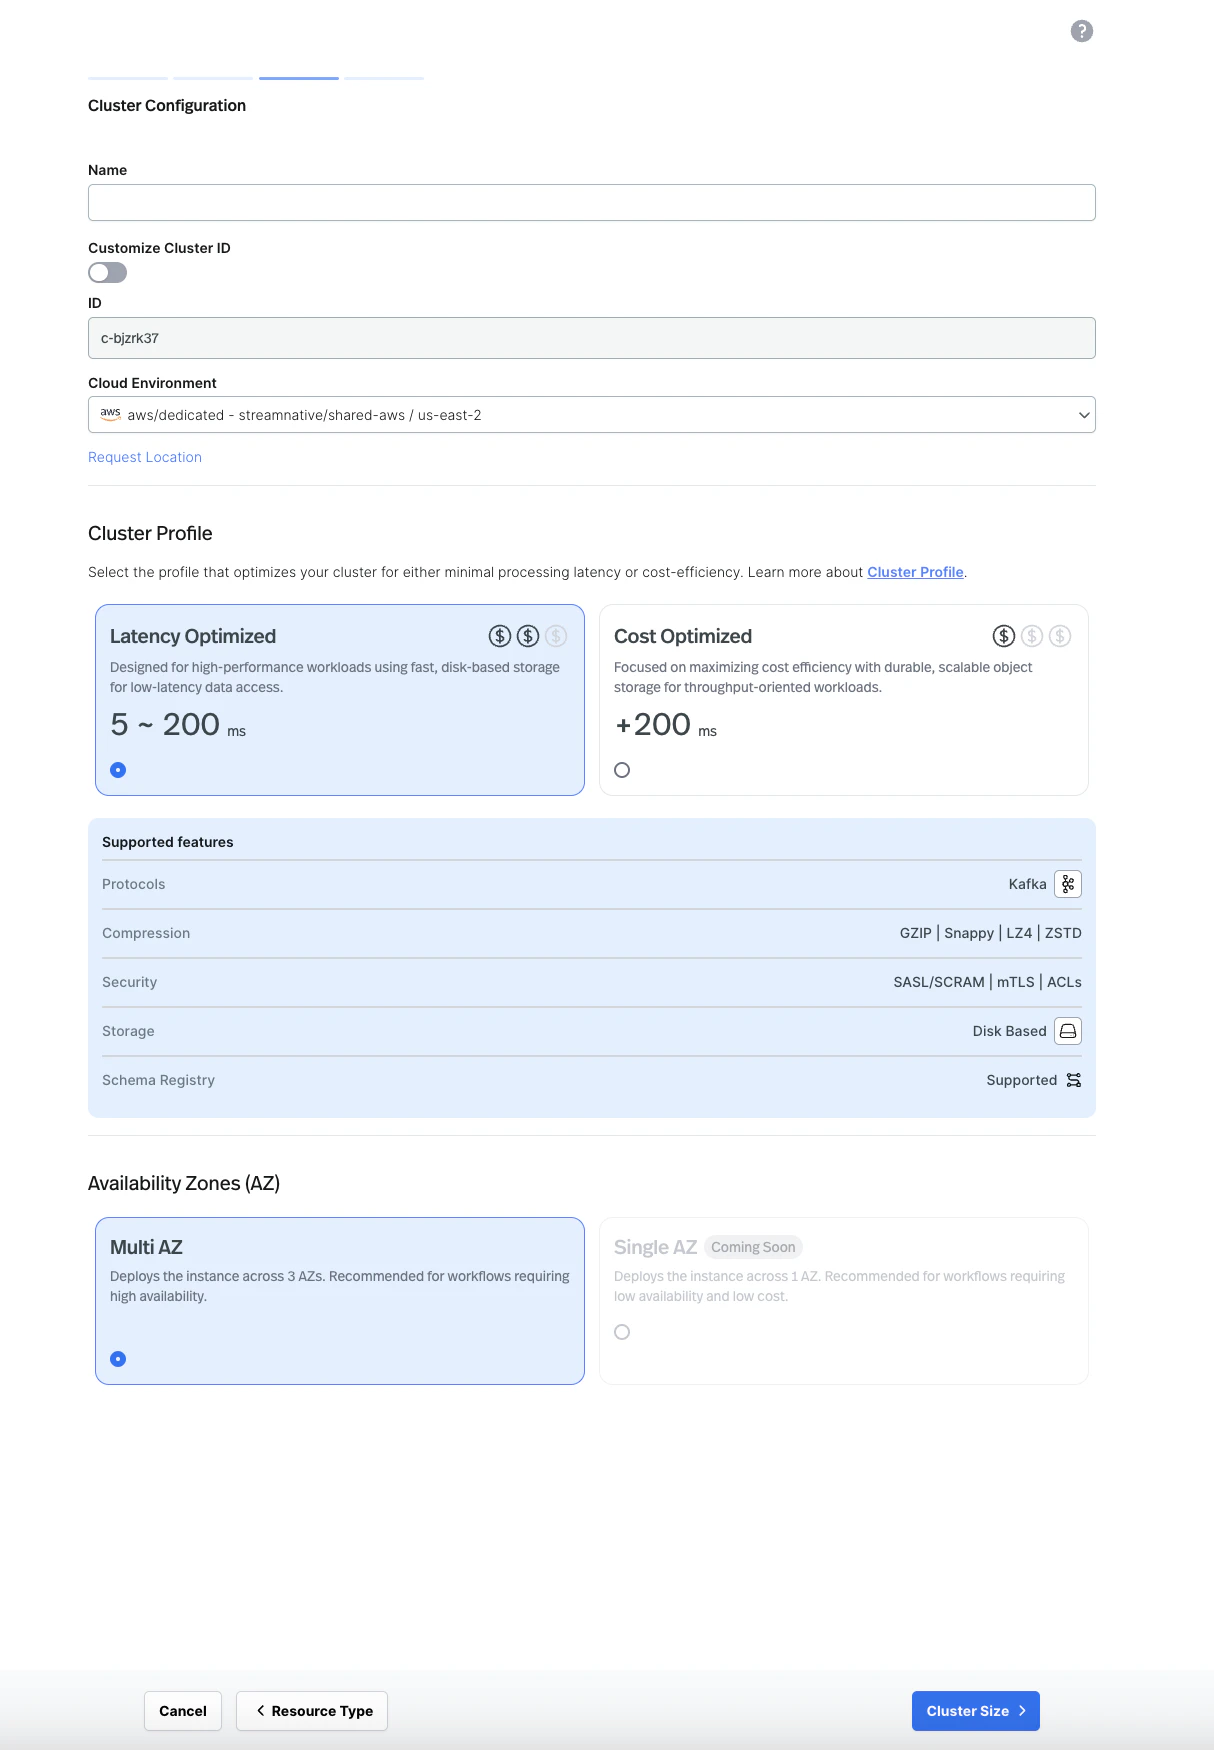
Enter a name for your cluster, select your cloud environment, and choose a cluster profile (Latency Optimized or Cost Optimized). Select your availability zone configuration.
-
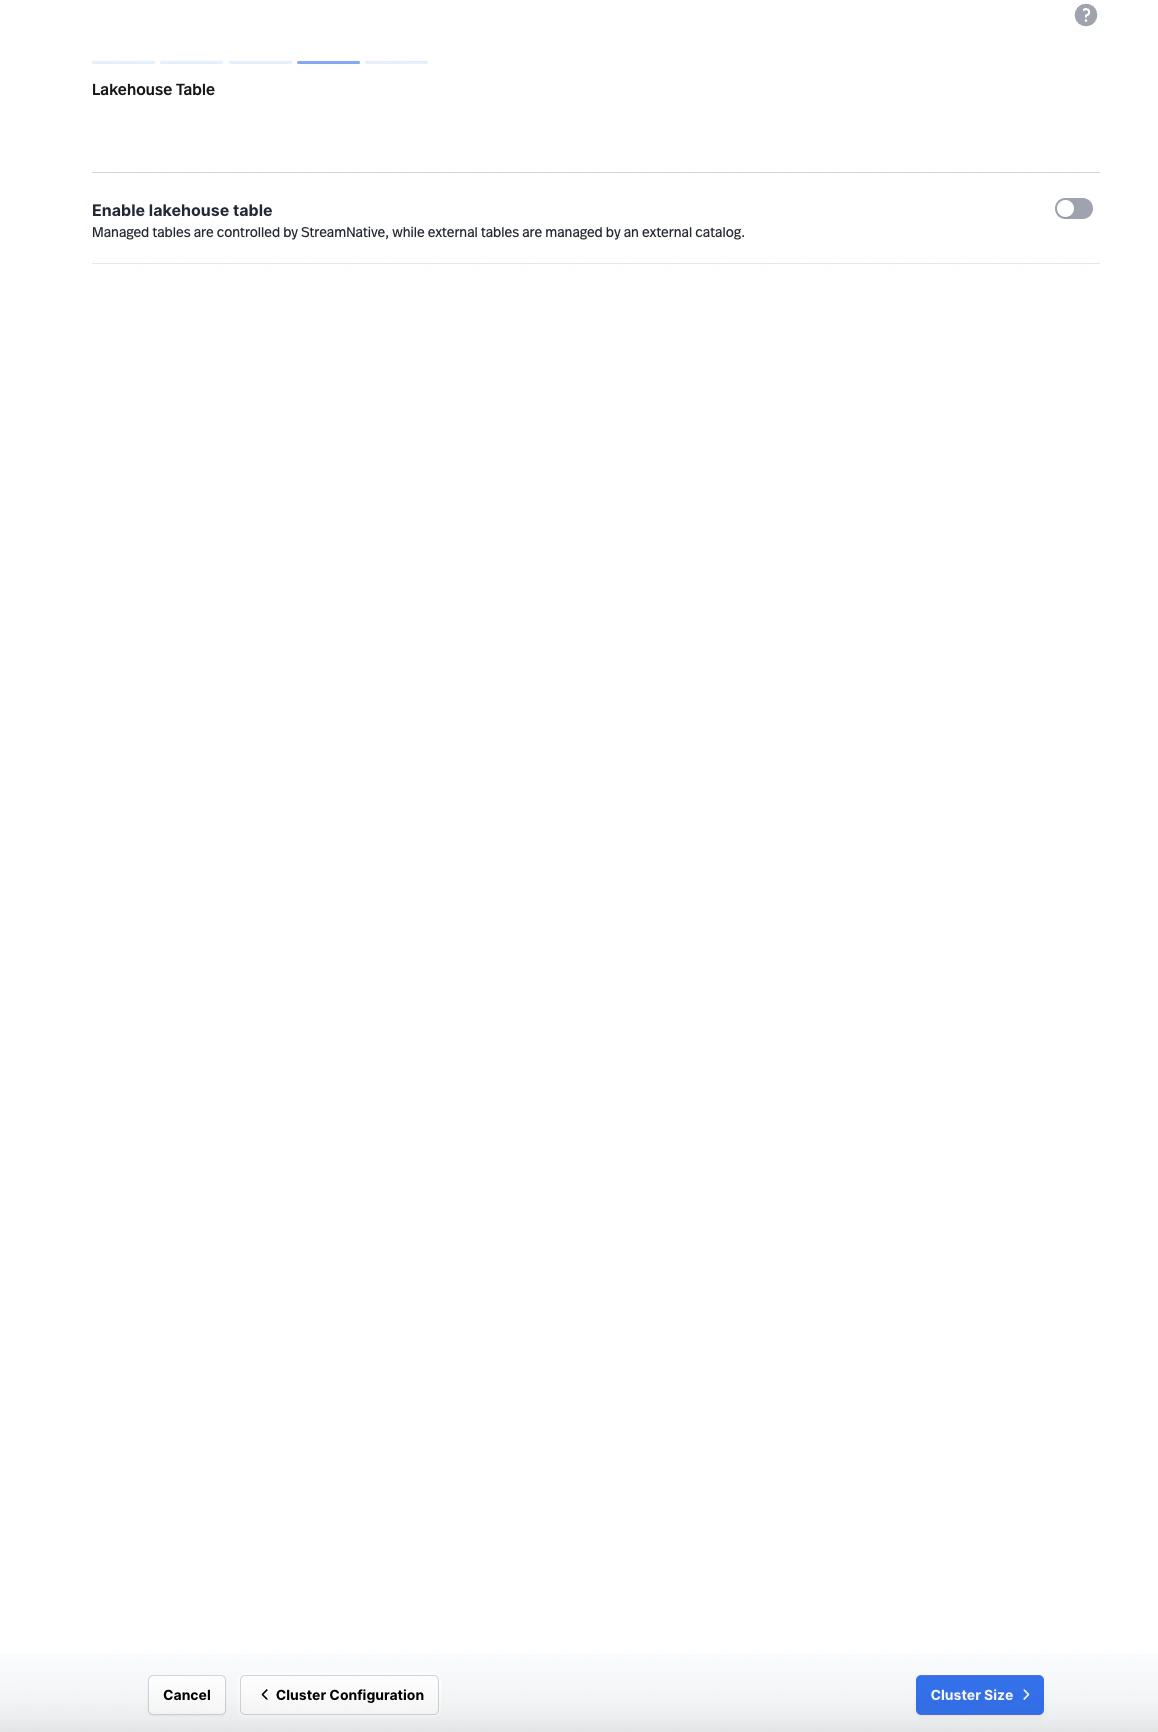
Optionally configure lakehouse table settings, then proceed to Cluster Size.
-
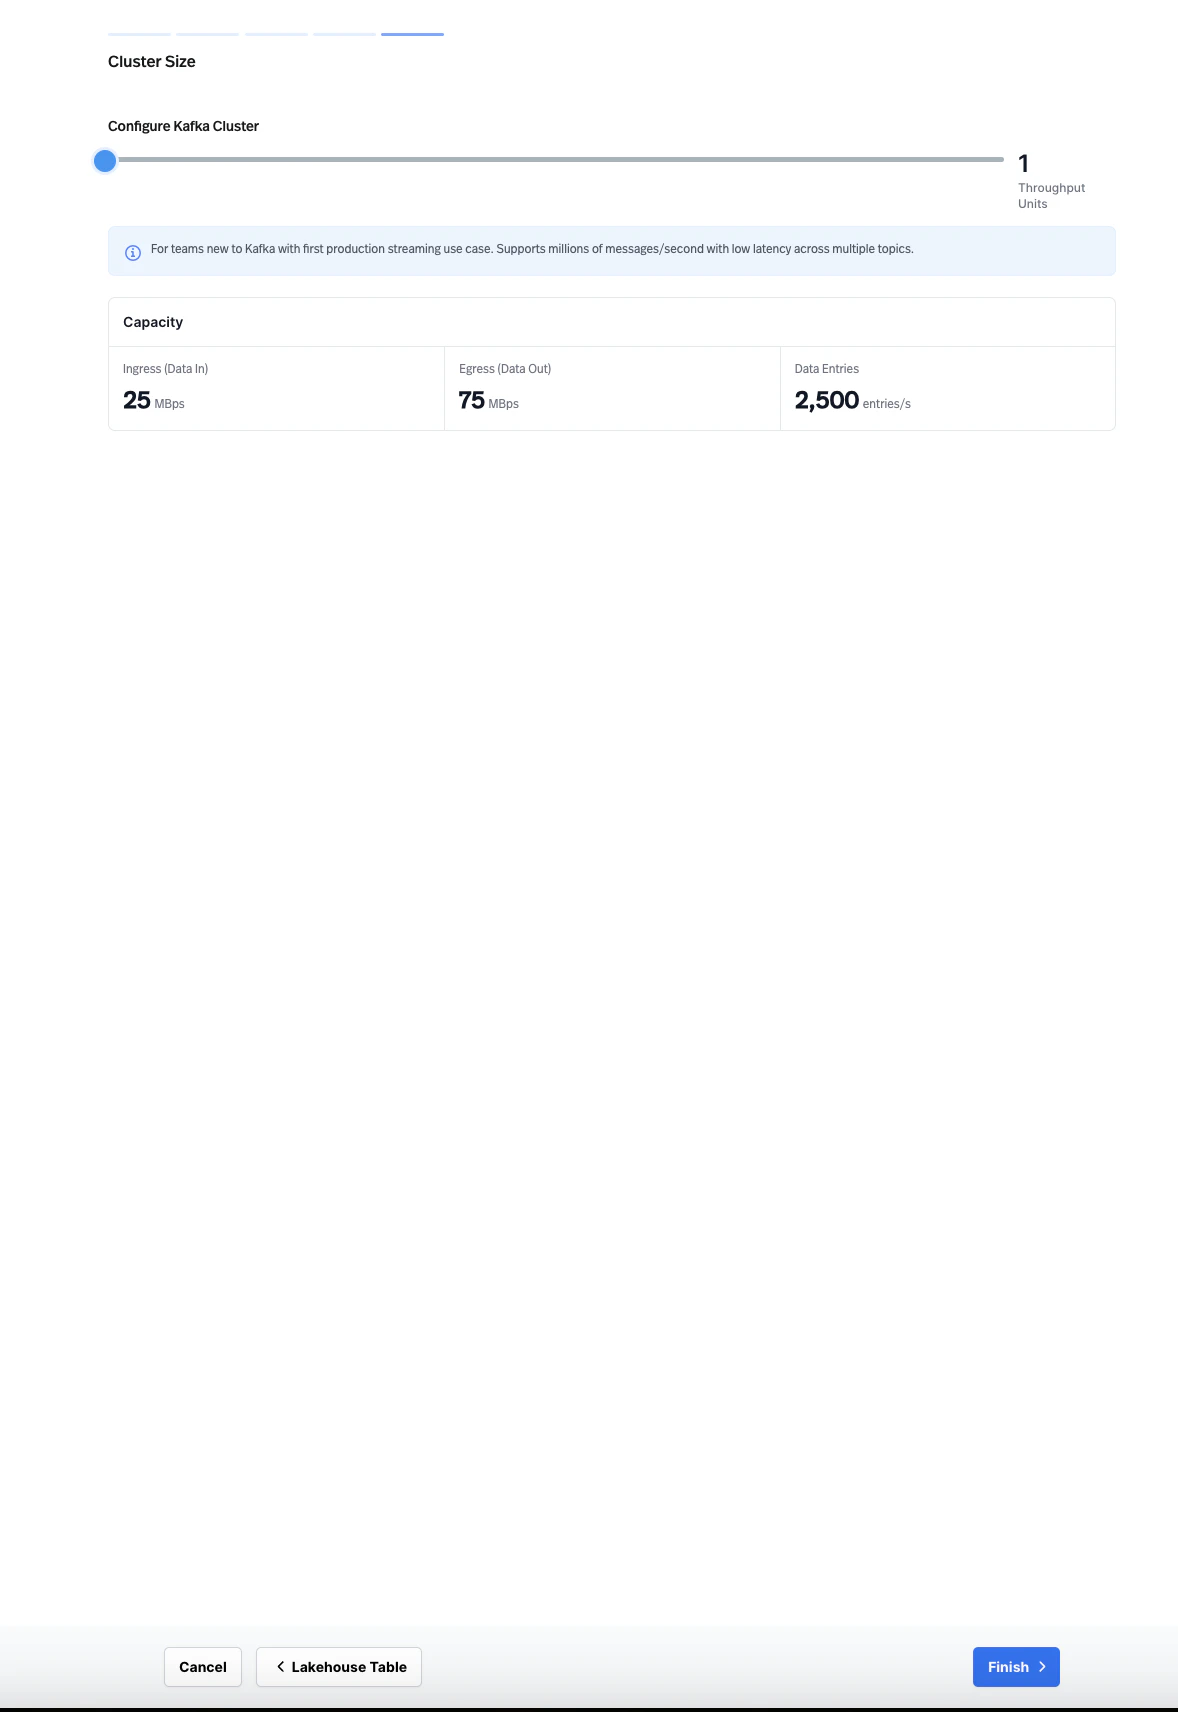
Configure the cluster size using the Throughput Units slider to match your expected workload, then click Finish.
Step 3: Create a service account and API key
Create a service account and generate an API key for authenticating your Kafka clients.- On the left navigation pane, click Service Accounts.
- Click Create Service Account, enter a name, and click Confirm.
- Select the service account you created, then click the API Keys tab.
- Click Create API Key, copy the generated key, and store it securely.
Grant your service account
produce and consume permissions on the topics you plan to use. Navigate to Admin > Topics, select your topic, and assign the appropriate permissions to your service account.Step 4: Produce and consume messages
Use the Kafka CLI tools to produce and consume messages on your cluster. First, create a configuration file namedkafka.properties with your connection details:
YOUR_API_KEY with the API key you generated in the previous step.
Your bootstrap server endpoint follows this format:
- Open a terminal and start the consumer. The consumer waits for messages on the
my-first-topictopic. - Open a second terminal and start the producer.
- Type a message in the producer terminal (for example,
Hello, Kafka!) and press Enter. - Verify that the message appears in the consumer terminal.
Next steps
Kafka Client Guides
Connect your applications using Kafka client libraries for Java, Python, Go, Node.js, and more.
Kafka Compatibility
Check supported Kafka APIs, client versions, and feature compatibility.
Migration Guide
Migrate your existing Kafka workloads to StreamNative Kafka Service with zero code changes.