

jti claim as the Pulsar role. The API key service returns the same value as token_id. Grant namespace permissions to this value, not to the token name or its sub claim. Console uses sub separately to identify its administrator, as described in Configure Console for API key management.
Before you begin
- Install StreamNative Operator
v0.20.0or later. If your cluster uses an earlier Operator version, upgrade it before enabling API key authentication. Versionv0.20.0introduces theApiKeyscustom resource and thePulsarCoordinator.spec.authentication.apiKeyfield required by this procedure. - Deploy a Pulsar cluster with
PulsarCoordinator,PulsarBroker, andPulsarProxyresources in the same namespace. - Use StreamNative Console
v2.3.32or later for this procedure. Upgrade an earlier Console version before configuring API key management. - Install
kubectl,jq, andpulsarctl. - Make sure that you can update the cluster custom resources and read Secrets in the cluster namespace.
Replace these values to match your environment. The
ApiKeys resource and PulsarCoordinator resource must have the same name and namespace.
Deploy the API key service
Create anApiKeys resource:
spec.config.server.audience and spec.config.authenticator.acceptedAudience. The audience format used by the coordinator is urn:sn:pulsar:<namespace>:<coordinator-name>.
allowCustomClaims lets an authenticated administrator set claims such as scope and sub when creating an API key. You can enable this option only when spec.config.server.multiTenant.enable is false or omitted.
Prepare the API key backend topic
The API key service stores its state in the topic configured byspec.config.backend.pulsarTopic. The short topic name in this example resolves to:
Enable automatic topic creation
Add the following settings to thePulsarBroker resource:
api_keys_api.example as a non-partitioned topic when it first accesses the topic.
Create the topic manually
If automatic topic creation is off for your cluster, create the non-partitioned topic before you start the API key service or enable API key authentication. Use an existing administrator credential:0 creates a non-partitioned topic. The administrator credential must have permission to manage the public/default namespace. If the API key service credential isn’t an administrator, grant it produce and consume permissions on this topic.
Save the resource as apikeys.yaml. Apply it together with the cluster configuration in the next section so that the API key service and Pulsar authentication can become ready together.
Enable API key authentication on the cluster
Add the following configuration to thePulsarCoordinator resource:
subjectClaim: jti makes each API key’s unique token ID its Pulsar role. Use this role when you grant permissions to a non-administrator API key.
Configure authorization on the PulsarBroker resource:
spec.config.authorization for broker roles and preserve any existing superuser roles when updating superUserRoles.
Configure the PulsarProxy resource to forward the original client credentials to the broker:
authenticateOriginalAuthData when you configure proxy authentication.
Merge these fields with the existing broker and proxy configuration. Preserve unrelated settings. Remove any spec.config.custom overrides for authorizationEnabled, authorizationProvider, superUserRoles, or proxyRoles, including their PULSAR_PREFIX_ forms, so they don’t override the typed authorization configuration. Apply apikeys.yaml and the updated coordinator, broker, and proxy resources.
Wait for the API key service to become ready:
kubectl get pods -n pulsar to identify the API key service Pod.
Apply the proxy role workaround
StreamNative Operator
v0.20.16 has a known issue that prevents it from automatically adding the proxy API key ID to the broker’s superuser and proxy roles. Use the following temporary workaround on affected versions. Once you upgrade to a release that fixes automatic proxy role synchronization, the manual patch is no longer required.<coordinator-name>-apikeys-proxy-key Secret. Read only its jti value:
spec.config.authorization.superUserRoles and spec.config.authorization.proxyRoles on the broker. The following command preserves existing roles and avoids duplicate entries:
Configure Console for API key management
Add the following configuration to theConsole resource. Keep your existing spec.image value if it meets the Console version prerequisite:
subjectClaim values in the coordinator and Console configurations intentionally differ:
Keep
subjectClaim: sub in the Console configuration. The generated Console administrator token has sub: admin, which matches superRole: admin. Its jti is a unique API key ID and doesn’t match the configured superuser role. If you set the Console subjectClaim to jti, token validation can succeed during sign-in, but Console rejects subsequent operations because the jti doesn’t match superRole.
The Console setting doesn’t change how brokers and proxies derive the Pulsar role from jti.
The operator stores the Console administrator credential in the configured Secret. Treat this Secret as a superuser credential. Apply the updated Console resource and wait for its Pod to become ready.
Create API keys in Console
-
Retrieve the Console administrator token from the configured Secret:
Copy the token from the command output. Don’t save it in a file or shell history.
-
Open Console, paste the administrator token into the JWT Token field, and then click Sign in.
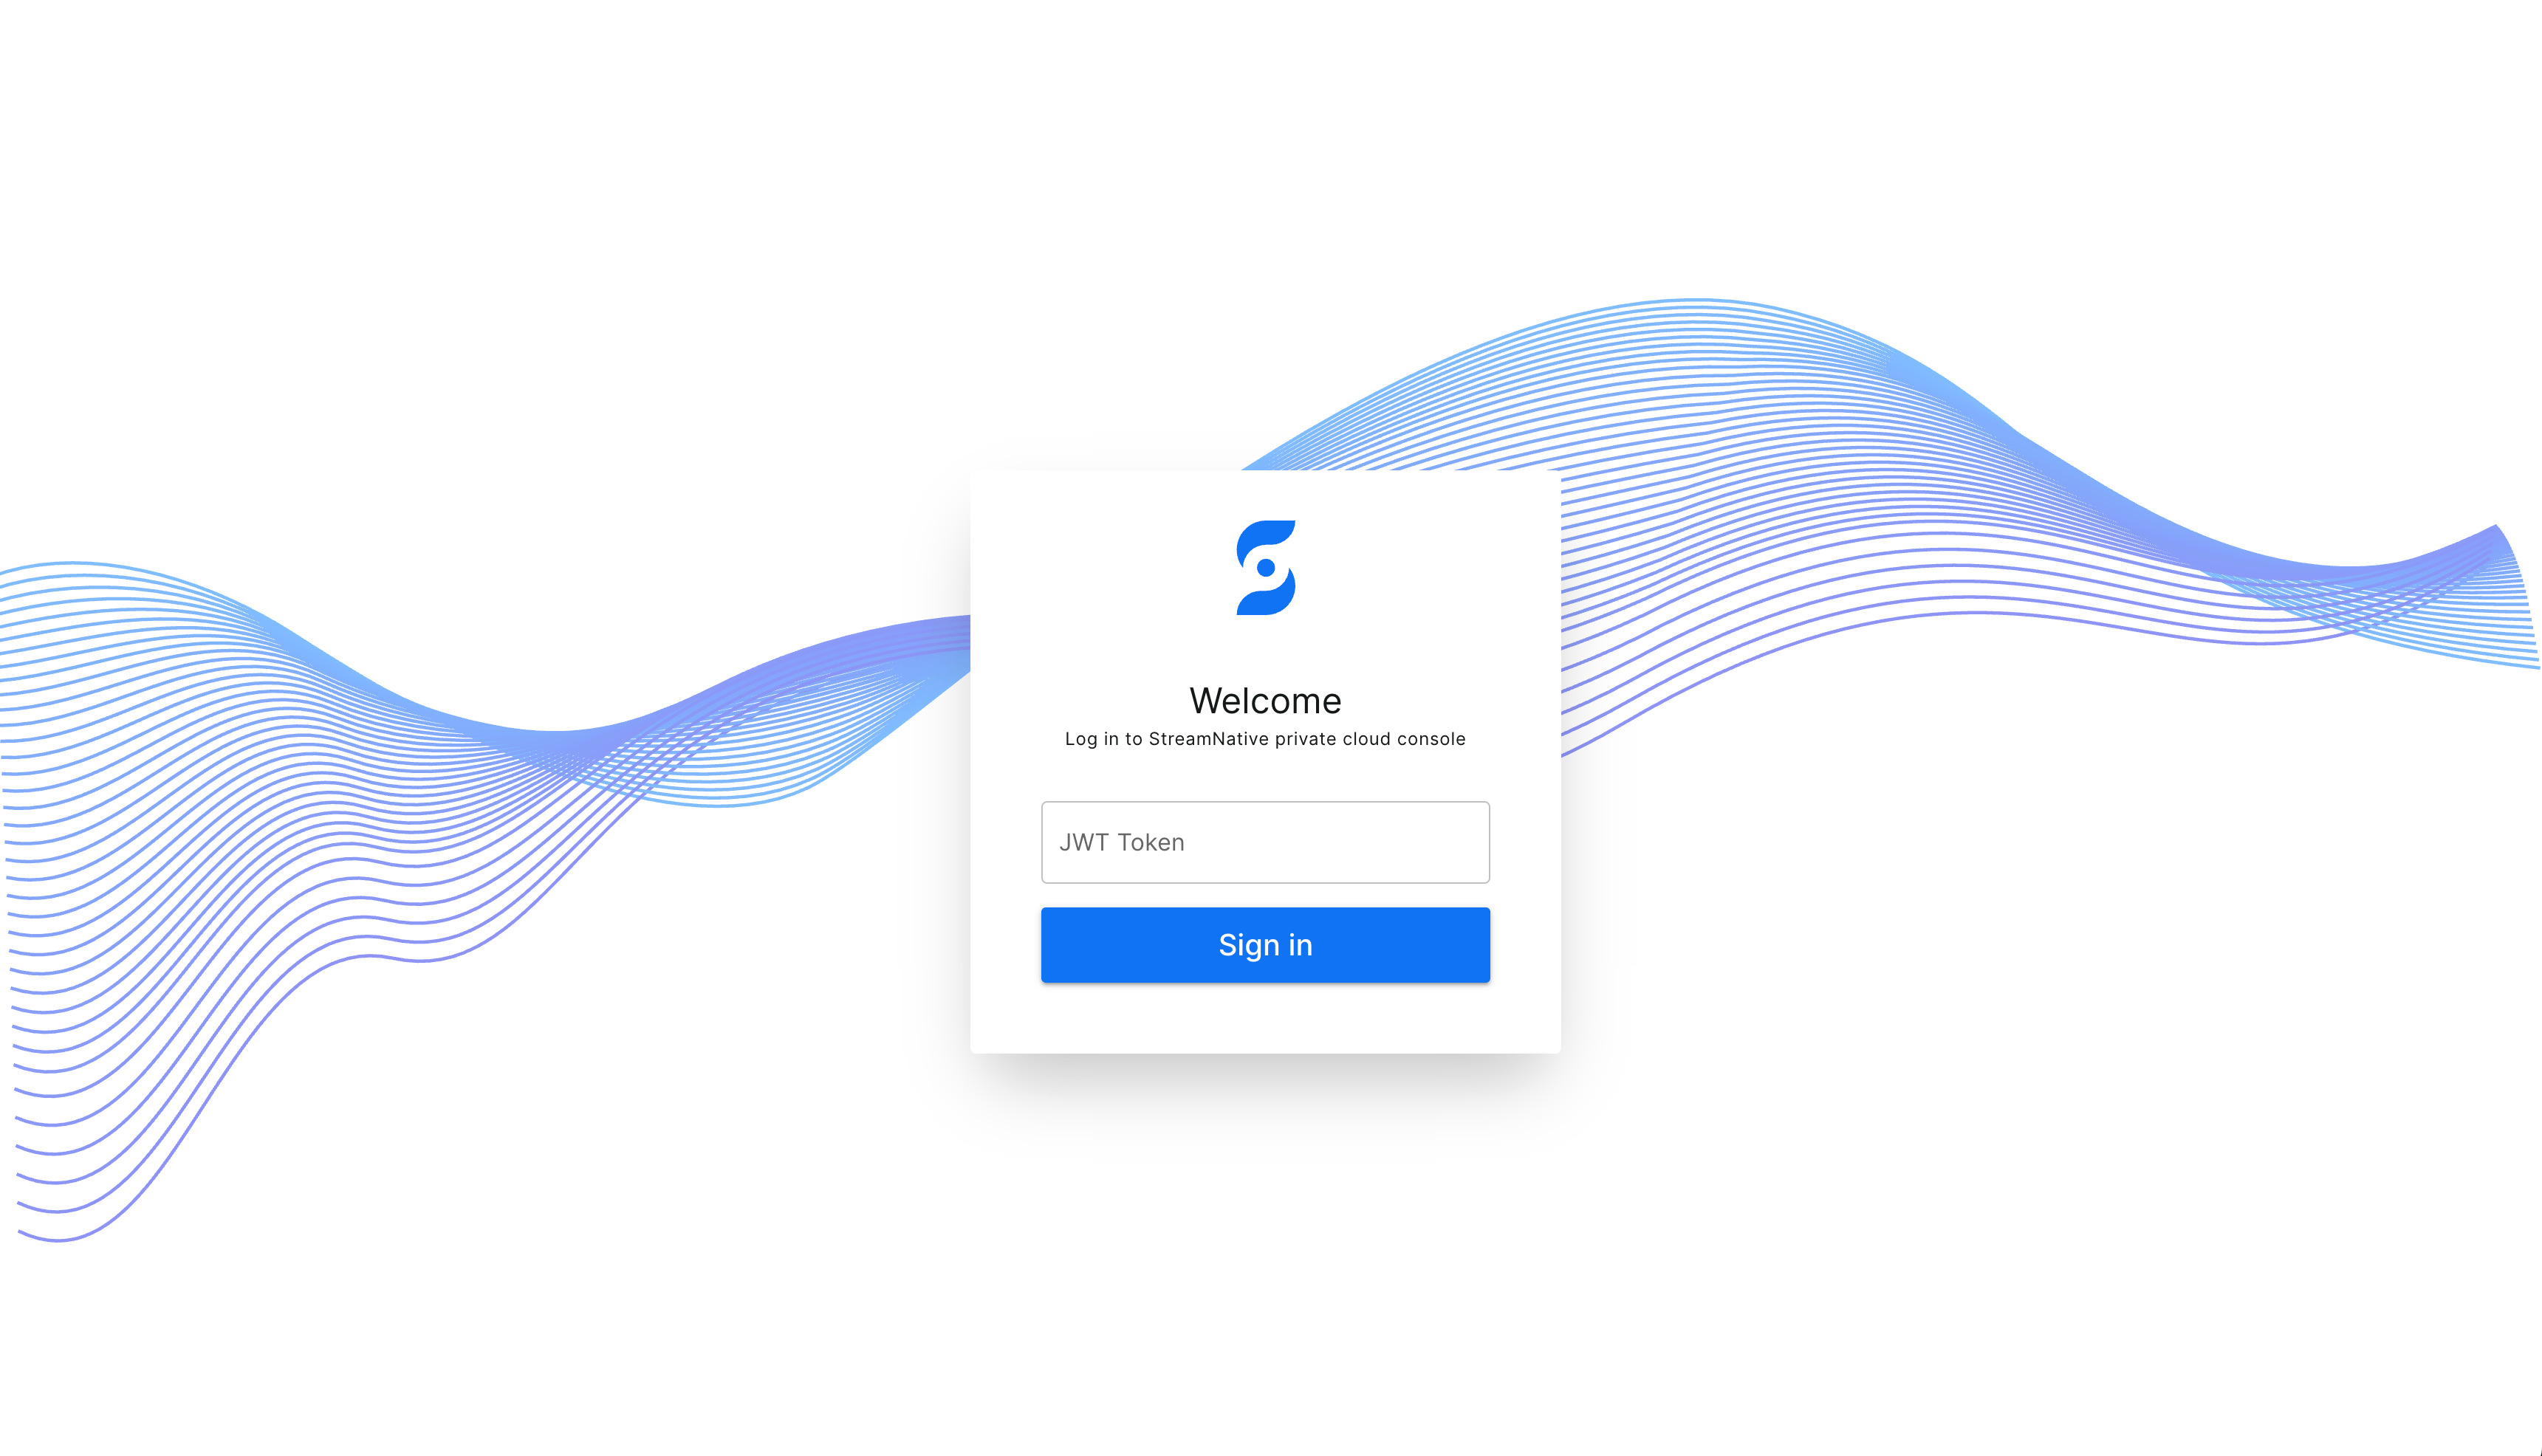
Sign in to Console with the administrator token.
- In the left navigation menu, select API Keys.
Choose an expiration time
When you create an API key, select one of the following values from Expiration date:- 30 days
- 90 days
- 1 year
- Custom expiration date
- No expiration date
Create an administrator API key
An administrator API key contains theadmin access scope. It can perform cluster-wide administrative operations without explicit namespace permissions.
- Click New API Key.
- Enter a descriptive name.
- Select an expiration time.
-
Turn on Is Admin.
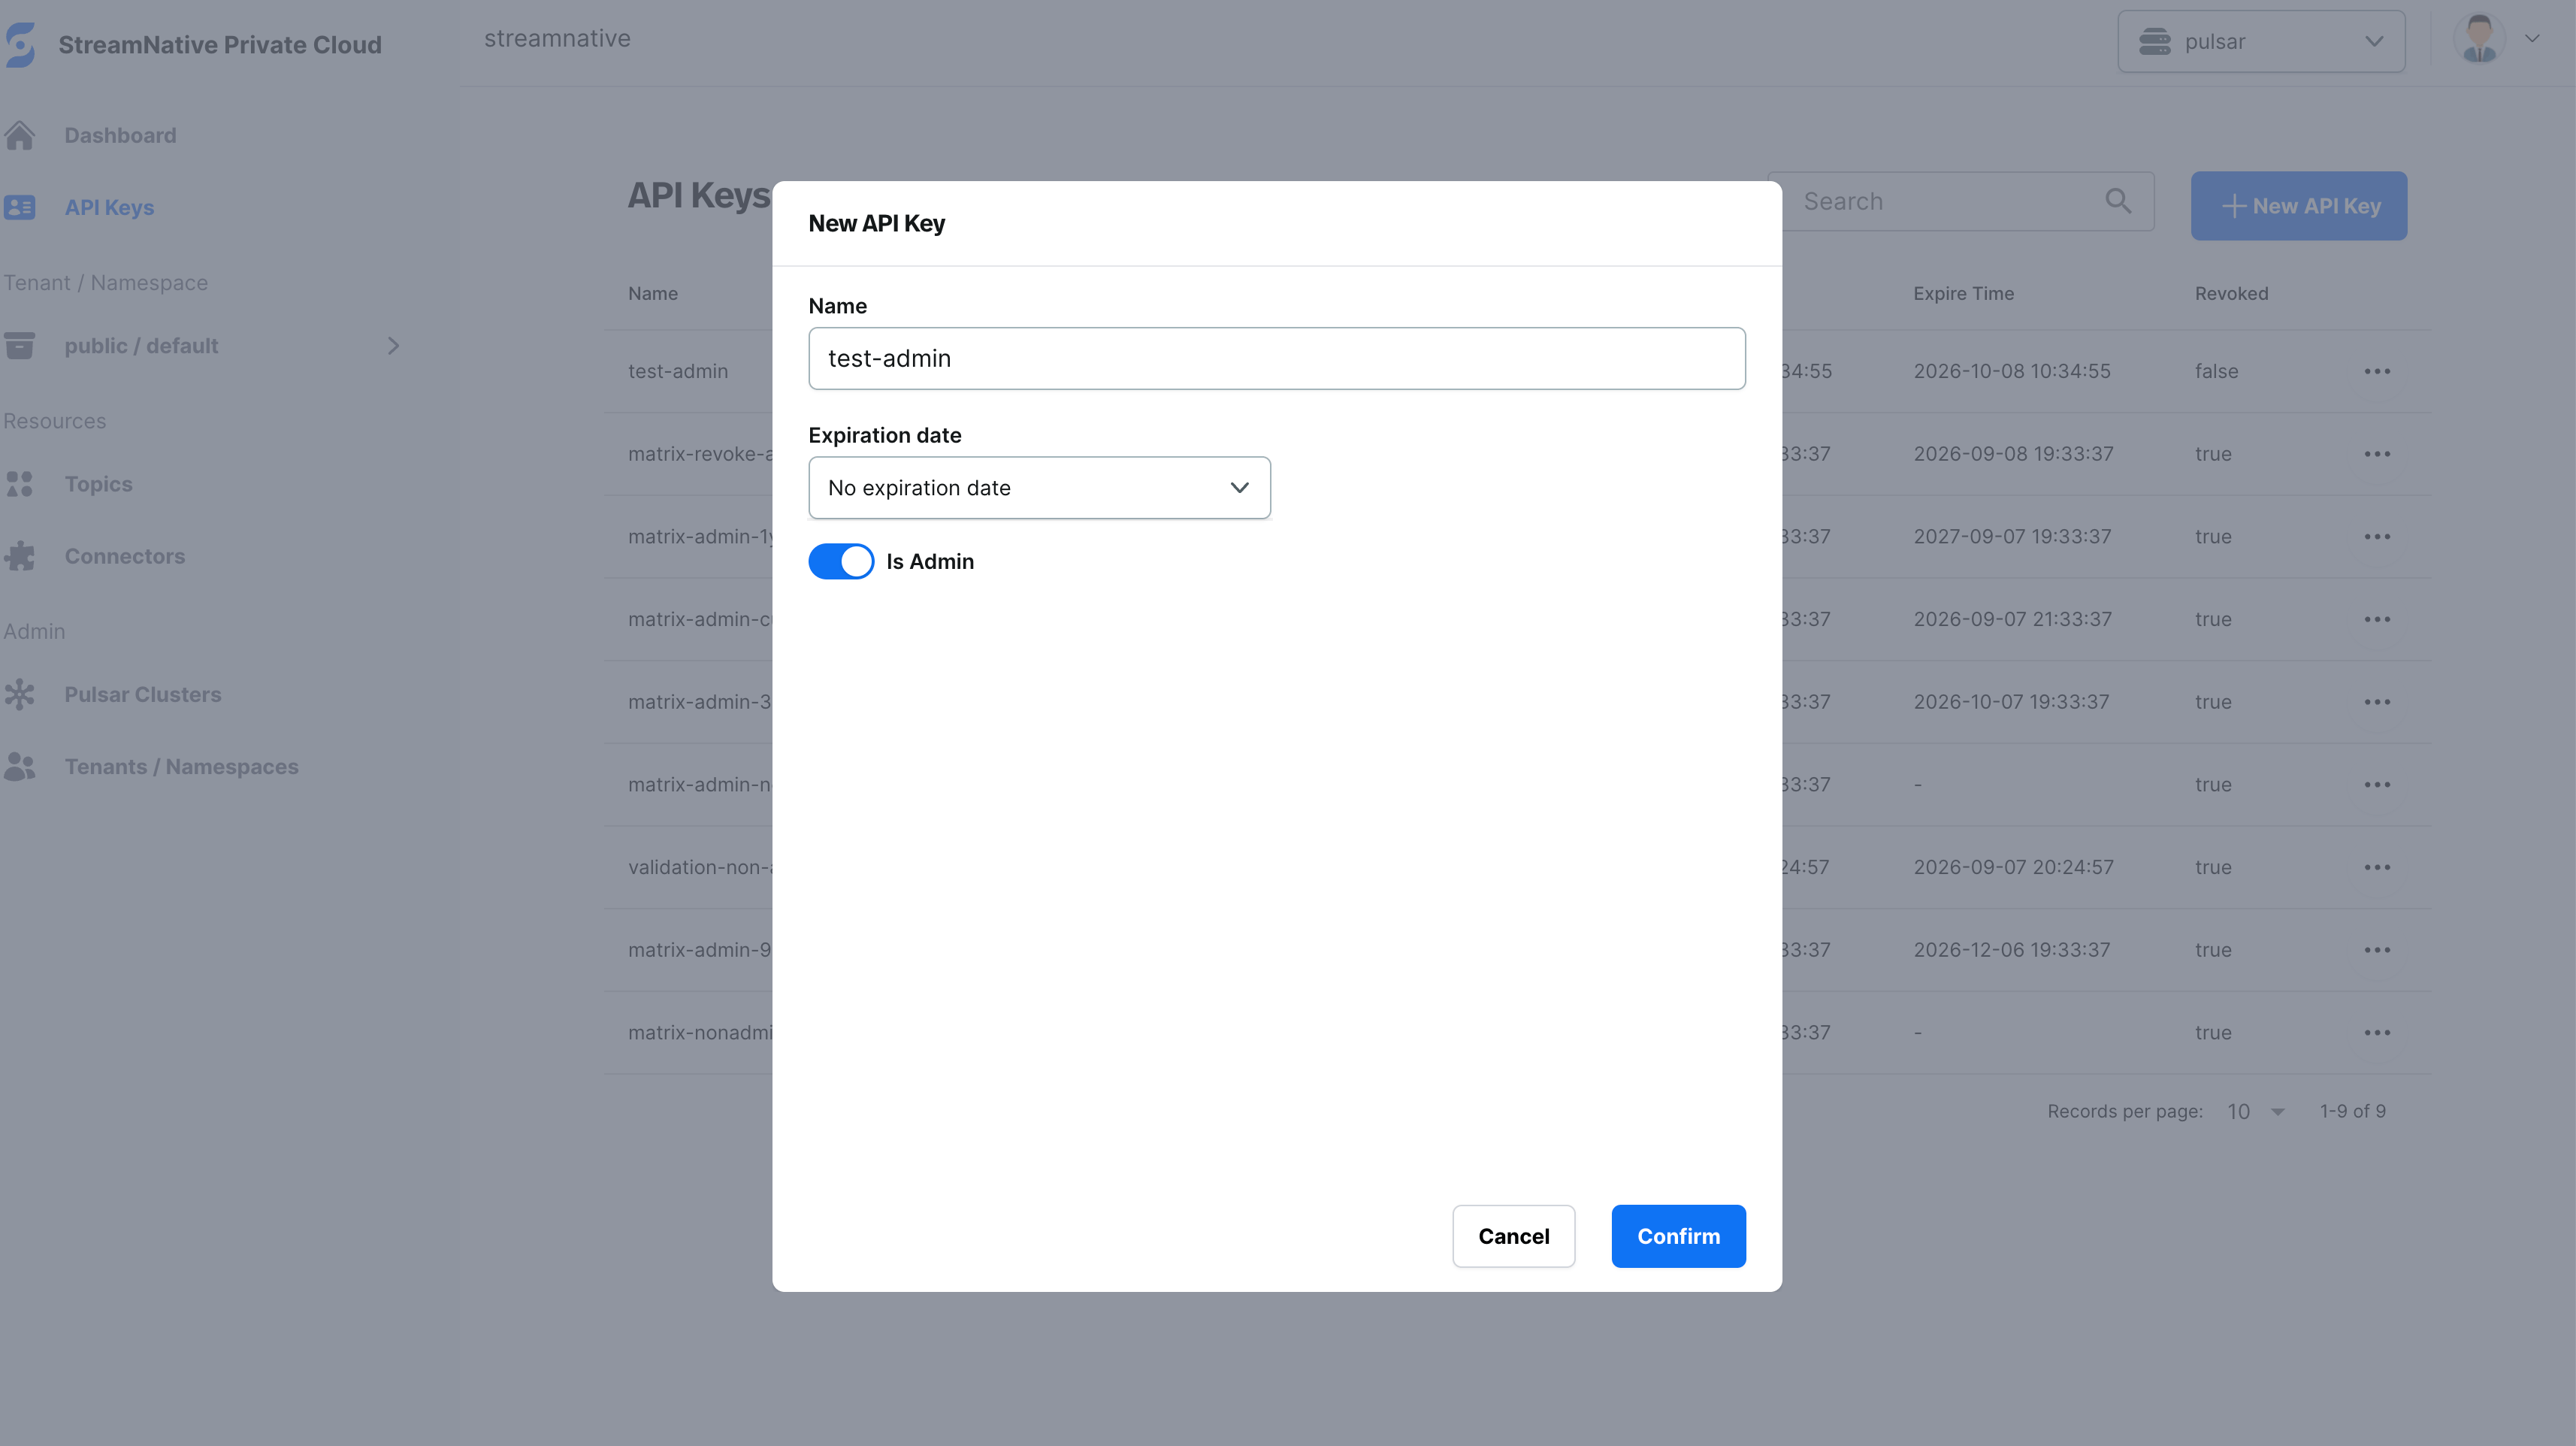
Create an administrator API key with Is Admin turned on.
- Click Confirm.
- Copy the API key and store it in a secrets manager. Console displays the API key only once.
- Click Copy and Close.
Create a non-administrator API key
A non-administrator API key contains theaccess scope. It can’t access Pulsar resources until you grant permissions to its API key ID.
- Click New API Key.
- Enter a descriptive name.
- Select an expiration time.
-
Turn off Is Admin.
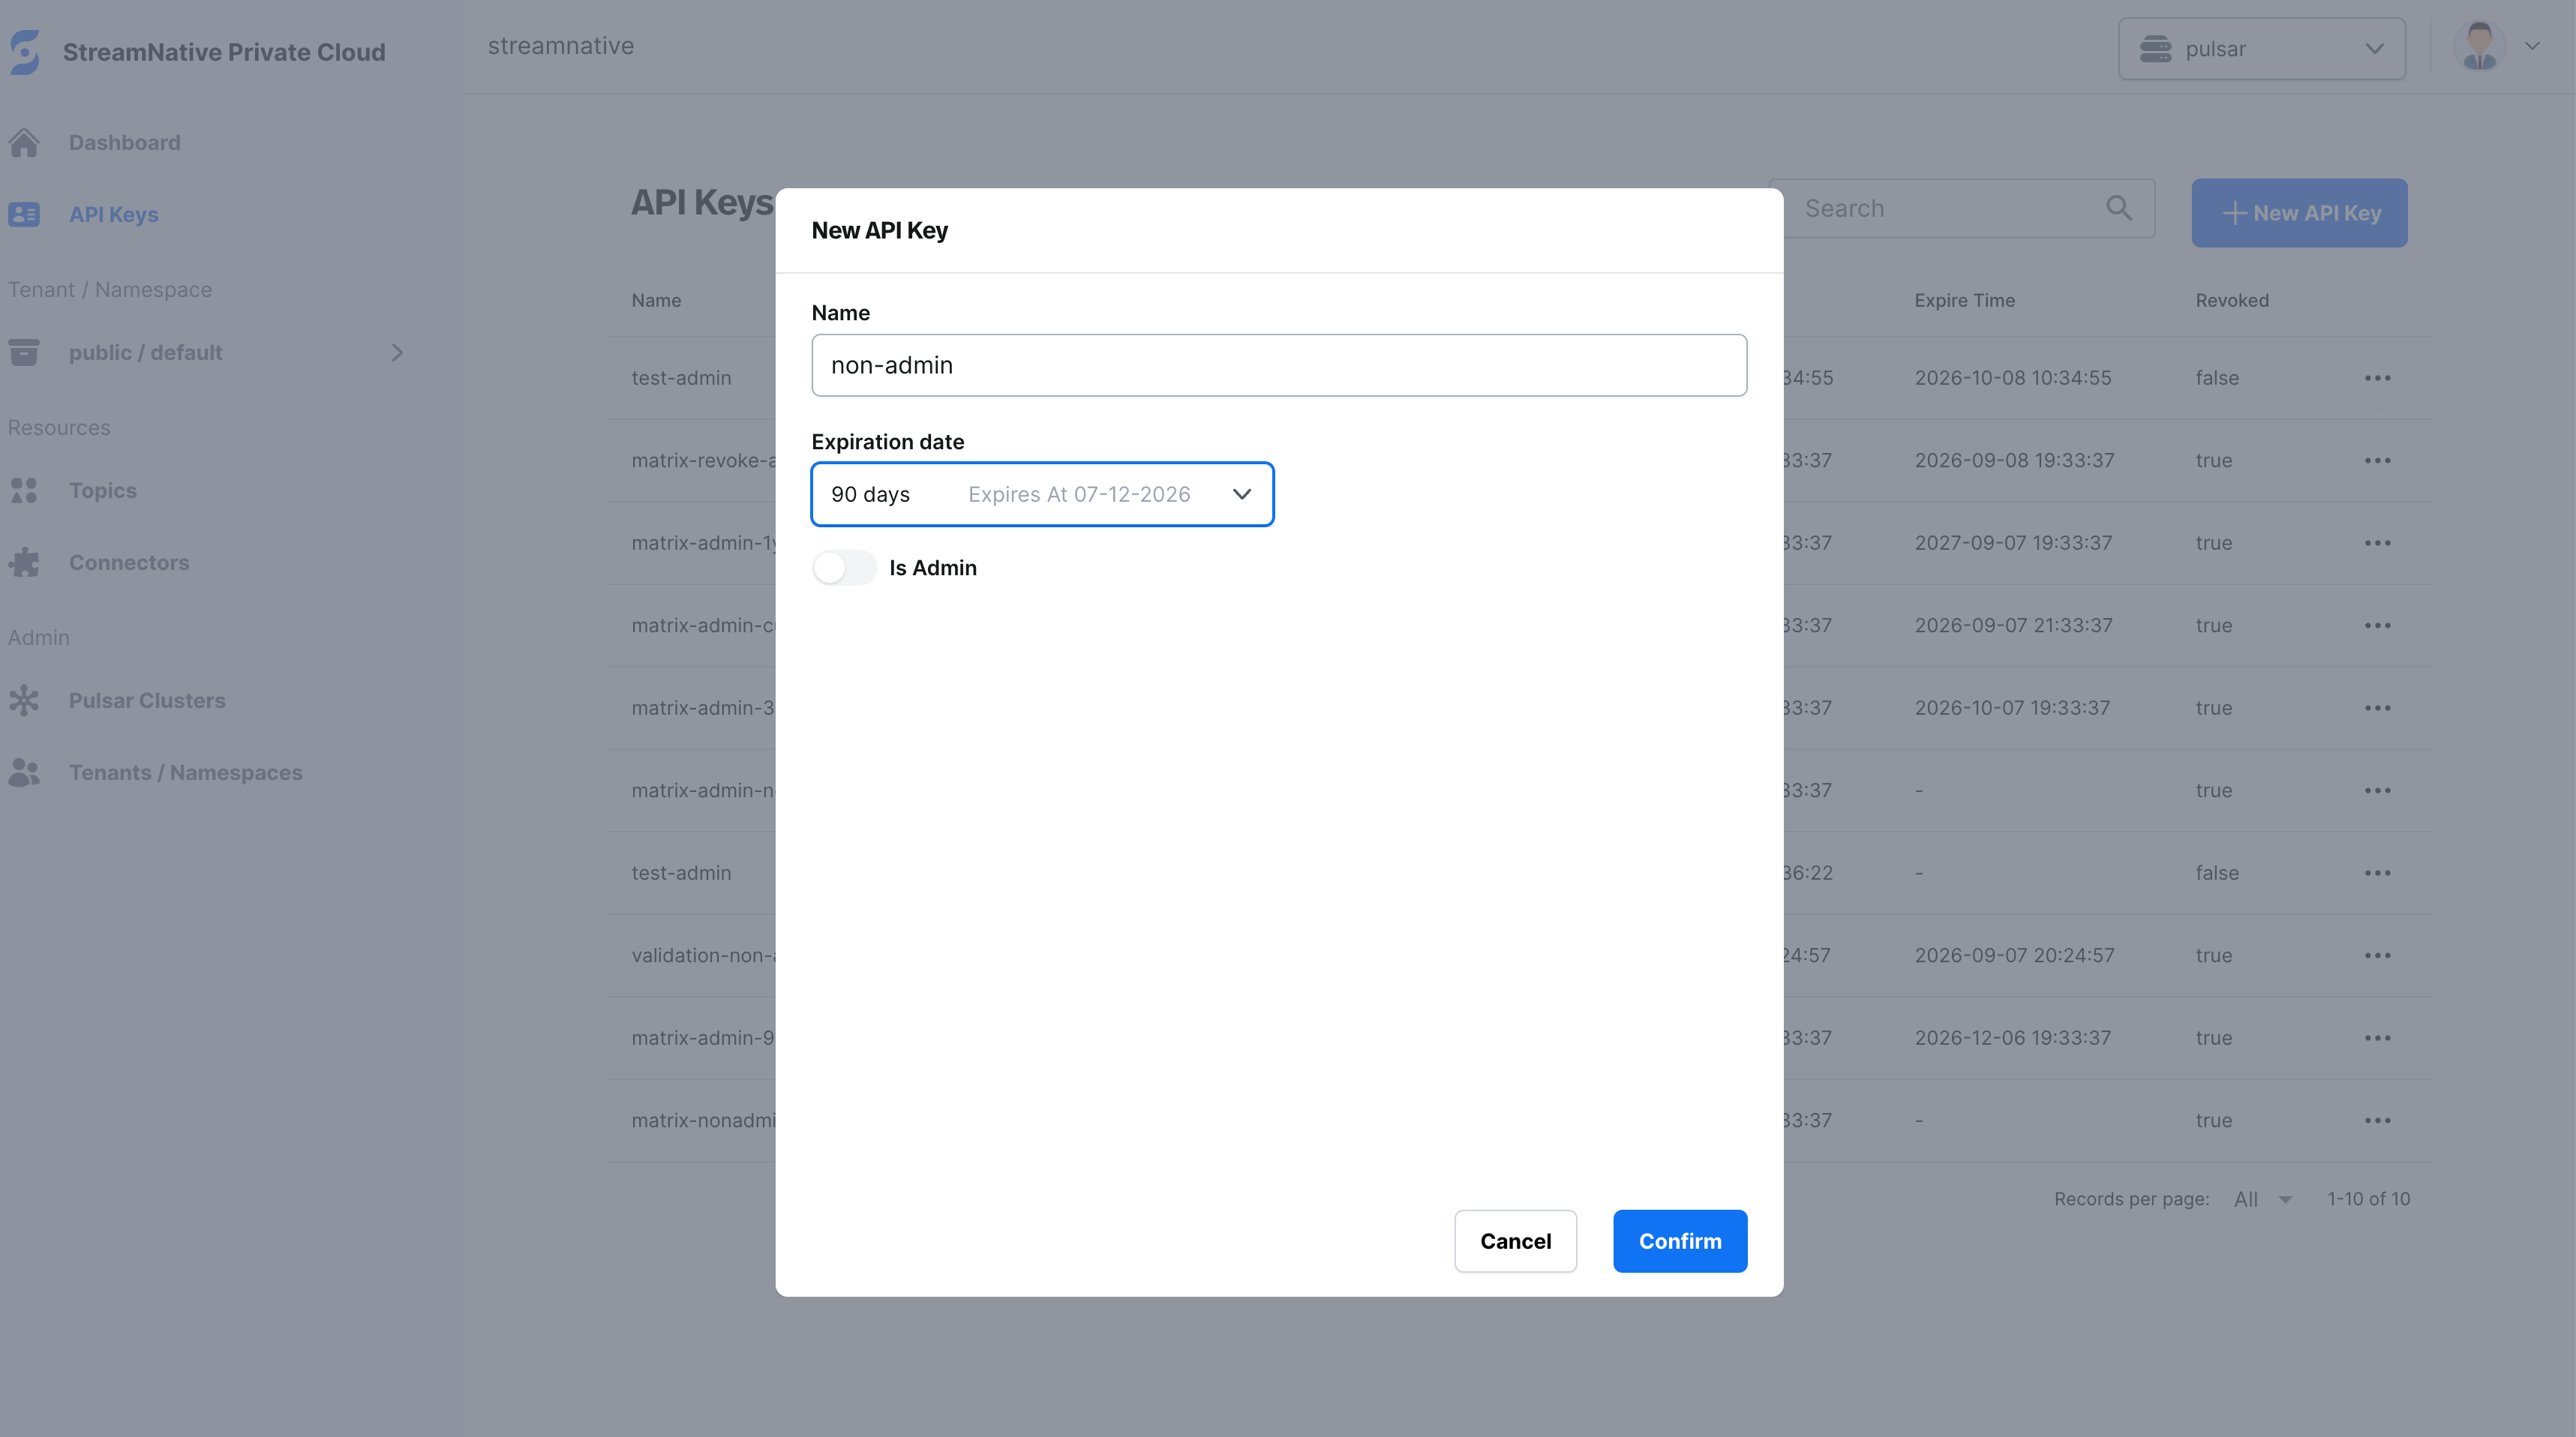
Create a non-administrator API key with Is Admin turned off.
- Click Confirm.
- Copy the API key and store it in a secrets manager. Console displays the API key only once.
- Click Copy and Close.
-
In the API key list, record the value in the ID column. The ID is the token
jtiand the Pulsar role that you use to grant permissions.
Grant permissions to a non-administrator API key
Use an administrator API key to grant permissions. Set--role to the non-administrator API key’s ID, not its name or API key value:
Connect a Pulsar client
The API key service issues API keys as JWT tokens. Configure Pulsar clients to use an API key in the same way that you configure a client for JWT authentication. Use theAuthenticationToken plugin and pass the API key as the token value. You don’t need an API-key-specific client plugin.
Produce messages with the non-administrator API key:
produce and consume permissions on public/default.
Use the API key value that Console displays after creation for
--auth-params. Use the API key ID only as the Pulsar role when granting permissions.Revoke an API key
- In Console, select API Keys.
-
Open the actions menu for the API key that you want to revoke, and then select Revoke.
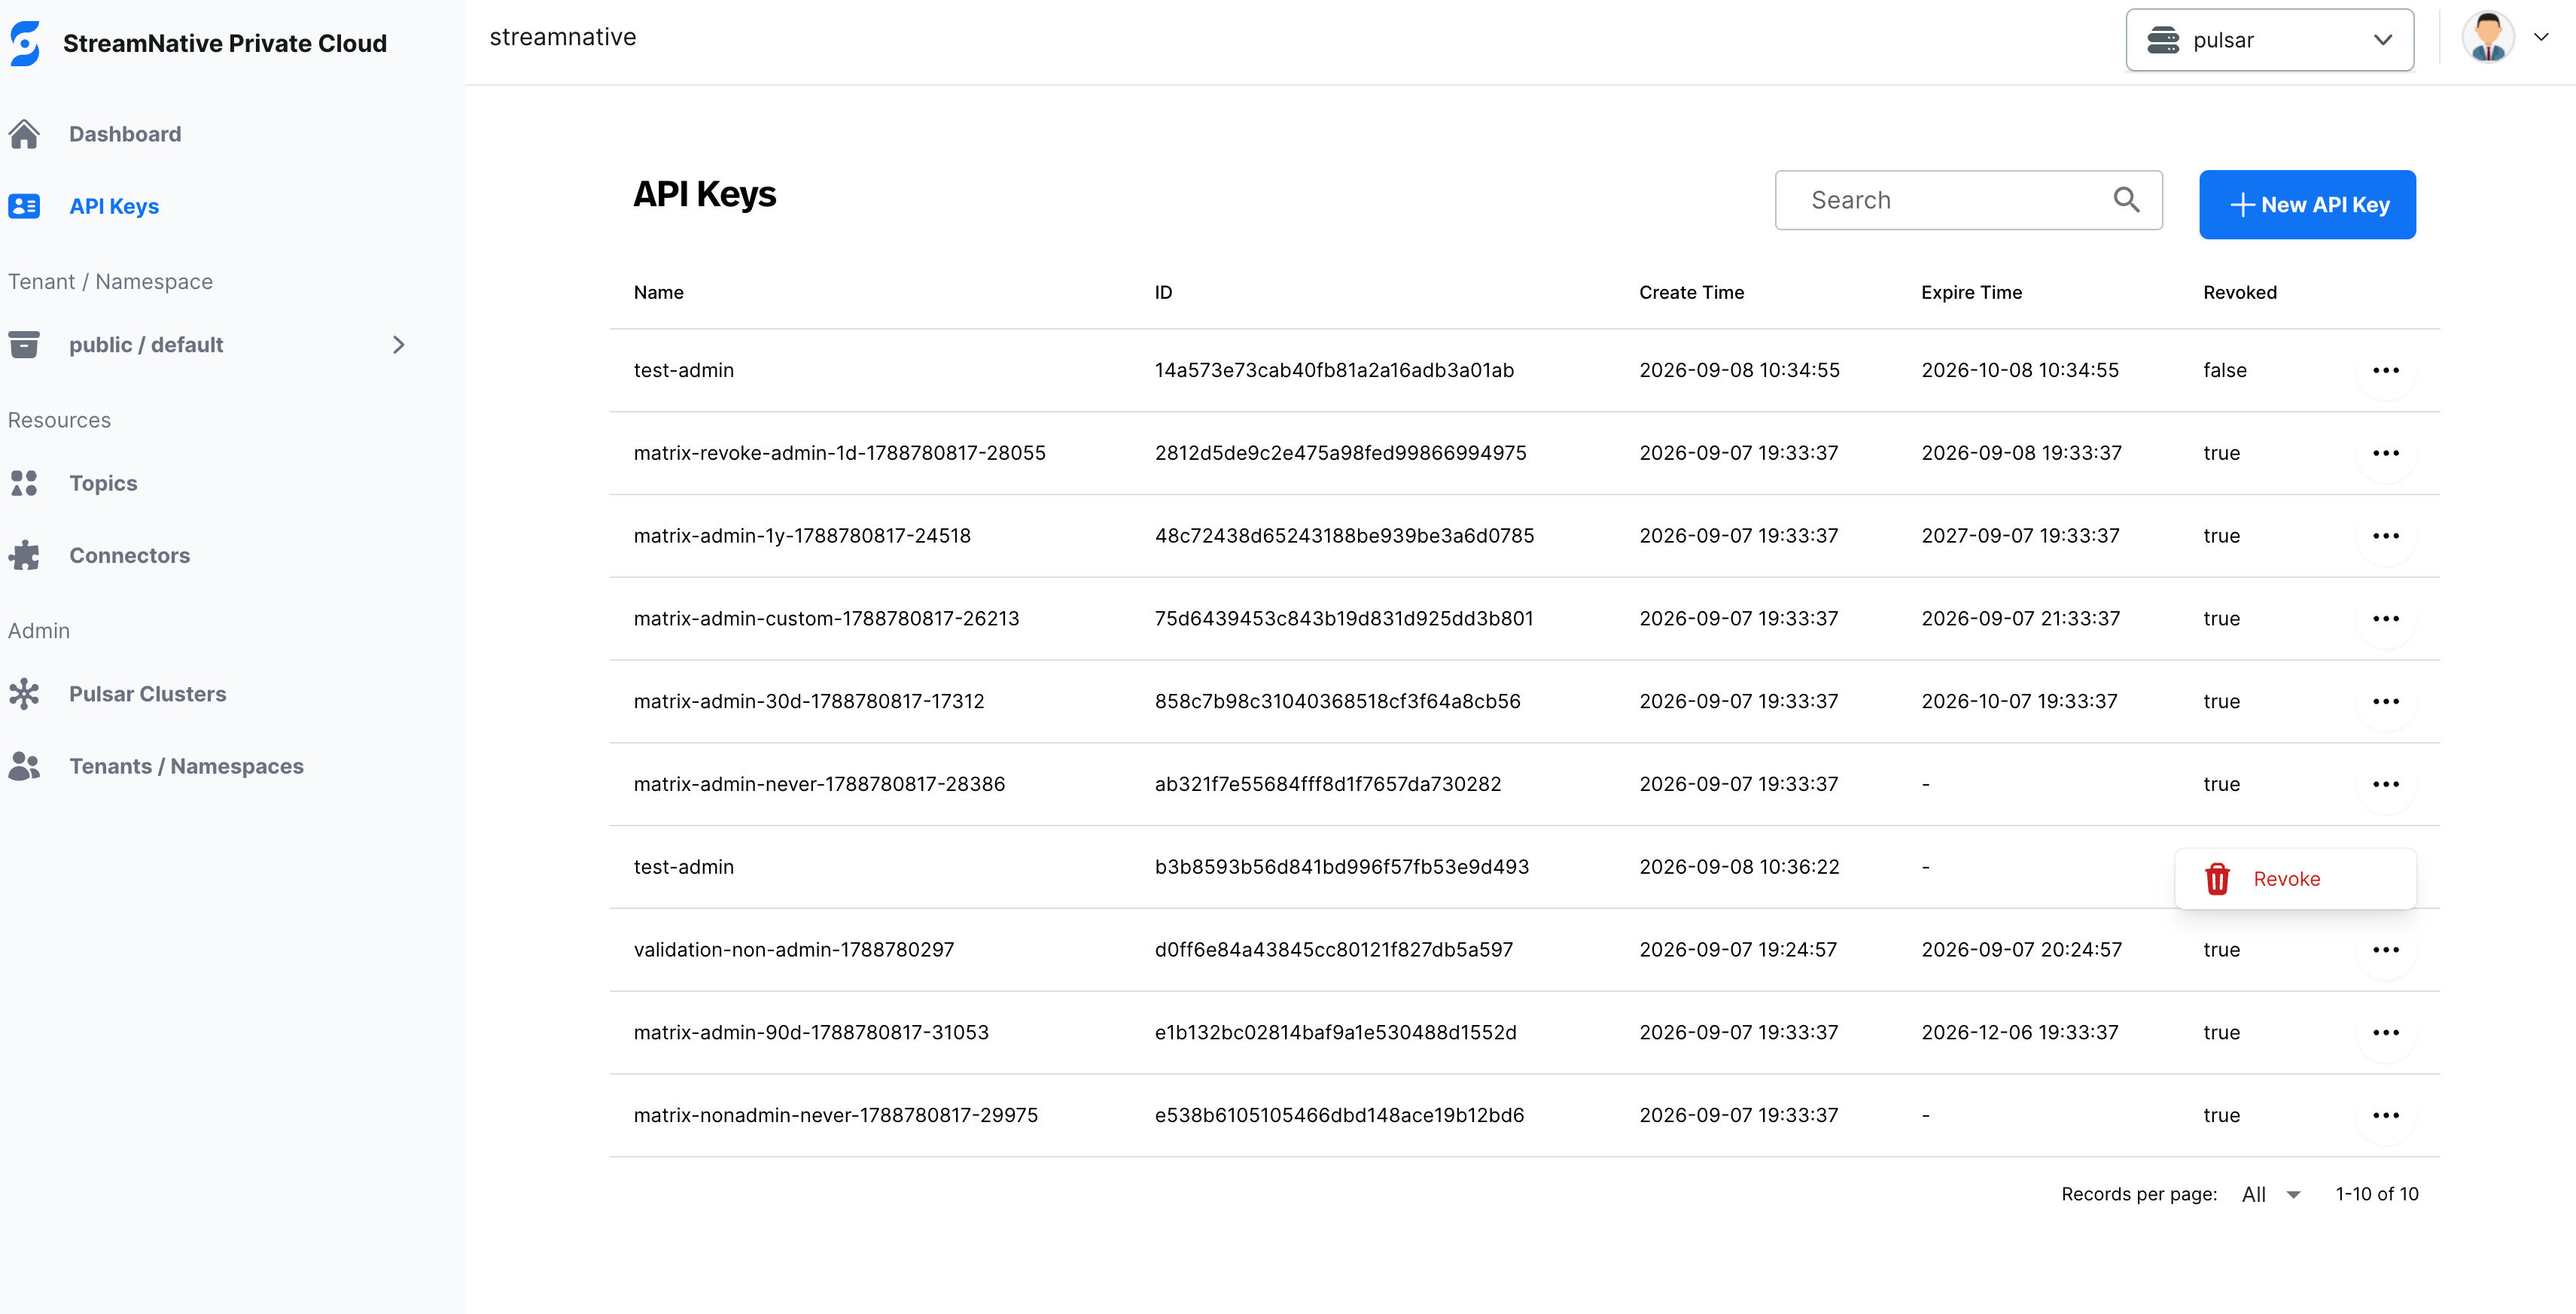
Open an API key's actions menu and select Revoke.
- Confirm the revocation.
401 Unauthorized.
Troubleshoot API key authentication
The broker rejects the original principal
If a non-administrator client fails with an error similar tocannot specify originalPrincipal when connecting without valid proxy role, compare the proxy credential jti with the broker configuration:
jti is missing from the broker’s proxy roles, follow Apply the proxy role workaround, and wait for the brokers to become ready.
A revoked API key still works
Wait for the revocation list to refresh, and then open a new client connection. An existing authenticated connection might remain active until it reconnects.Console can’t create an API key
Confirm thatspec.config.server.allowCustomClaims is true and spec.config.server.multiTenant.enable is false or omitted. Console sets the API key scope and sub claims when it creates the credential.