> ## Documentation Index
> Fetch the complete documentation index at: https://docs.streamnative.io/llms.txt
> Use this file to discover all available pages before exploring further.
# Manage Pulsar ACLs
In Pulsar, the authentication provider is responsible for properly identifying clients and associating the clients with role tokens. If you only enable authentication, an authenticated role token can be used to access all resources in the cluster. Authorization is the process that determines the operations performed by Pulsar clients.
Superusers have the role tokens with the most privileges. The superusers can create and destroy tenants, and have full access to all tenant resources. When a superuser creates a tenant, the tenant is assigned with an the administrator role. A client with the administrator role can create, modify and destroy namespaces, and grant and revoke permissions to other roles on these namespaces.
This topic describes how to authorize Pulsar components through the StreamNative Cloud Console. In addition, you can authorize Pulsar components through the `pulsar-admin` or `pulsar-perf CLI` tool. For details, see [pulsar-admin](https://pulsar.apache.org/reference/#/next/pulsar-admin/) and [pulsar-perf](https://pulsar.apache.org/reference/#/next/pulsar-perf/pulsar-perf).
## Authorize tenants
When you create a tenant, you can specify an administrator for the tenant.
1. On the left navigation pane, in the **Admin** section, click **Tenants**.
2. Click **New Tenant** and a dialog box displays.
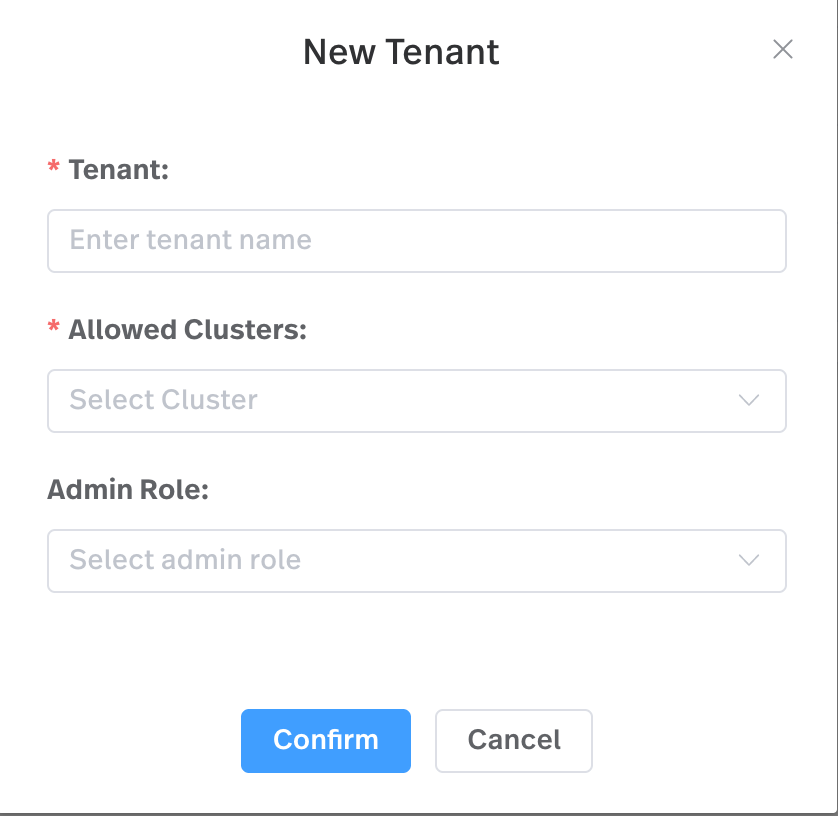 3. In the **Add Roles** field, select a user or one or more service accounts as the administrator of the tenant.
4. Click **Confirm**.
In addition, you can add or remove an administrator for an existing tenant.
1. On the left navigation pane, in the **Admin** section, click **Tenants**.
2. Click **Edit** in the **Action** column.
3. In the **Add Role** field, select one or more administrators for the tenant.
## Authorize namespaces
To authorize a namespace through the StreamNative Cloud Console, follow these steps.
1. On the left navigation pane, in the **Admin** section, click **Namespaces**.
2. Select the **Policies** tab.
3. In the **Authorization** area, select a role for the namespace and then grant or revoke permissions to the role in this namespace.
* consume: grant/revoke the consuming action.
* produce: grant/revoke the producing action.
* functions: grant/revoke the Pulsar functions action.
## Authorize topics
To authorize a topic through the StreamNative Cloud Console, follow these steps.
1. On the left navigation pane, in the **Resources** section, click **Topics**.
2. Click the topic name link.
3. If the topic is partitioned, in the **Partitions** area, click the partitioned topic link.
4. Select the **Policies** tab and configure the authorization policies for the topic.
3. In the **Add Roles** field, select a user or one or more service accounts as the administrator of the tenant.
4. Click **Confirm**.
In addition, you can add or remove an administrator for an existing tenant.
1. On the left navigation pane, in the **Admin** section, click **Tenants**.
2. Click **Edit** in the **Action** column.
3. In the **Add Role** field, select one or more administrators for the tenant.
## Authorize namespaces
To authorize a namespace through the StreamNative Cloud Console, follow these steps.
1. On the left navigation pane, in the **Admin** section, click **Namespaces**.
2. Select the **Policies** tab.
3. In the **Authorization** area, select a role for the namespace and then grant or revoke permissions to the role in this namespace.
* consume: grant/revoke the consuming action.
* produce: grant/revoke the producing action.
* functions: grant/revoke the Pulsar functions action.
## Authorize topics
To authorize a topic through the StreamNative Cloud Console, follow these steps.
1. On the left navigation pane, in the **Resources** section, click **Topics**.
2. Click the topic name link.
3. If the topic is partitioned, in the **Partitions** area, click the partitioned topic link.
4. Select the **Policies** tab and configure the authorization policies for the topic.
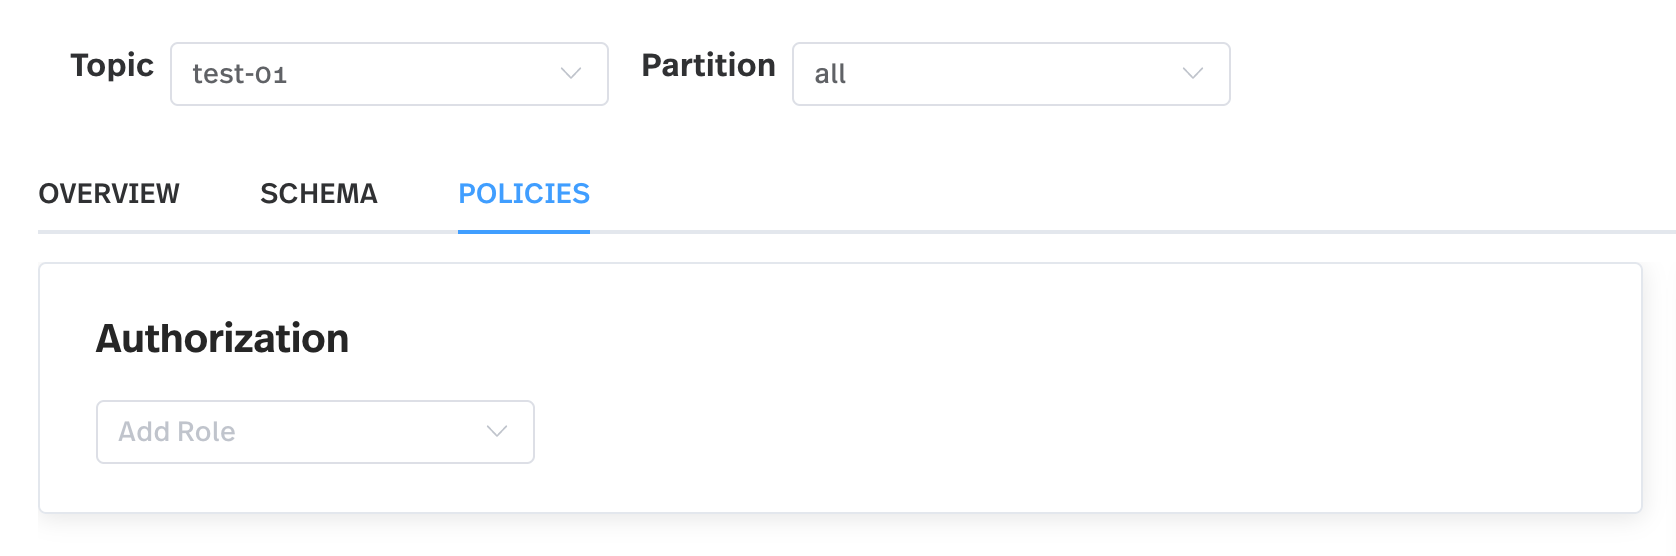 5. In the **Authorization** area, select a role for the topic and then grant or revoke permissions to the role in this topic by adding or deleting the following:
* consume: grant/revoke the consuming action.
* produce: grant/revoke the producing action.
* functions: grant/revoke the Pulsar functions action.
5. In the **Authorization** area, select a role for the topic and then grant or revoke permissions to the role in this topic by adding or deleting the following:
* consume: grant/revoke the consuming action.
* produce: grant/revoke the producing action.
* functions: grant/revoke the Pulsar functions action.