> ## Documentation Index
> Fetch the complete documentation index at: https://docs.streamnative.io/llms.txt
> Use this file to discover all available pages before exploring further.
# Get started with StreamNative Cloud on Alibaba Cloud Marketplace with Pay-As-You-Go
You can access the StreamNative Cloud product through Alibaba Cloud Marketplace. If you already have an Alibaba Cloud account, you can get started by subscribing to the StreamNative Cloud product in Alibaba Cloud Marketplace as detailed below. After subscribing and connecting your Alibaba Cloud account to your StreamNative Cloud account, you can view and pay your bills on the Billing Dashboard in your Alibaba Cloud account. This subscription uses a Pay-As-You-Go billing model, so your bills will vary depending on usage.
## Prerequisites
To use this service, you must complete the following:
* Have an Alibaba Cloud account with an account ID enabled for purchases. Contact your billing administrator if you have questions about your Alibaba Cloud account.
* Create a StreamNative Cloud account by following the sign-up of the [StreamNative Cloud Quick Start](https://console.streamnative.cloud/signup?from=site_docs).
* Log in to both [Alibaba Cloud Marketplace](https://marketplace.alibabacloud.com/) and [StreamNative Cloud Console](https://console.streamnative.cloud/signup?from=site_docs).
## Procedures
This section describes how to get up and running with StreamNative Cloud on Alibaba Cloud Marketplace using a self-service Pay-As-You-Go account.
### Subscribe to the StreamNative Cloud service
To get up and running with StreamNative Cloud on Alibaba Cloud Marketplace using a self-service Pay-As-You-Go account:
1. Go to [Alibaba Cloud Marketplace](https://marketplace.alibabacloud.com/products/56730001/sgcmgj00036040.html?spm=a3c0i.26795044.0.0.72632faaCZCqxJ\&innerSource=search).
2. Review the product information and click **Activate Now**.
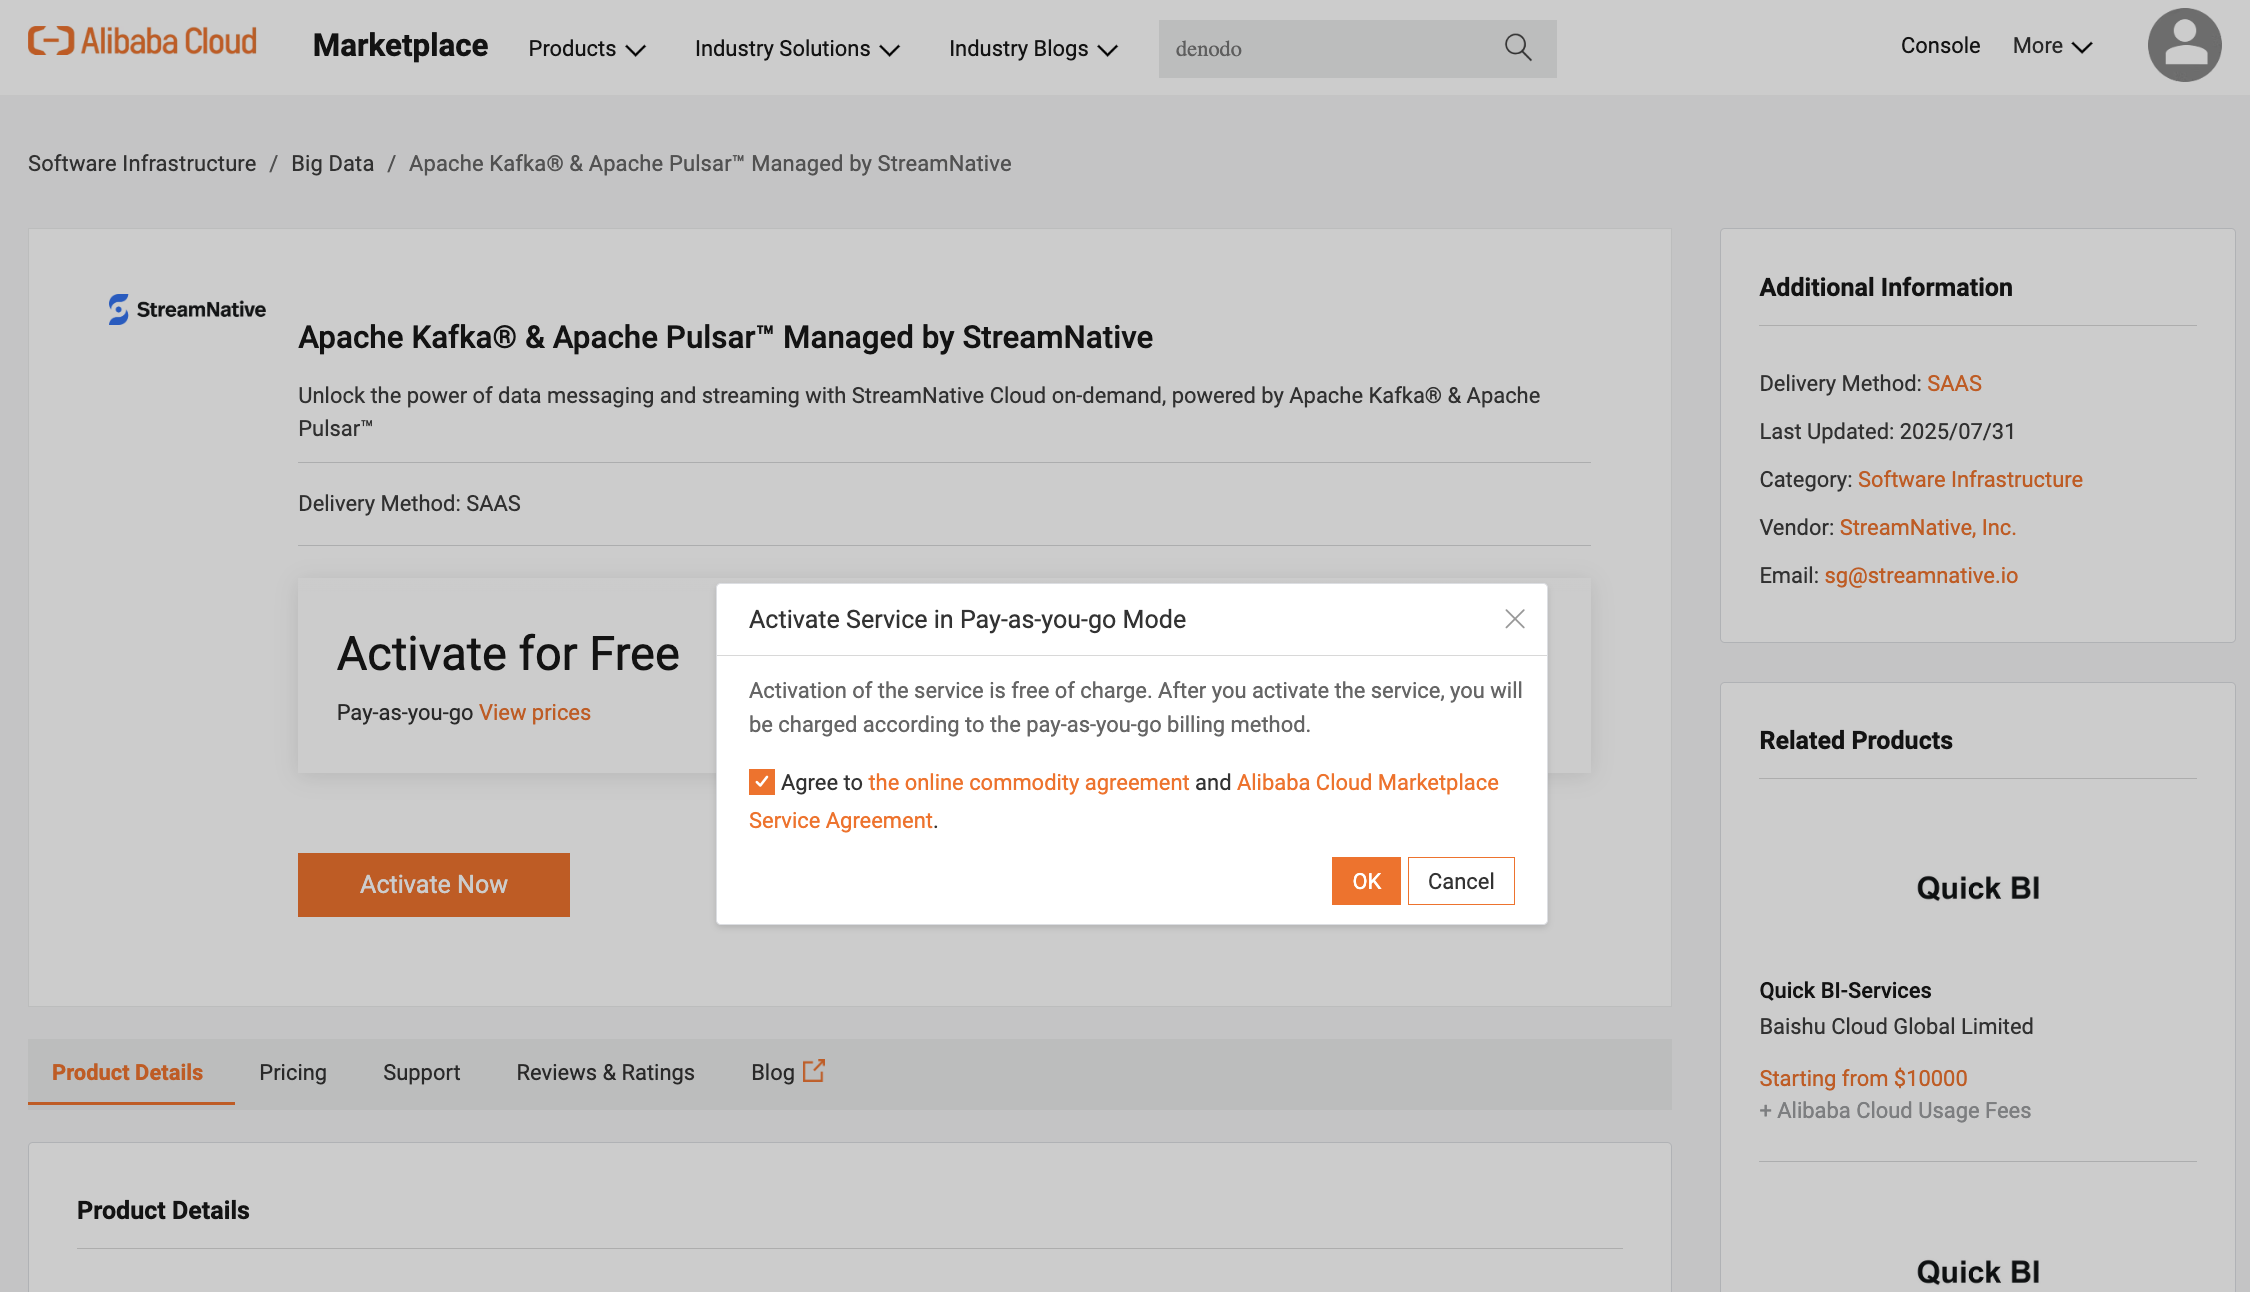
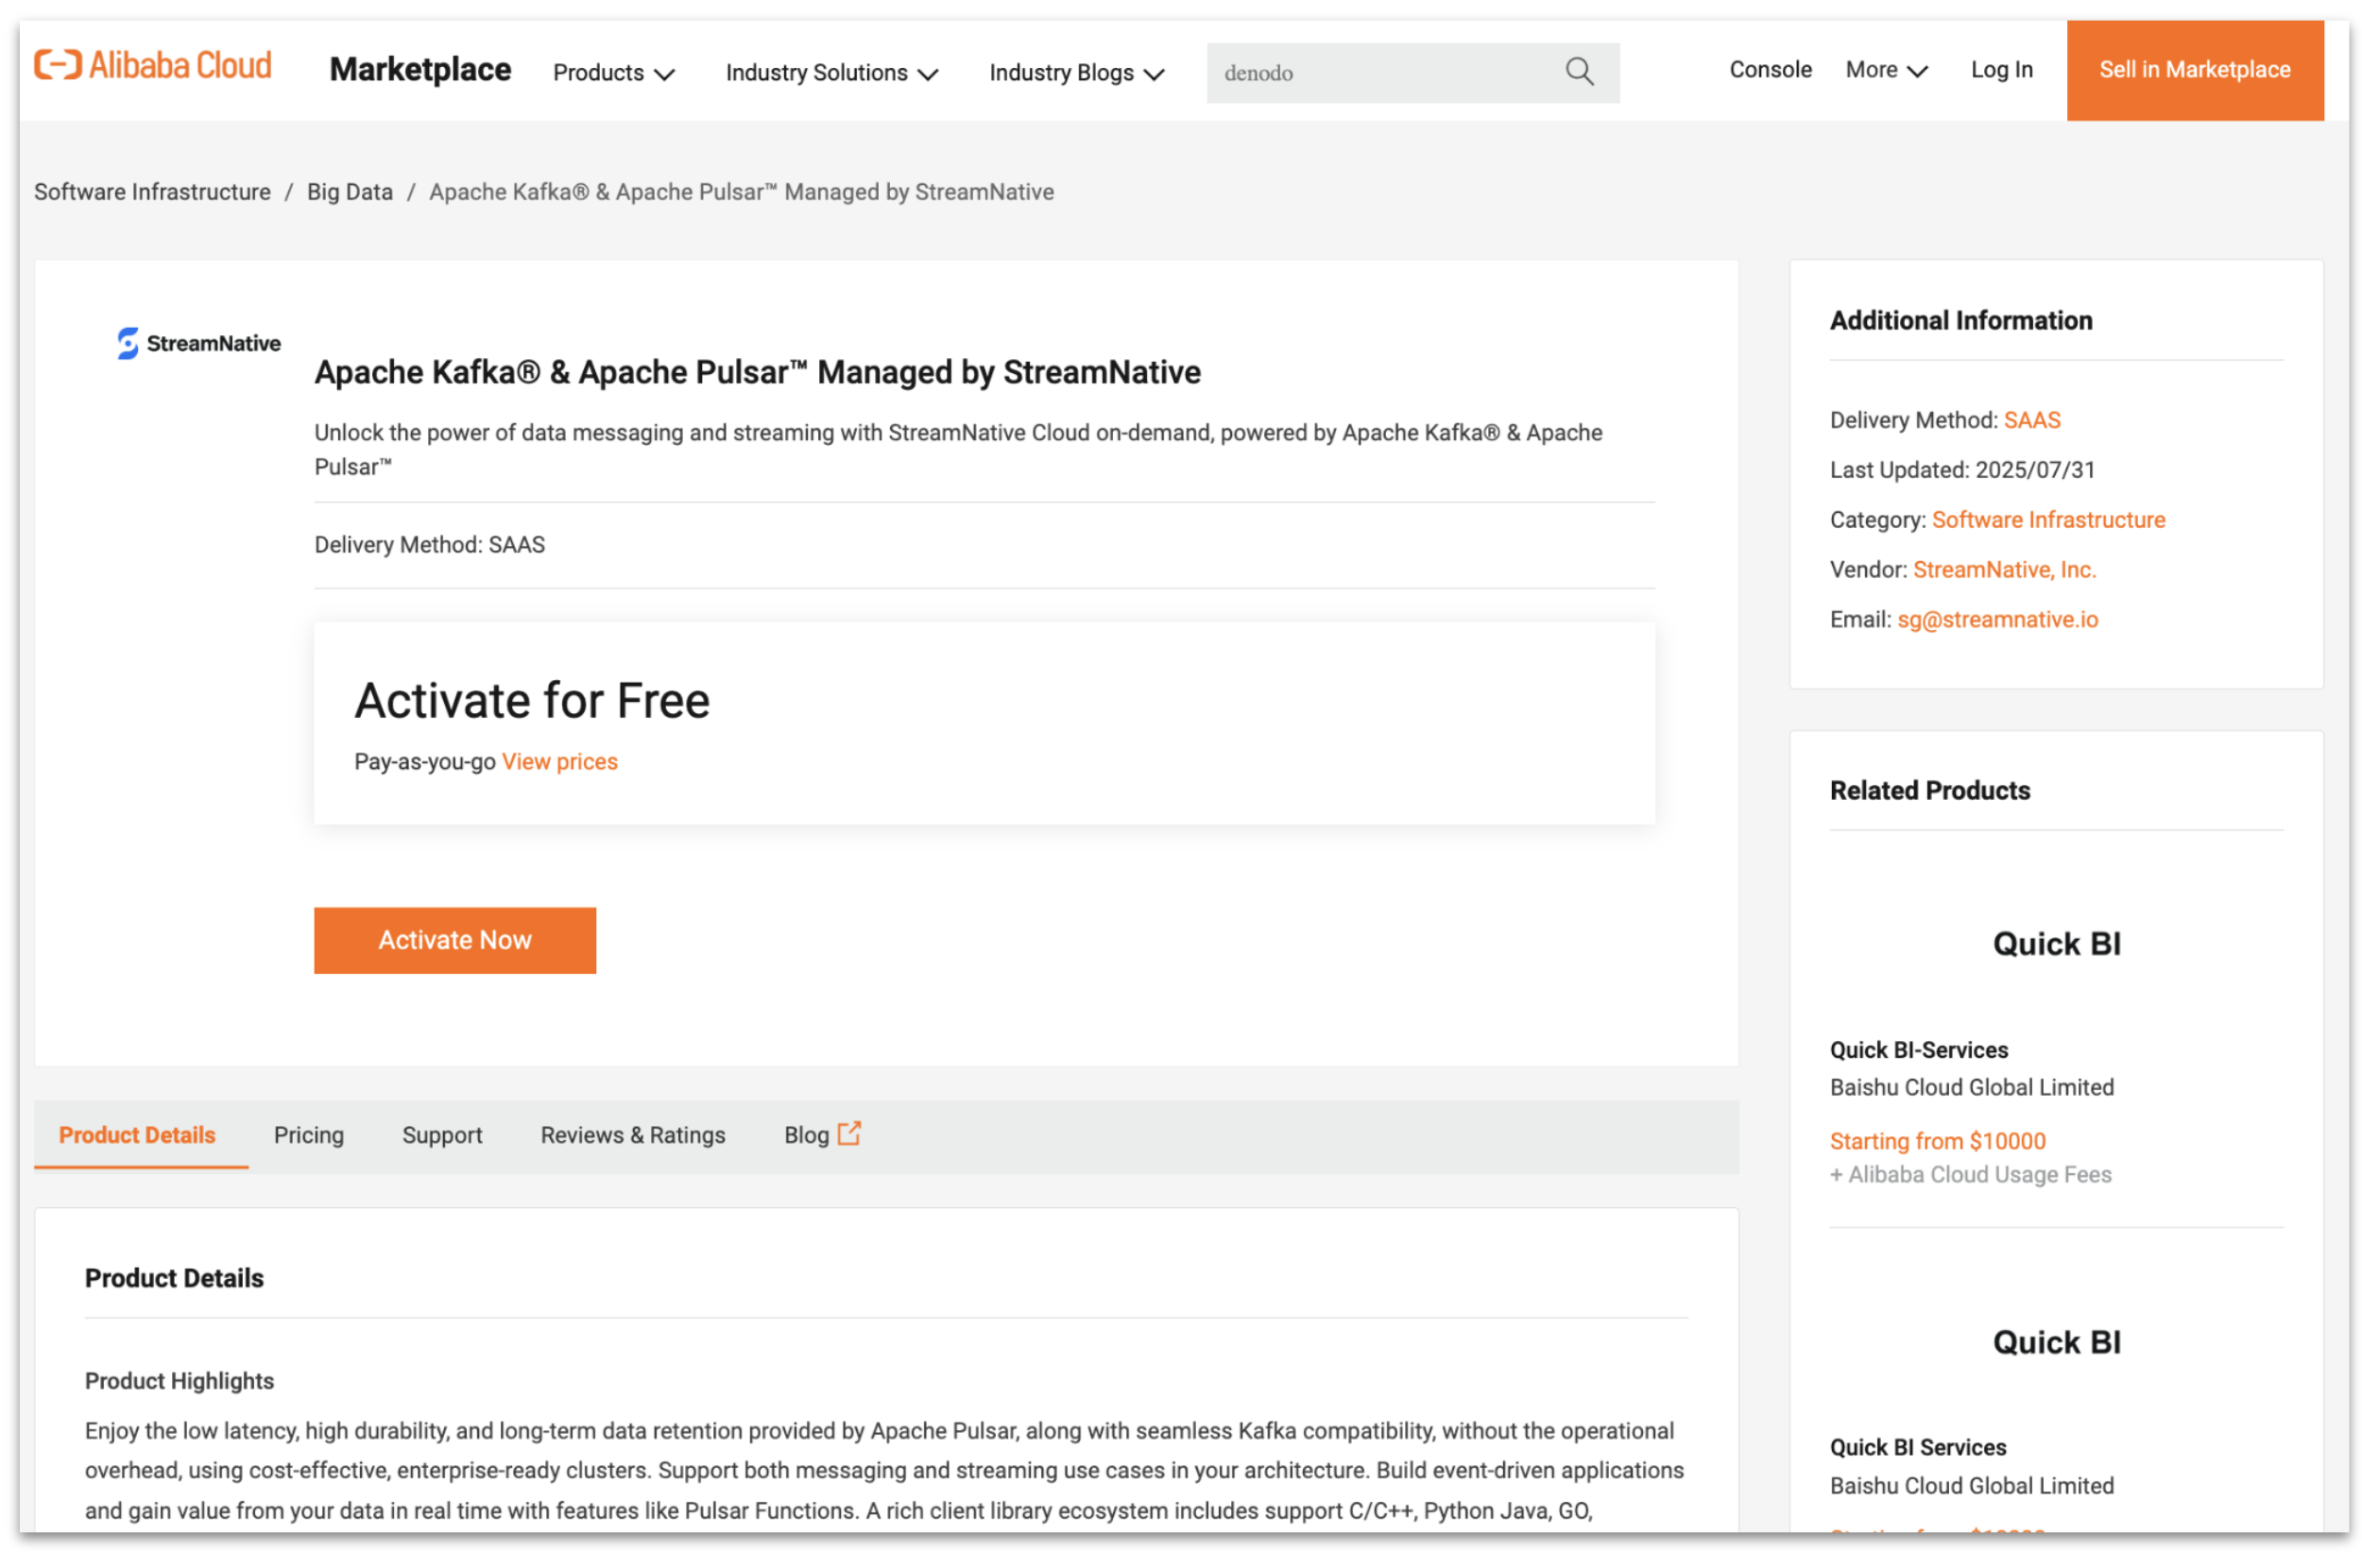 3. Select the option toe agree to the community agreement and click OK
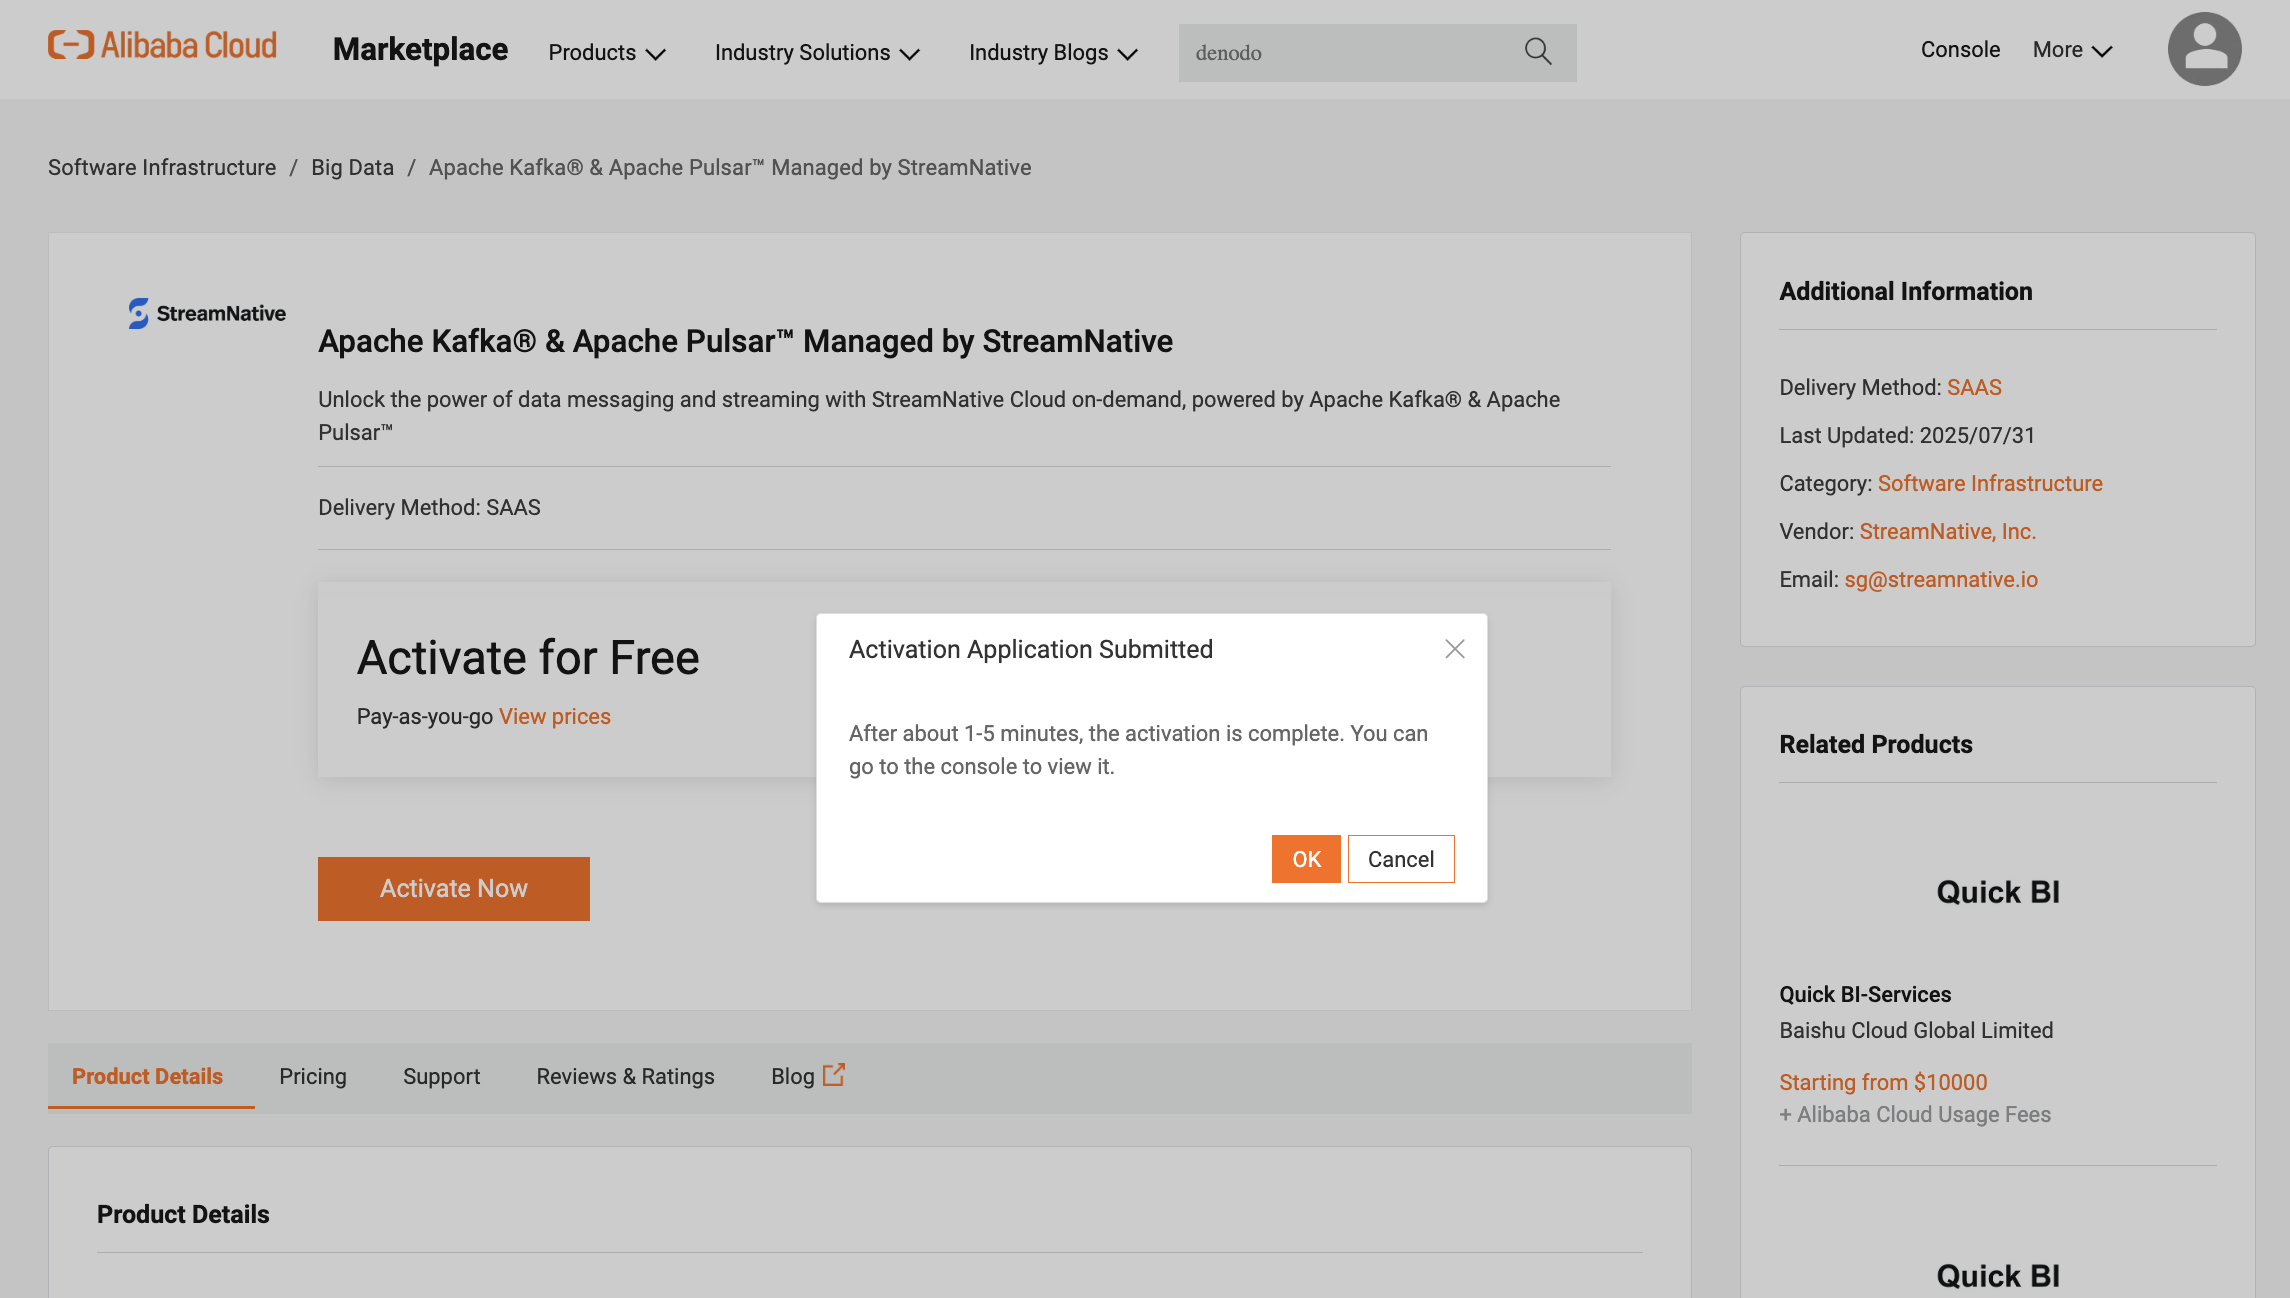
 4. Once the request for activation is successfully submitted, you will see a confirmation message. Click OK in the confirmation message to navigate to the subscription details.
 After getting redirected you must see the page which says 'My Software Subscription' as shown below
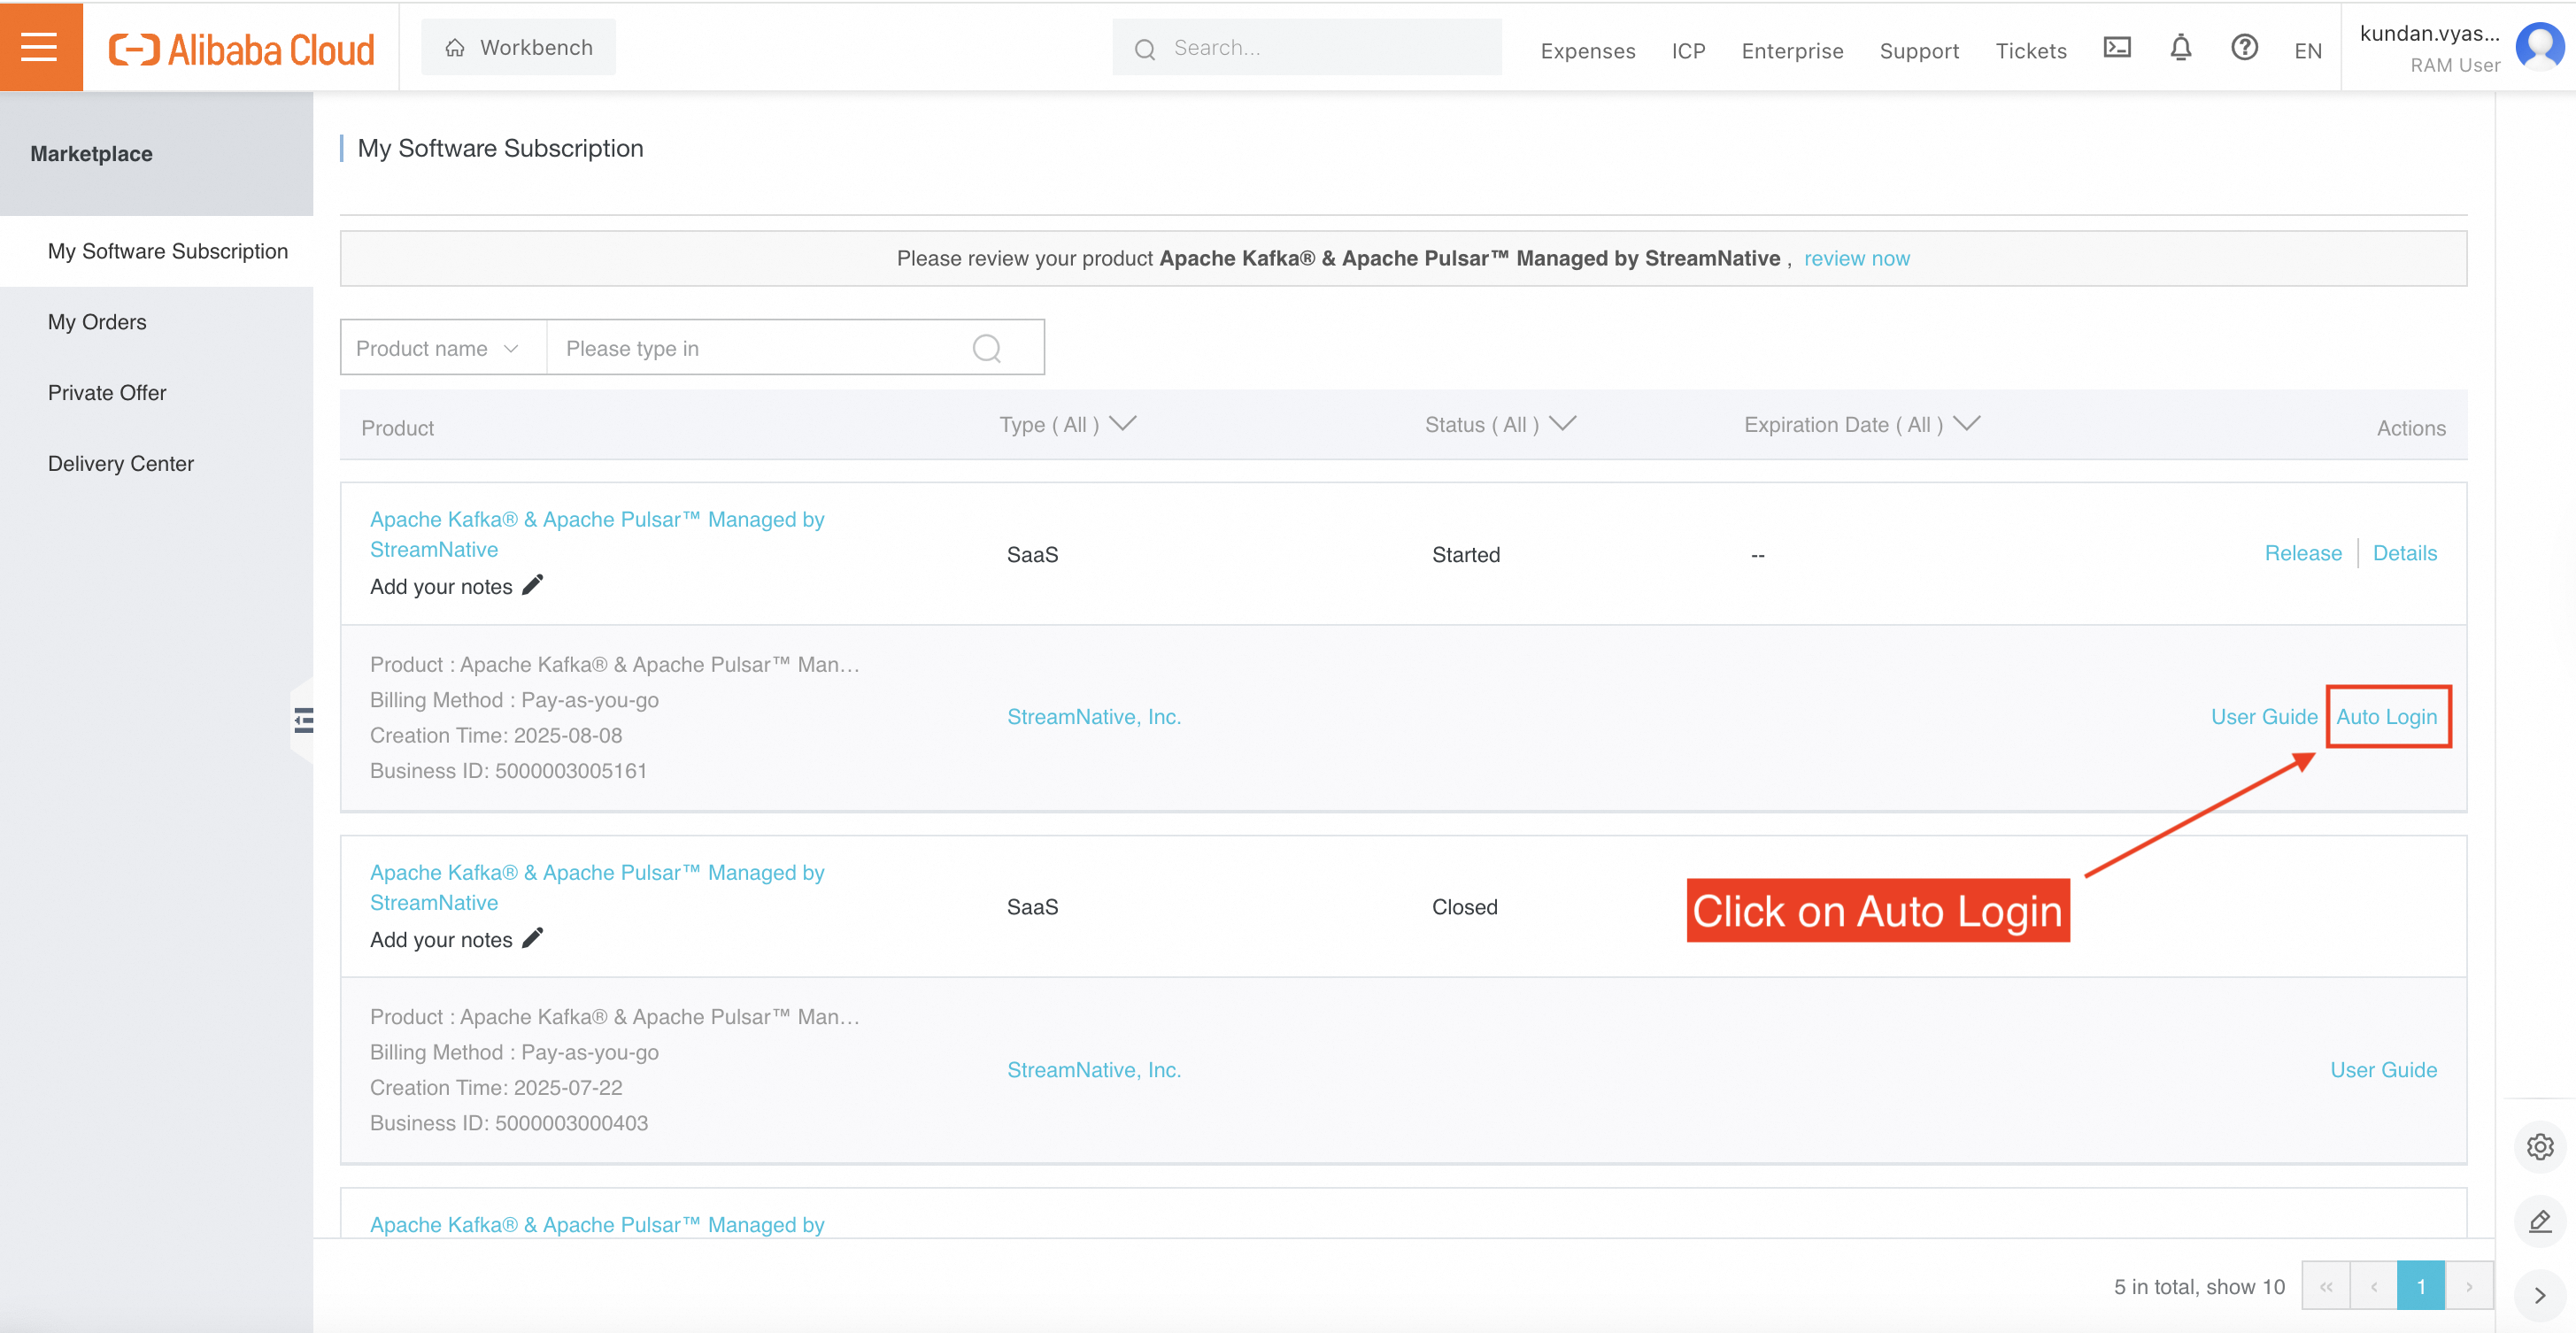 6. Click on Auto Login as shown in the picture above to automatically get redirected back to the StreamNative Cloud Console. This step also connects your Alibaba Cloud marketplace account to your StreamNative account.
Currently, you can't link your Alibaba Cloud subscription to an existing organization on StreamNative Console. To bind to an existing organization, [submit a ticket](https://support.streamnative.io/hc/en-us/requests/new) with this request to the support team.
### Create your organization
Depending on your StreamNative Cloud account setup, do one of the followings:
* If you haven't not created an organization yet, enter a name for your first organization and follow the prompts to complete the setup of your organization.
6. Click on Auto Login as shown in the picture above to automatically get redirected back to the StreamNative Cloud Console. This step also connects your Alibaba Cloud marketplace account to your StreamNative account.
Currently, you can't link your Alibaba Cloud subscription to an existing organization on StreamNative Console. To bind to an existing organization, [submit a ticket](https://support.streamnative.io/hc/en-us/requests/new) with this request to the support team.
### Create your organization
Depending on your StreamNative Cloud account setup, do one of the followings:
* If you haven't not created an organization yet, enter a name for your first organization and follow the prompts to complete the setup of your organization.
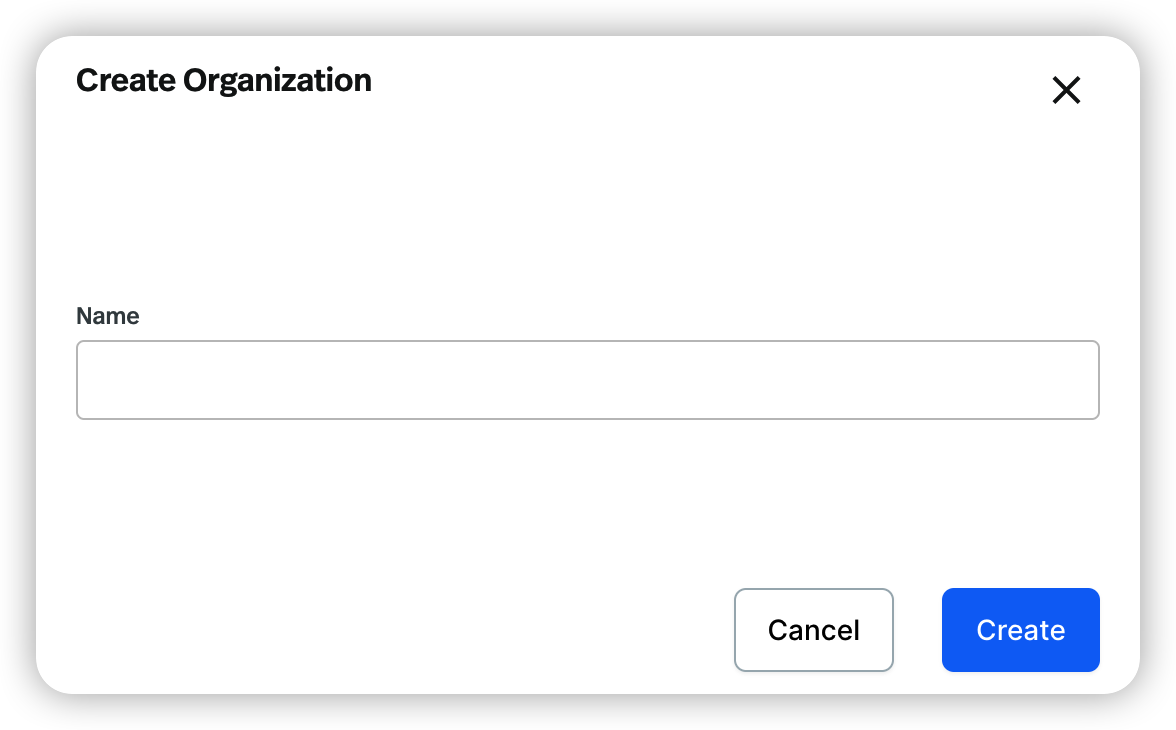 * If you have already created at least one organization, on the Organization page, click Create organization, enter a name for your new organization, and click Create.
### Create your Pulsar instance and Pulsar cluster
For Bring Your Own Cloud (BYOC) users, contact your StreamNative sales to get your BYOC pool members provisioned before continuing to create your Pulsar instance and cluster.
1. Navigate to the organization that you just created.
2. Click the name of your new organization, and then click **create instance** at the end of the row of the organization that you have just created.
3. On the **Instance** page, click **CREATE INSTANCE**.
4. Click **Deploy Dedicated** to start the instance creation process on StreamNative Cloud. Alternatively, you can click **Deploy Serverless** to create a Serverless cluster or click **Deploy BYOC** to create a BYOC cluster.
5. On the **Instance Configuration** page, enter a name for your instance, select the Alibaba Cloud infrastructure pool, and select the multi Availability Zone (AZ). The instance name starts with a lowercase letter, contains any combination of lowercase letters (a-z), numbers (0-9), and hyphens (-), and must be 4-10 characters.
6. Click **Cluster Location** to start the cluster creation process.
7. On the **Cluster Location** page, enter a name for your cluster, select the cluster location, and then click **Cluster Size**. The cluster name starts with a lowercase letter, contains any combination of lowercase letters (a-z), numbers (0-9), and hyphens (-), and must be 4-10 characters.
8. On the **Cluster Size** page, configure the cluster, and then click **Payment**.
* On the **Basic** tab, select custom sizing options.
* On the **Advanced** tab, in the **Features** area, enable the cluster features you want on your cluster.
It may take several minutes for the instance and cluster creation process to complete.
## Related topics
* Learn more about [StreamNative Cloud](/cloud/overview/cloud-overview).
* Learn more about [StreamNative Cloud Billing Overview](/cloud/billing/billing-overview).
* [Stop charges for your Pulsar cluster](/cloud/billing/stop-charges).
* If you have already created at least one organization, on the Organization page, click Create organization, enter a name for your new organization, and click Create.
### Create your Pulsar instance and Pulsar cluster
For Bring Your Own Cloud (BYOC) users, contact your StreamNative sales to get your BYOC pool members provisioned before continuing to create your Pulsar instance and cluster.
1. Navigate to the organization that you just created.
2. Click the name of your new organization, and then click **create instance** at the end of the row of the organization that you have just created.
3. On the **Instance** page, click **CREATE INSTANCE**.
4. Click **Deploy Dedicated** to start the instance creation process on StreamNative Cloud. Alternatively, you can click **Deploy Serverless** to create a Serverless cluster or click **Deploy BYOC** to create a BYOC cluster.
5. On the **Instance Configuration** page, enter a name for your instance, select the Alibaba Cloud infrastructure pool, and select the multi Availability Zone (AZ). The instance name starts with a lowercase letter, contains any combination of lowercase letters (a-z), numbers (0-9), and hyphens (-), and must be 4-10 characters.
6. Click **Cluster Location** to start the cluster creation process.
7. On the **Cluster Location** page, enter a name for your cluster, select the cluster location, and then click **Cluster Size**. The cluster name starts with a lowercase letter, contains any combination of lowercase letters (a-z), numbers (0-9), and hyphens (-), and must be 4-10 characters.
8. On the **Cluster Size** page, configure the cluster, and then click **Payment**.
* On the **Basic** tab, select custom sizing options.
* On the **Advanced** tab, in the **Features** area, enable the cluster features you want on your cluster.
It may take several minutes for the instance and cluster creation process to complete.
## Related topics
* Learn more about [StreamNative Cloud](/cloud/overview/cloud-overview).
* Learn more about [StreamNative Cloud Billing Overview](/cloud/billing/billing-overview).
* [Stop charges for your Pulsar cluster](/cloud/billing/stop-charges).